Easy DIY Brick Backsplash
Update your kitchen with an Easy DIY Brick Backsplash! This affordable project is perfect for beginners who are looking for that classic farmhouse style!
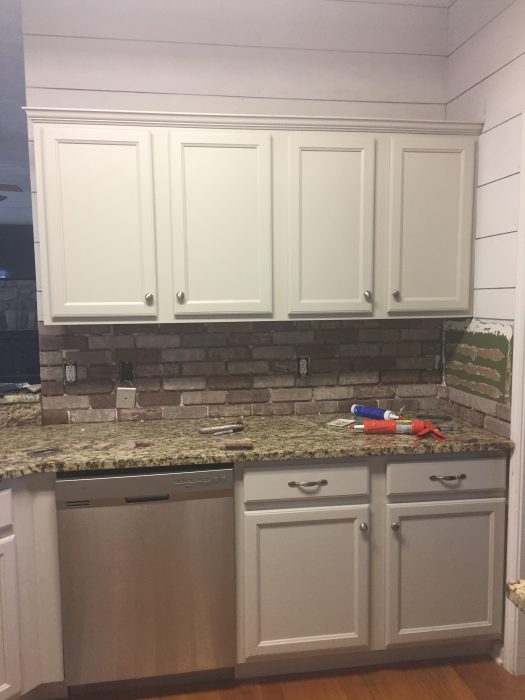
You know I love a good DIY project. When we moved into our house I really wasn’t very crazy about our kitchen. The layout is awkward and the previous owners style was hard for me to get past. We contemplated ripping the whole thing out and starting over, but I had such a hard time justifying that kind of expense. I mean the kitchen worked, the countertops and cabinets were in good shape, it just wasn’t me. So, I decided to take on the kitchen as a bit of challenge. How can I improve a space that I don’t like on a modest budget? Turns out, it was easier than I thought. So here is what I was working with:
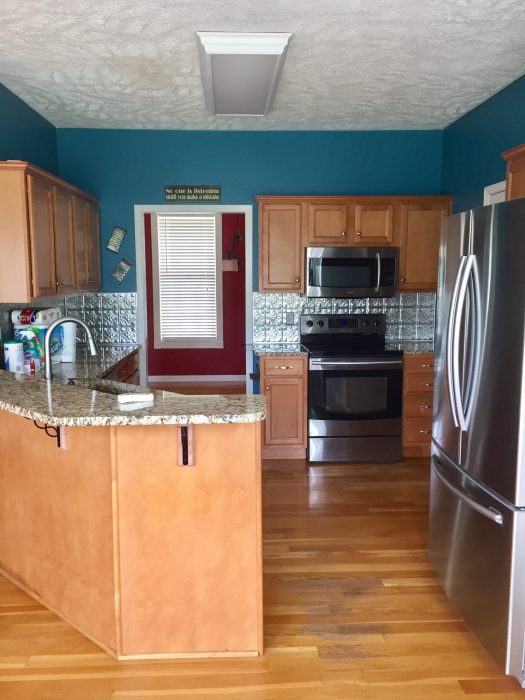
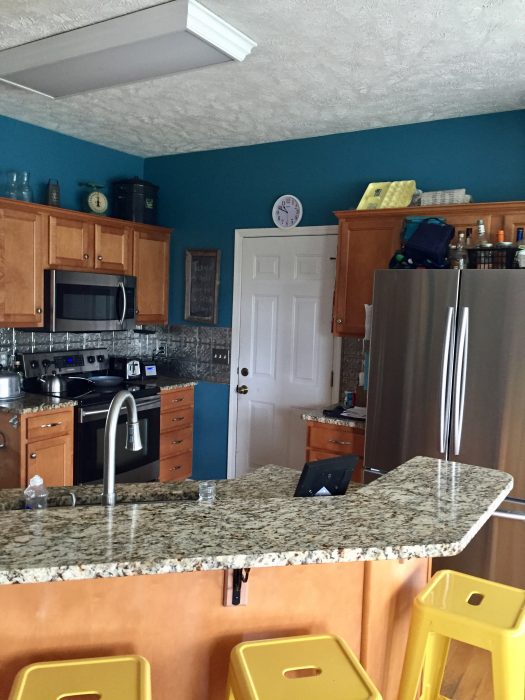
Not so glamorous, huh? But I had a plan! My favorite part of our simple kitchen makeover is definitely the backsplash. The previous owners had glued on a metal backsplash and they used SO MUCH glue. It became clear that just getting the metal backsplash off was going to damage the drywall very badly it would be terribly uneven, making tiling a much trickier job. So, I had two options, add new drywall, then tile or get a new game plan. I have always loved exposed brick and the texture and character it adds so I did some exploring. Brick was the perfect option, inconsistency only adds to the character of brick so if the walls were not completely smooth you would never notice it the way you would a sleek subway tile.
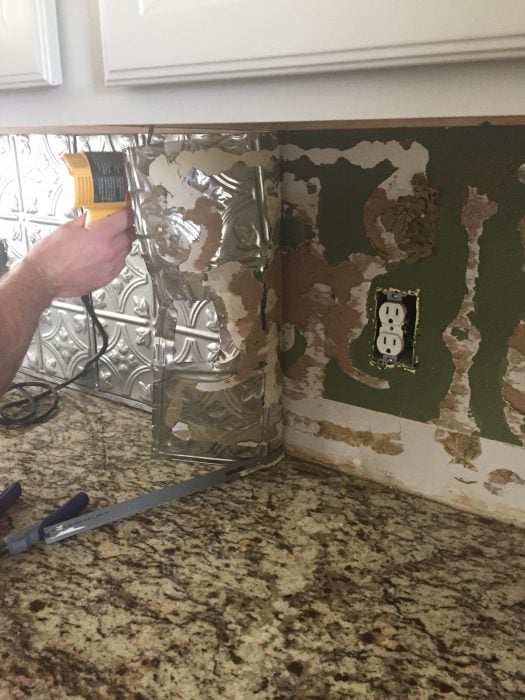
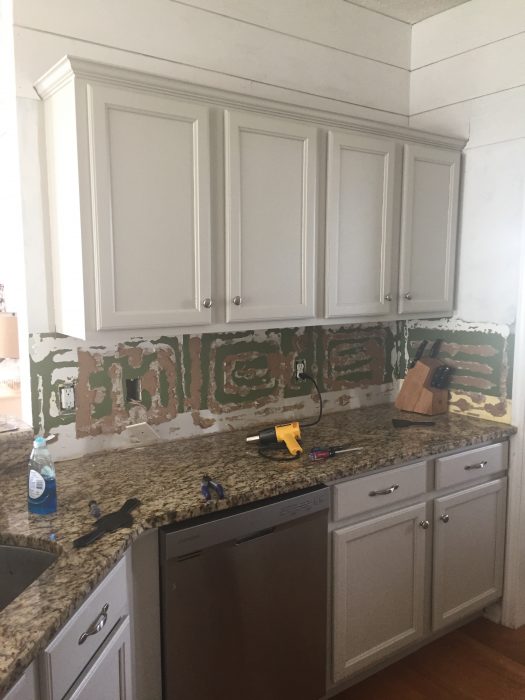
You can see what a mess this made of the drywall. In some places we were able to sand it down a bit and in other places where the glue was extremely thick I just had to rip it off the wall so I could allow the brick to set (fairly) level.
Materials
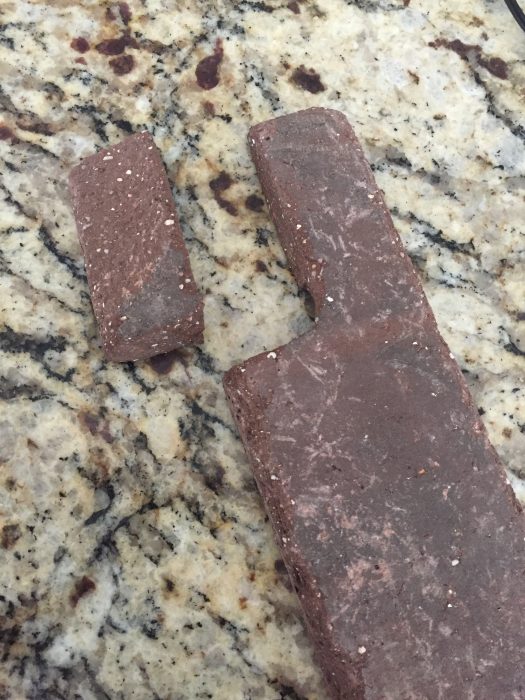
I knew I needed thin (about a half an inch) brick, which can be tricky to find at first. I decided on special order Old Mill brick pavers from Lowes, you can now get them on Amazon too! The pavers come in several different colors so I mixed two colors to get a more authentic look. If you want your backsplash to look very uniform you could certainly just use one color, but if you like the feel of different tones you will definitely need to mix two or three different pavers.
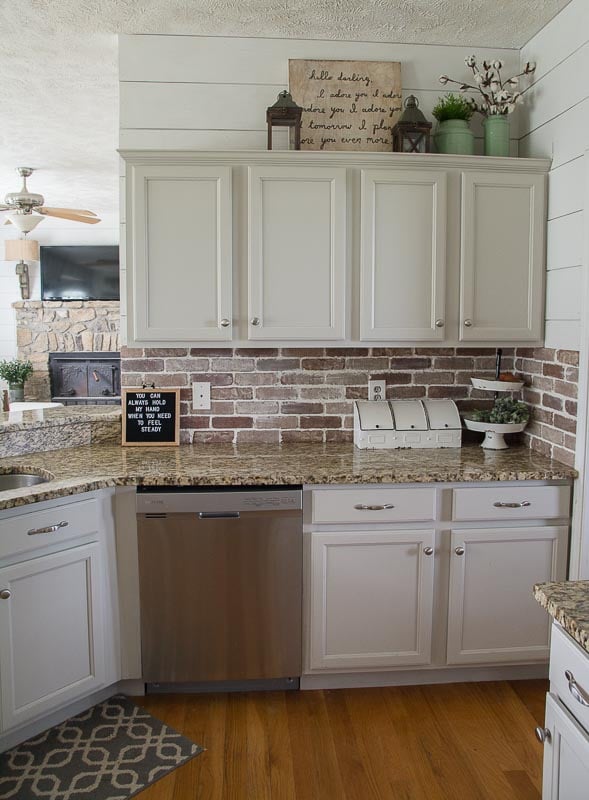
I picked Rushmore, a pretty uniform gray brick and Castle Gate, a red brick that had more variation. I liked the depth the two colors added and since my countertops are a fairly “busy” granite pattern I thought the different tones helped meld the look better.
Aside from the brick the other materials needed are an adhesive to secure your brick to the wall, a way to cut the brick (a tile cutter or angel grinder), and grout. I get more in depth about these products when I explain the install, but you can see this is a fairly short supply list for a project that packs a big design punch.
Install
I am, of course, not a professional. I am a novice DIYer with intermediate skills, so there may be better ways to do this, but I am going to share with you what worked for me. I found the brick installation to be quite easy. Time consuming? Yes, a bit. But this is not a difficult project. The brick is easy to work with and allows room for error. Compared with tile, this is a much easier project, great for those new to home improvement projects!
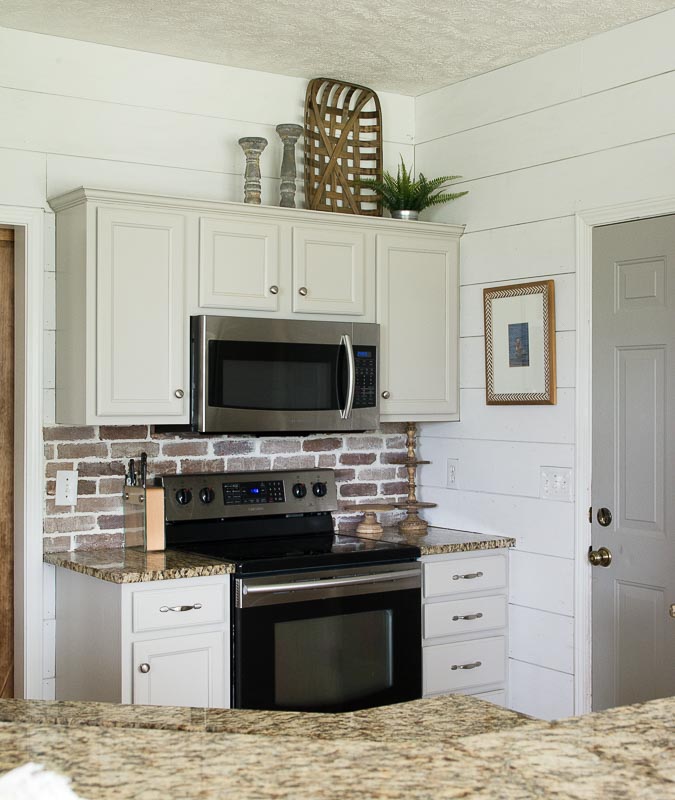
After measuring my space and ordering what I needed I had to work out a game plan. Fortunately, our countertop sits flush with the wall without an extra splash guard leading up the wall, otherwise we would have needed to remove that piece. I started on the left side of the wall because right away I was going to have to deal with two outlets so I thought it was best to get the math out of the way. Starting from the bottom and working my way up I started to map out the brick. My bricks are spaced roughly a half inch apart. I made a spacer to help me as a guide but after I had my first few bricks down I really just eyeballed it.
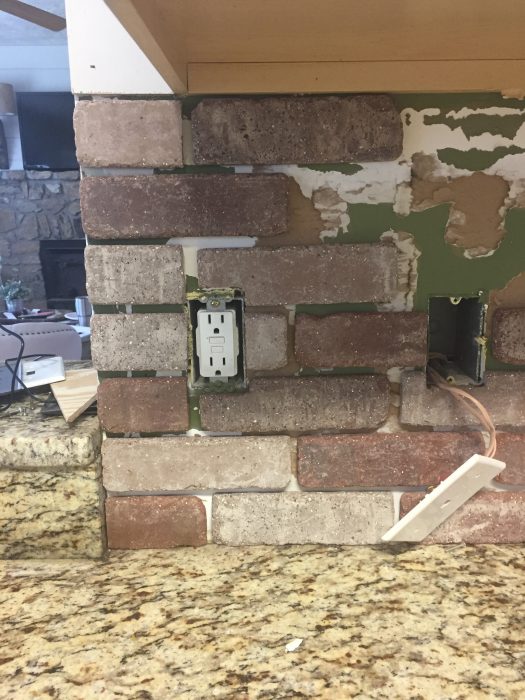
One thing to mention, when working around outlets be careful not to brick over any of the hardware, if you do you will not be able to unscrew this plate and add spacers to extend it to be able to meet your brick and you will not be able to add your outlet covers back on. Just be mindful when you place things and you will have no problems!
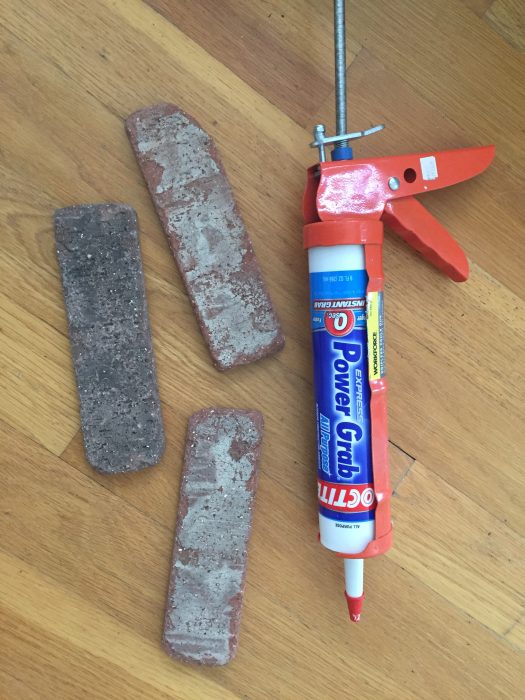
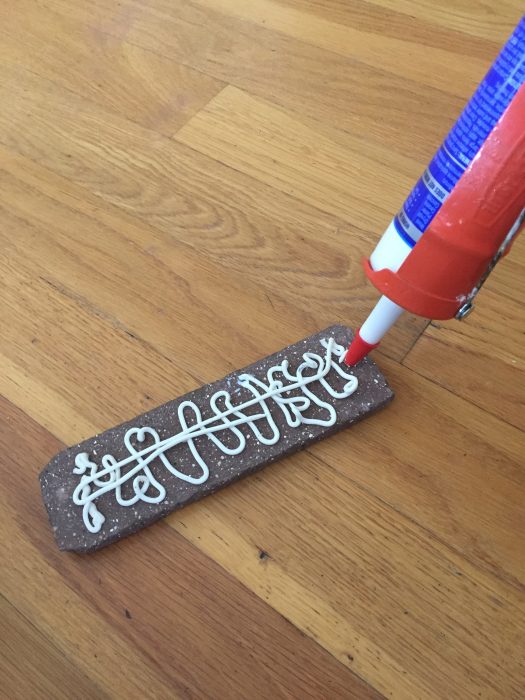
To secure the brick to the wall I used super heavy duty glue. I used Loctite Express Power Grab All Purpose Interior Construction Adhesive. This stuff is amazing, it does a great job of securing the brick and I felt completely comfortable using it. I secured my glue in a caulk gun and put glue really liberally on the back of a piece of brick then with my palm flat against the brick I pressed down evenly for a few seconds and the brick was secured. If you find that you placed it a little crooked or maybe you need to swap it for a different color brick you have about five minutes to move it before it is completely stuck to the wall, so there is room for trial and error, which makes this perfect for a beginner project.
Once you get going this goes pretty quickly the one thing that slows you down a bit are the outlets. Don’t let the outlets scare you! These pavers were very easy to work with and cut nicely without crumbling. I did try to use a tile cutter we have, a basic tile cutter where you score the tile/brick then press and it cuts it in half, however it only did an okay job and couldn’t cut corners out of the brick like I needed it to for some of the outlets. So my recommendation is to buy an inexpensive angle grinder, this is the one I have and it worked like a charm. And outfit it with a diamond blade, all together you are looking at about a $35 investment for the grinder and the blade and you are able to make EASY and precise cuts and it goes SO much faster. Once you see how handy an angle grinder is you will think of lots of other projects for it 😉 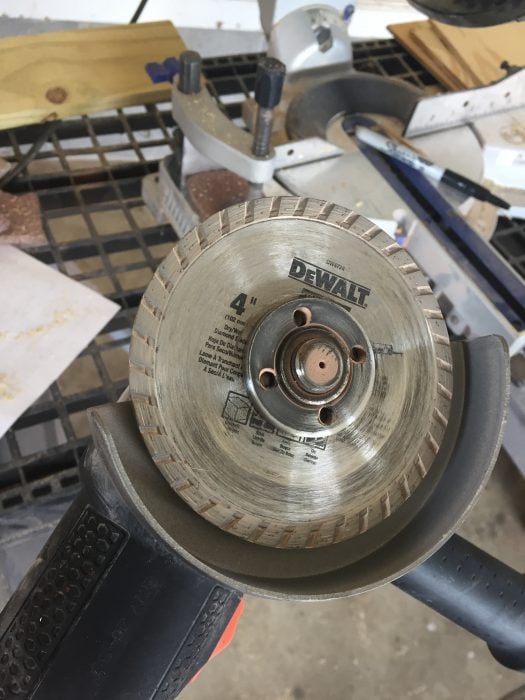
When I needed to use my grinder I just measured and marked my cut lines on the back of the paver with a sharpie so I would have clear guide while I cut. Just secure your brick with a clamp, cut your grinder on and carefully apply even pressure as you move down your cut lines. It really is as easy as it looks. Just be sure to wear a mask so you do not inhale the brick dust and eye protection in case any fragments scatter when making your cuts. Note: My brick is clamped to my chop saw in the photo below. This was just the easiest way for me to secure the brick.
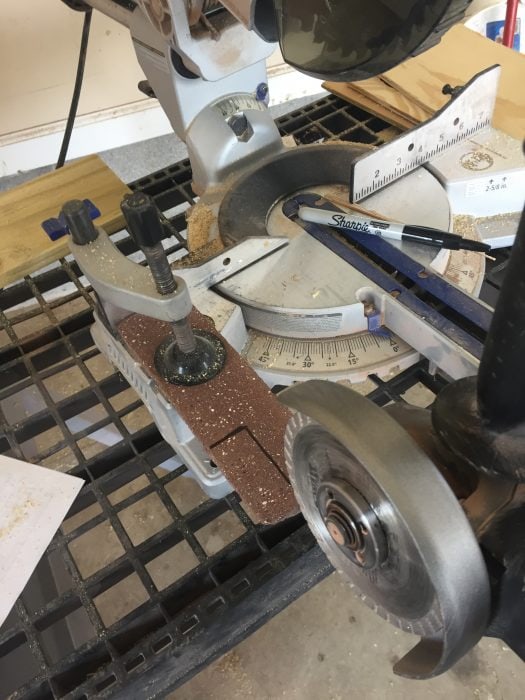
The angle grinder allows for nice controlled cuts with minimal effort. Just make sure you mark and cut from the back of the brick, not the front so if any chipping occurs it will be on the hidden side, not the front.
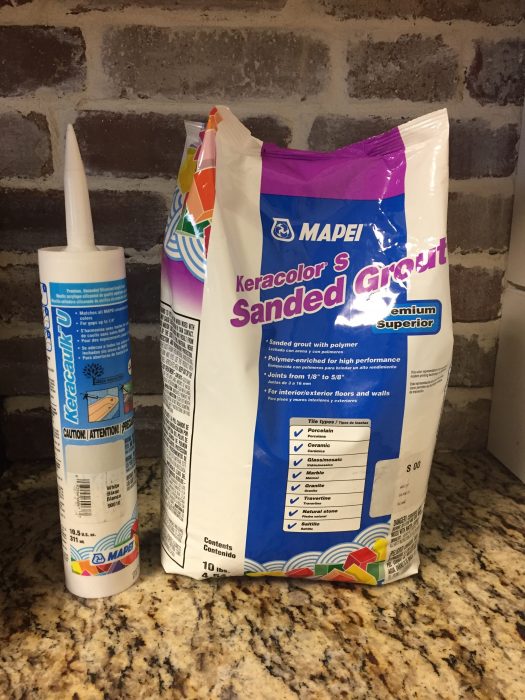
Once all the brick is up it’s time to grout! I used solid white sanded grout. You can choose any color you like, but you definately need to grab sanded grout verses unhanded grout. Sanded grout is what you use for nice big joints, unsanded grout is what you would use for very tightly spaced tile. I just bought a bag and a five gallon bucket with a lid and mixed it in two different batches. Be sure to place your lid on your bucket when you aren’t using your extra grout so it doesn’t dry out. You can mix this by hand, but if you want to make this a lot easier just get an inexpensive mixer attachment for your drill and this will combine the grout very quickly. Once my grout was mixed I shoveled it into a grout bag (this is like a heavy duty piping back for frosting, ha) and pipe the grout right in between the brick. Just like frosting a cupcake!
If you have never handled sanded grout it is just like it sounds, wet sand, haha. I let my grout sit for about twenty minutes before I went back over it with a piece of small scrap wood to even it out a little. You might notice when you apply the grout that little “bubbles or bumps” form in your grout and thats okay, it is just from extra air being in your bag, and this will smooth out just fine. The finishing touch was to extend our outlets so we could add our outlet covers back on. We used these small plastic spacers from Lowes.
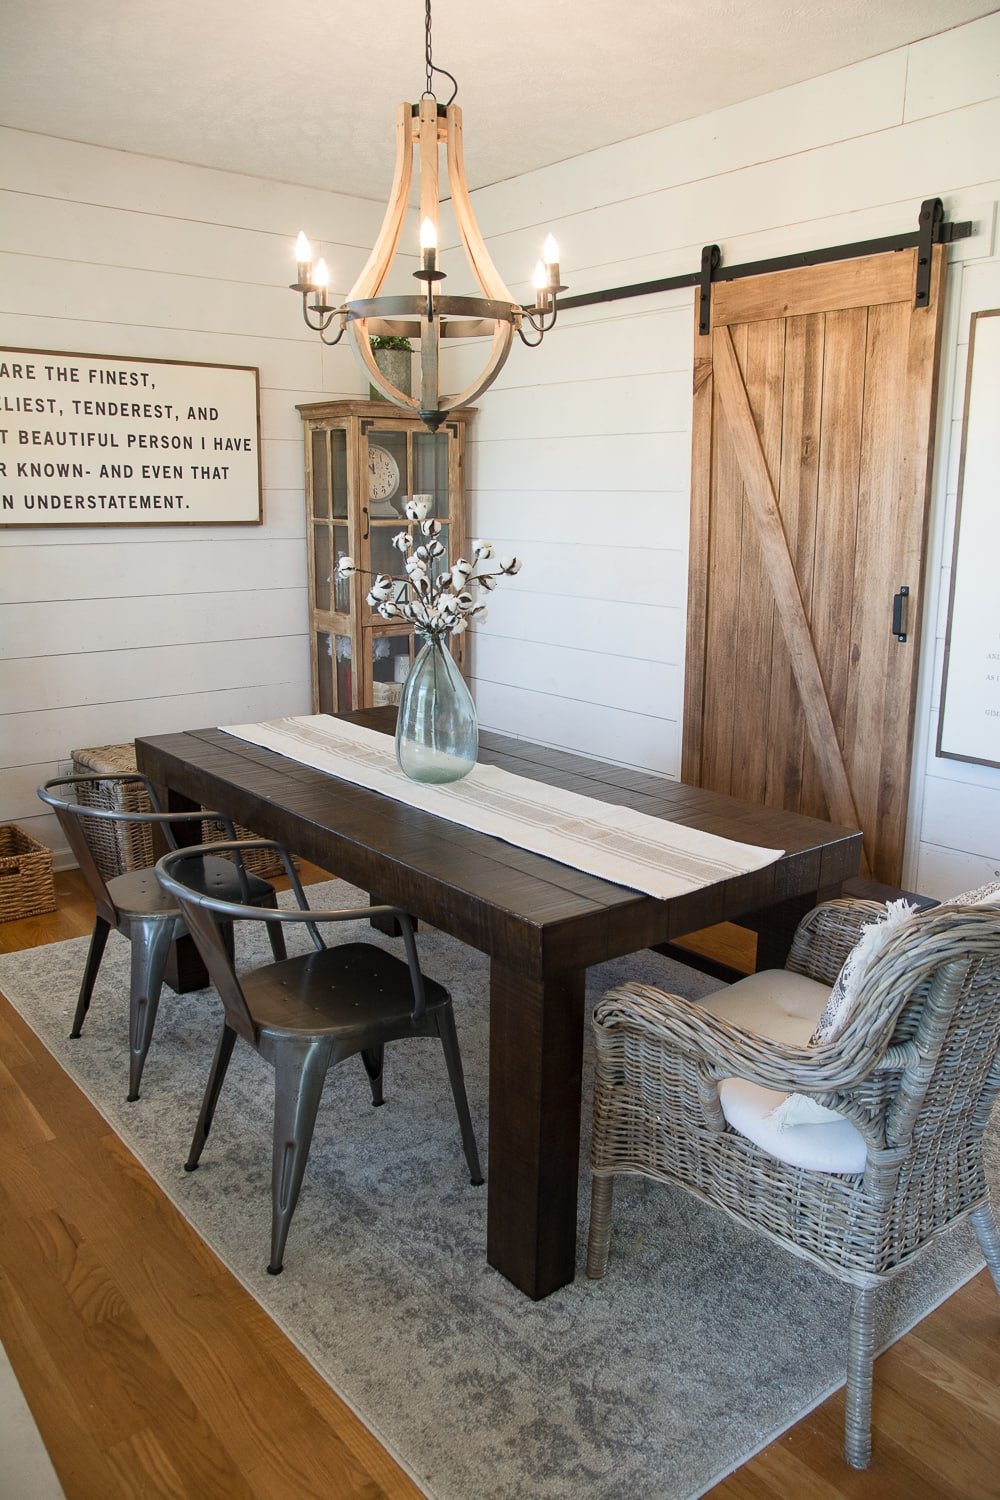
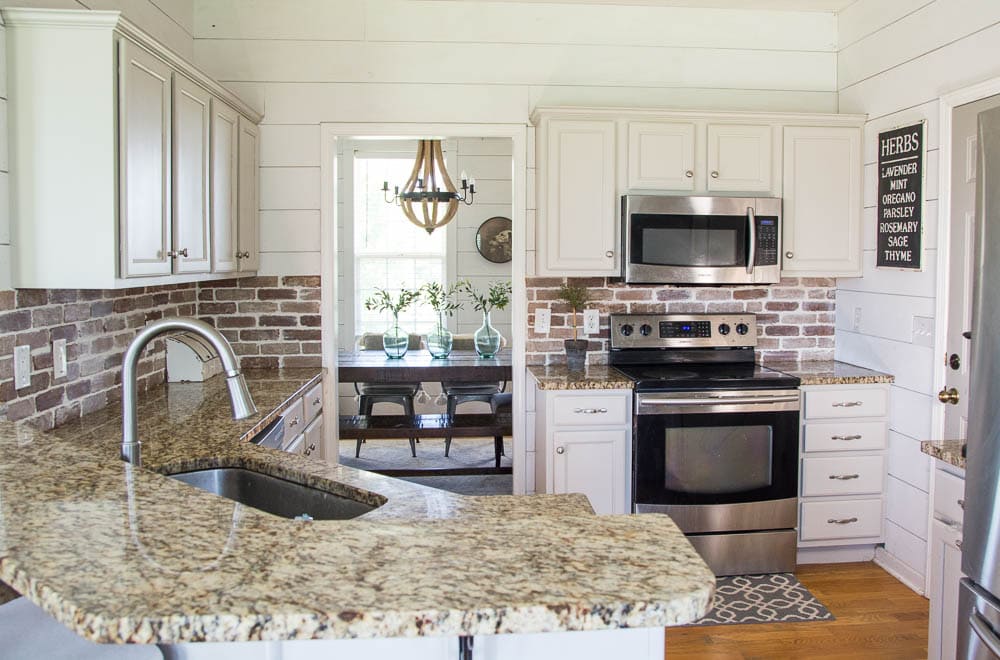
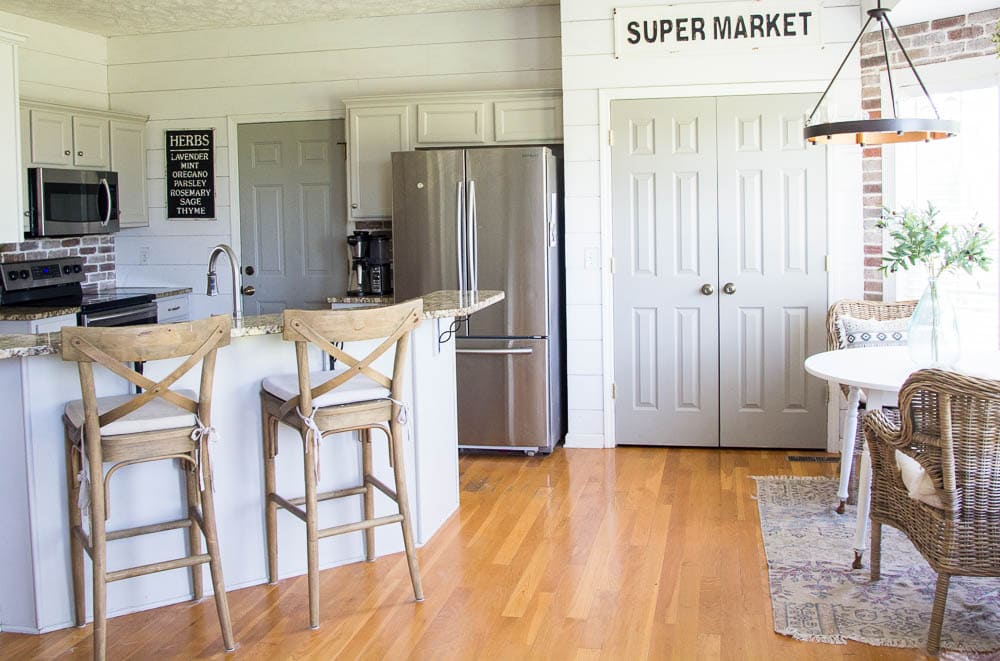
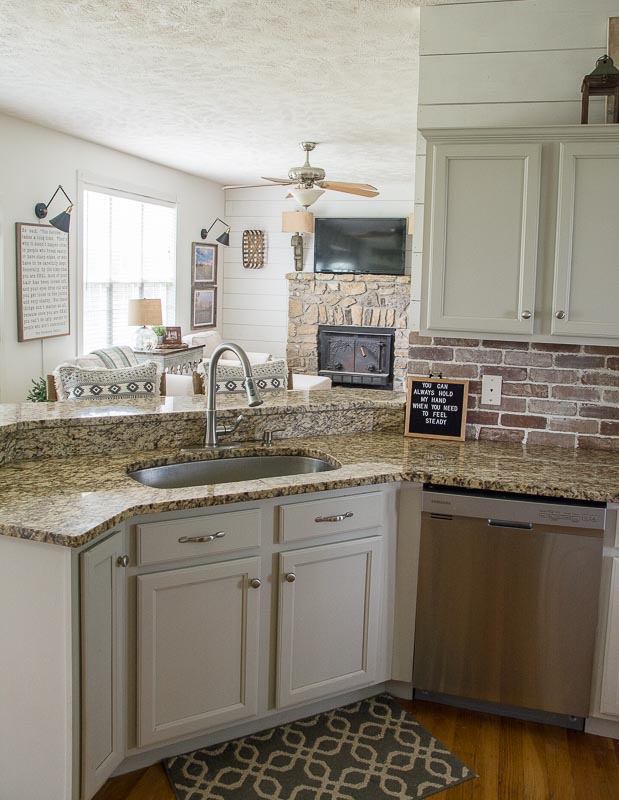
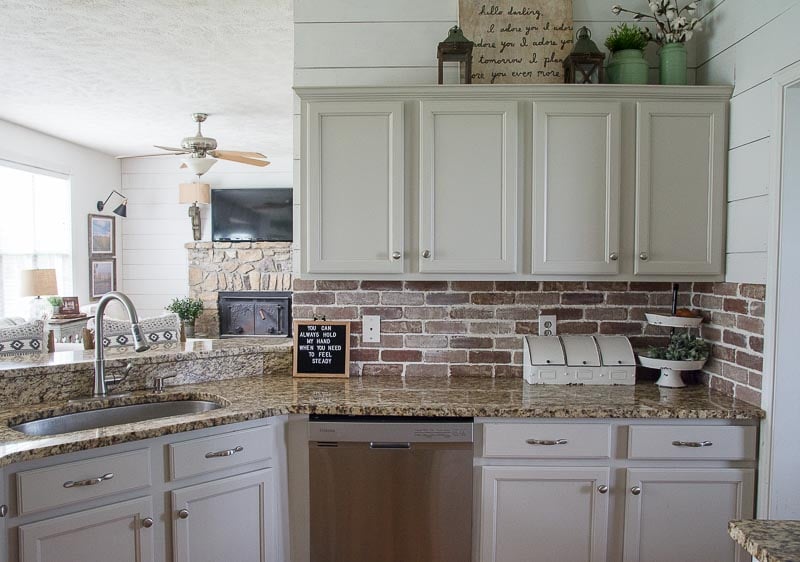
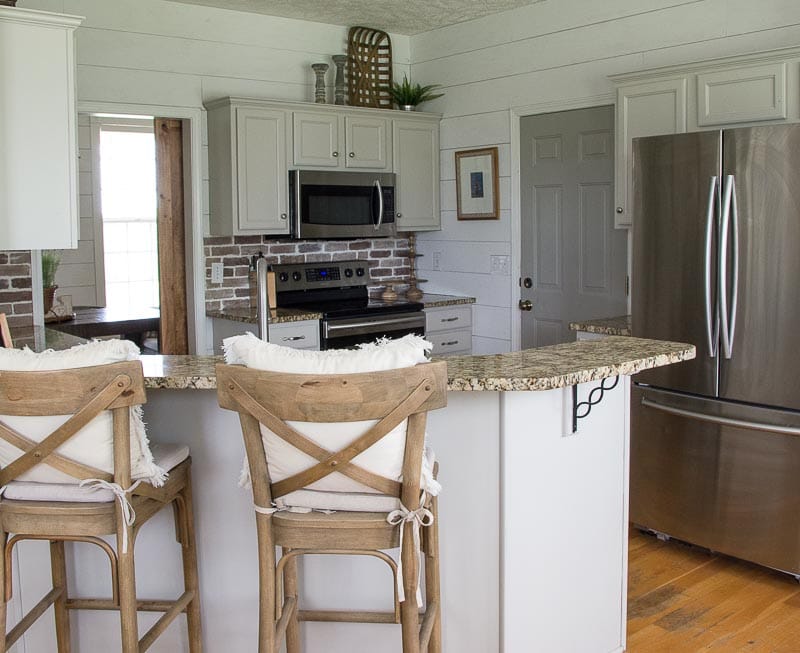
I love the charm the brick adds, I was SO close to going with subway tile or a white herringbone tile but in the end I think the brick is just what our kitchen needed. If you are thinking of trying it, but a little nervous this is an easy project that allows for error. One of the great things about brick is that it is not completely uniform and perfect so little mistakes work in its favor and add character. If you do try it be sure to share with us on Facebook or Instagram, I would LOVE to see your work!

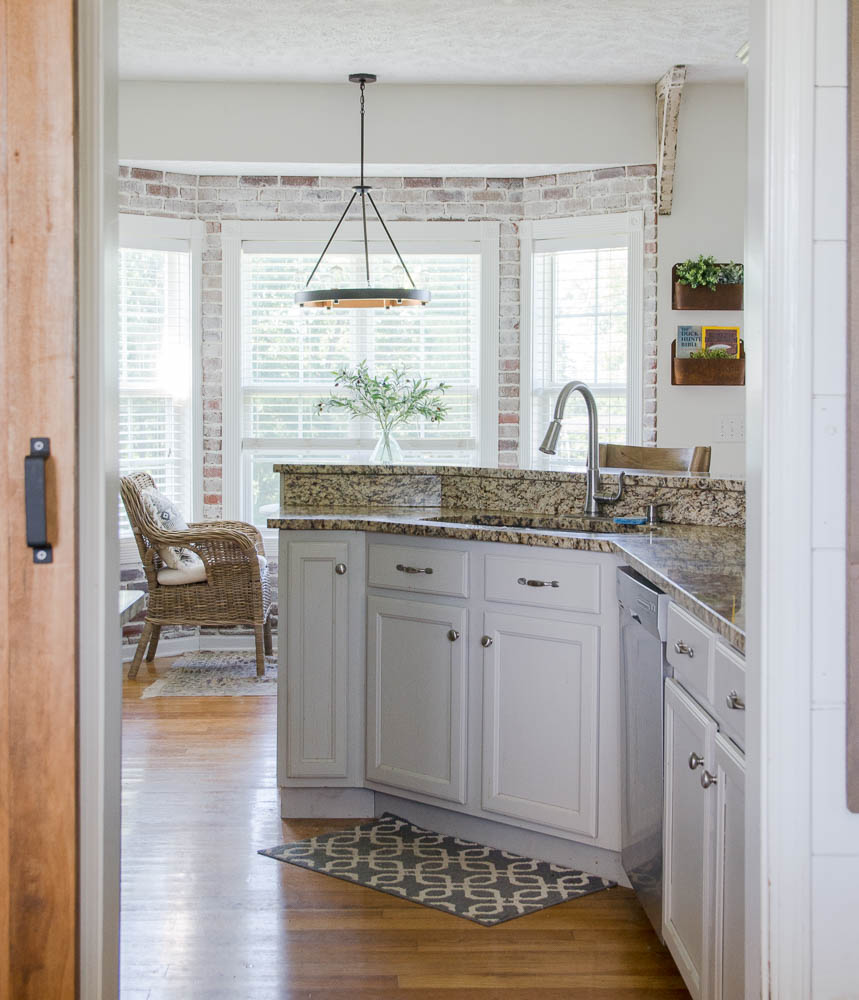
The Finished Product
Sources:
Loctite Express Power Grab All Purpose Interior Construction Adhesive
Castle Gate Color Brick Pavers
Mixer attachment (optional, but much easier)
Some of the products I used:

![]()

![]()

![]()

![]()
Other DIY Projects