Gluten-Free Sugar Cookies
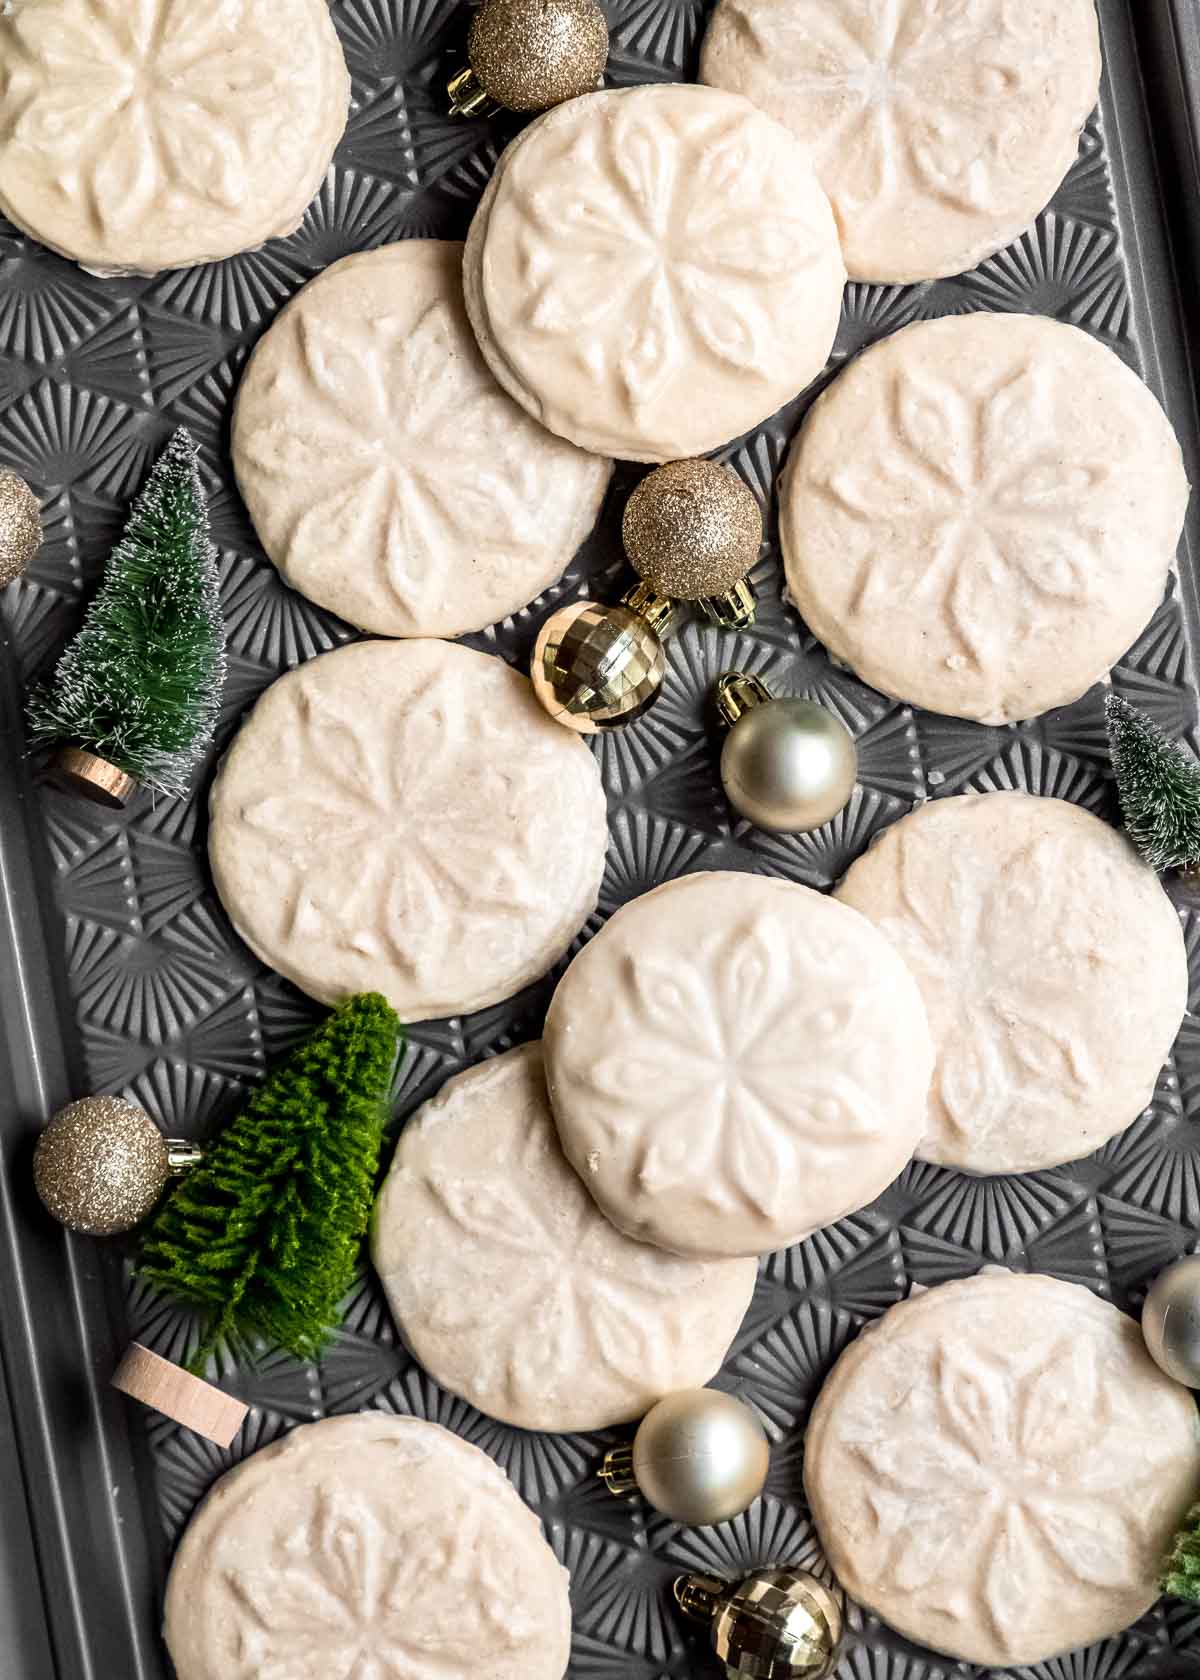
These gluten-free sugar cookies are perfect for holiday celebrations and gift-giving! Stamp and glaze them for an easy, festive dessert recipe that everyone will love.
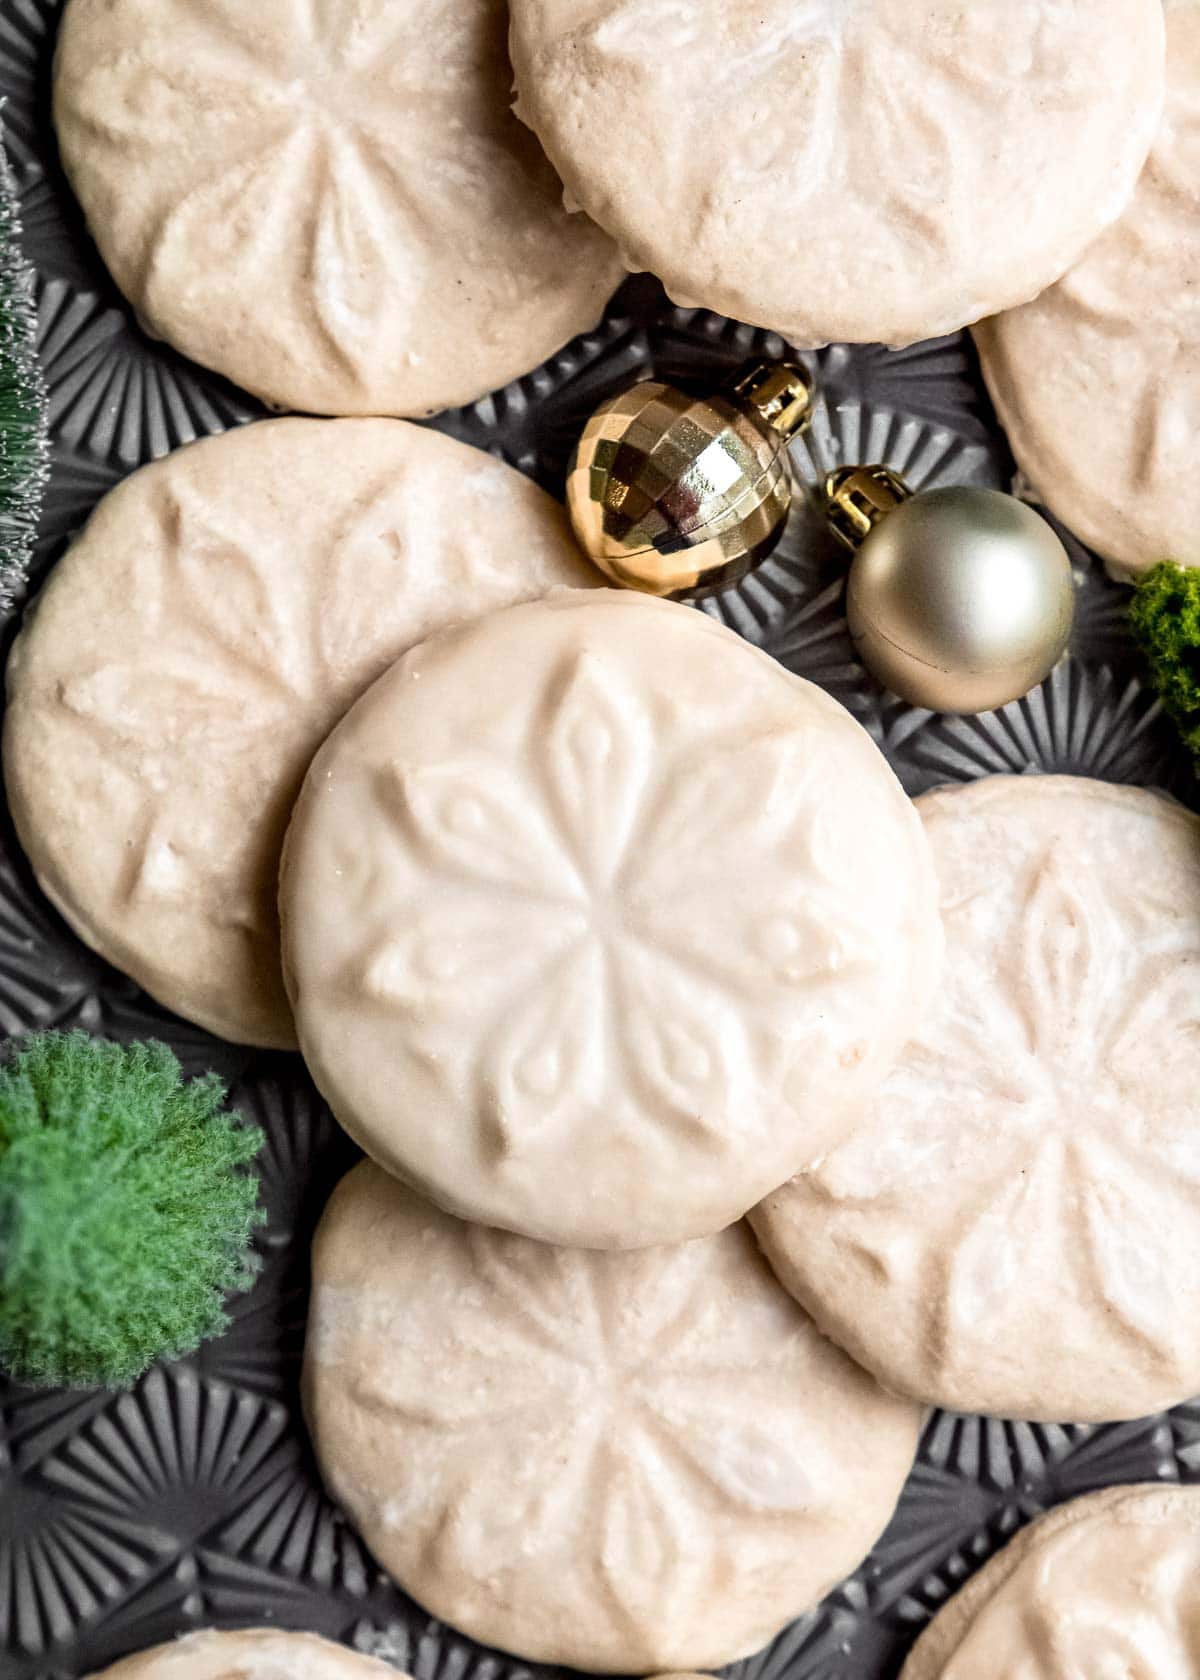
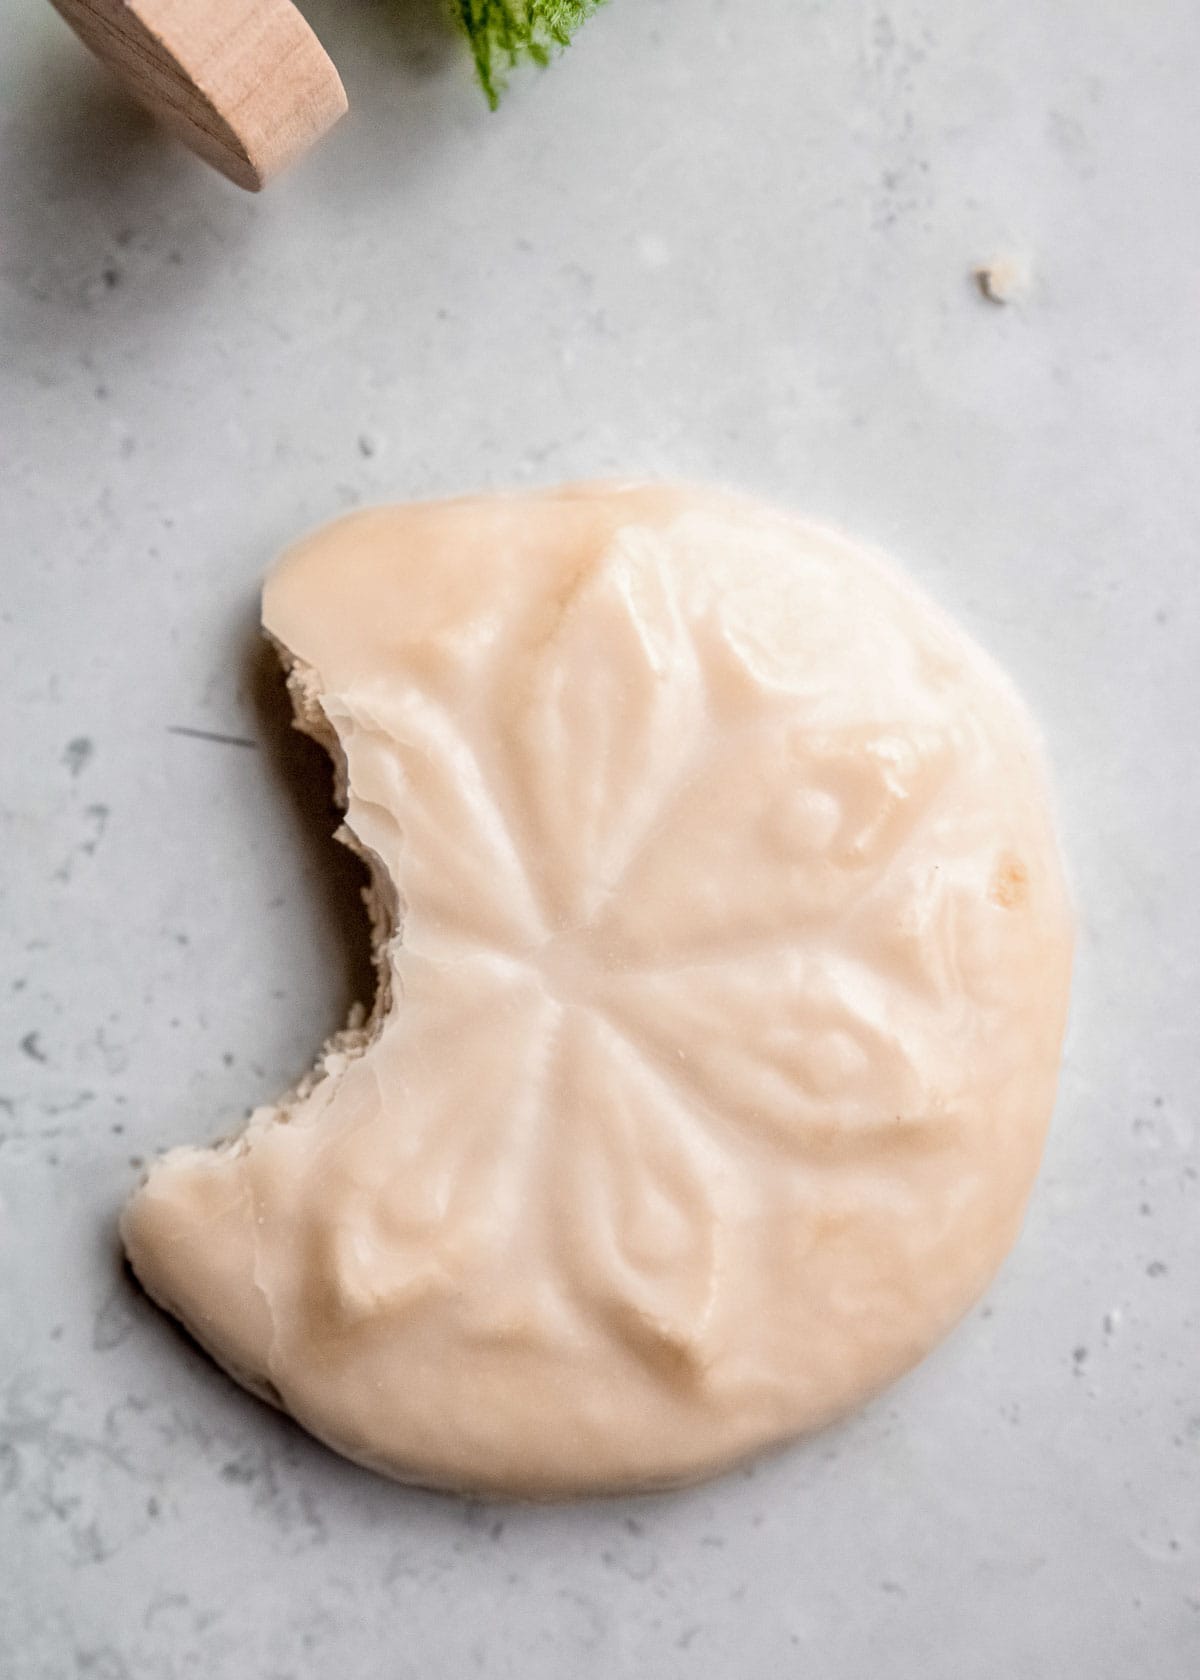
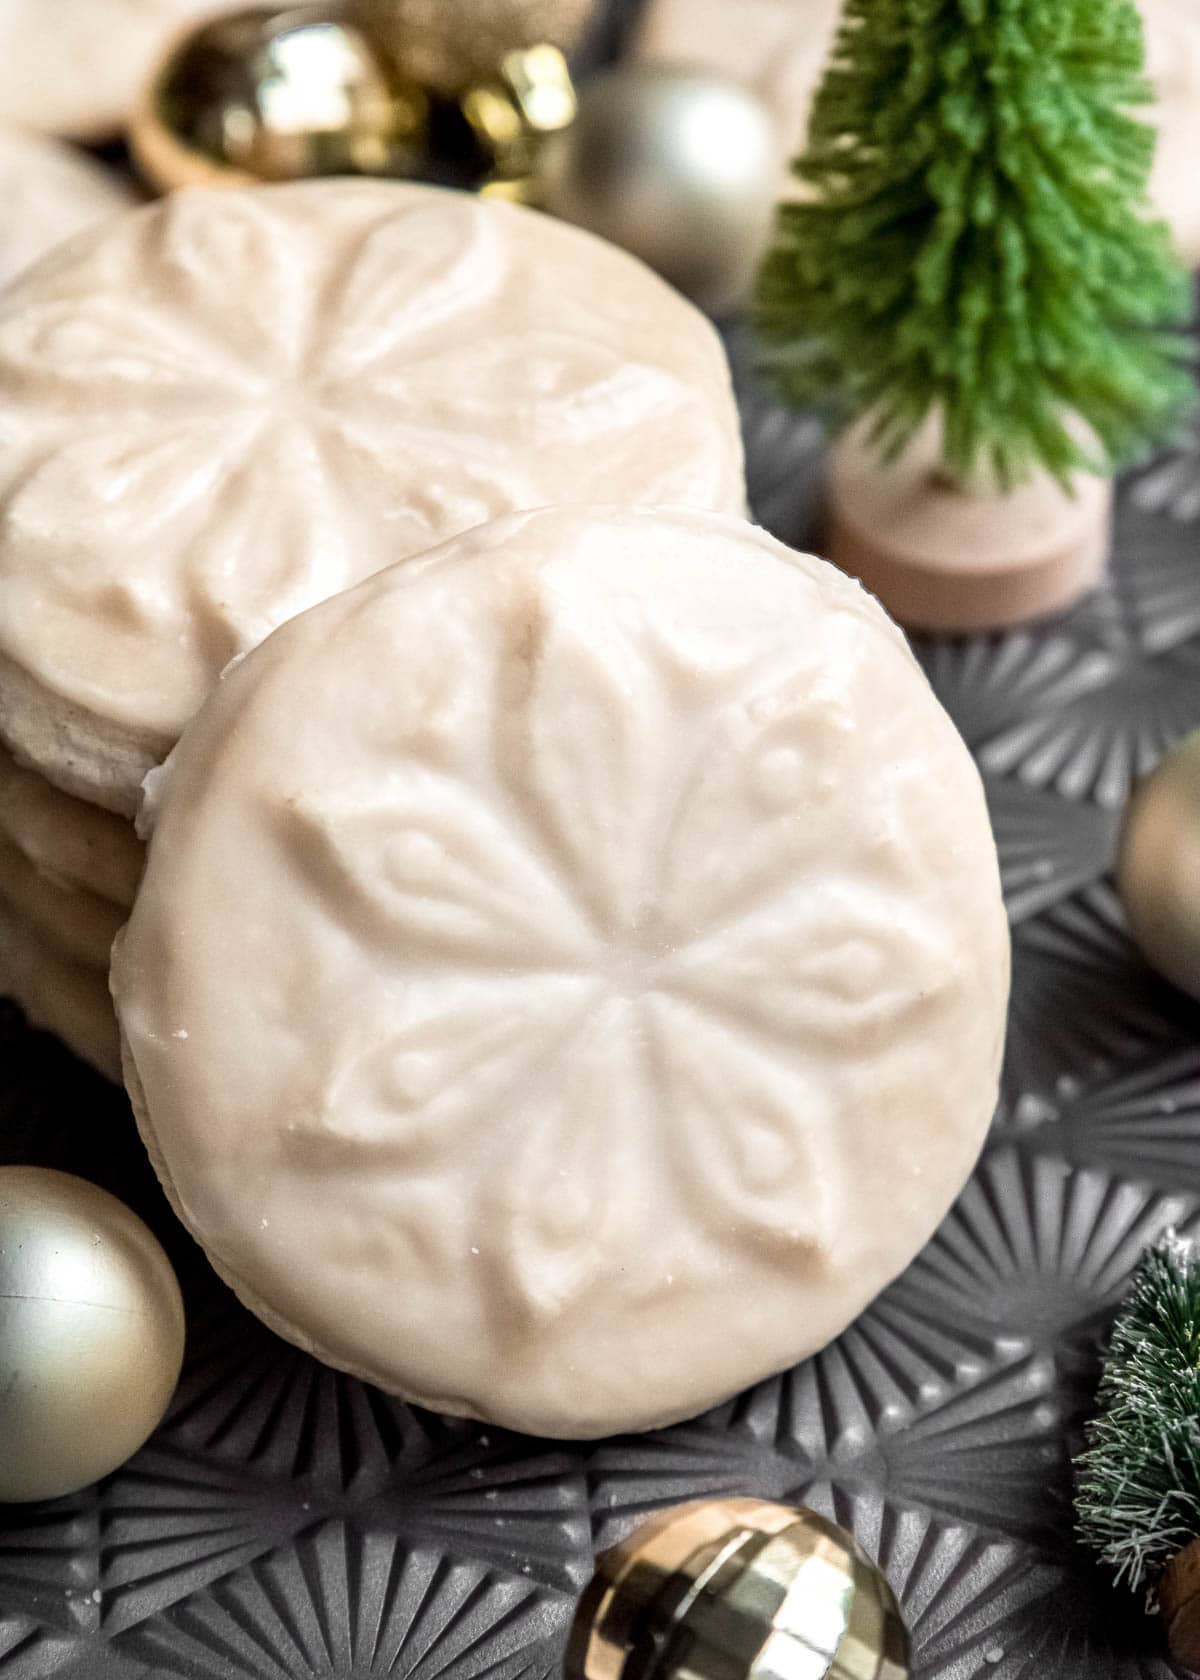
These amazing Gluten-Free Sugar Cookies are perfectly chewy, soft, and delicious! You can easily stamp and glaze these for gorgeous, giftable cookies that will be a favorite at your next cookie exchange. These are a huge hit at parties and get-togethers, and nobody even realizes they’re gluten-free!
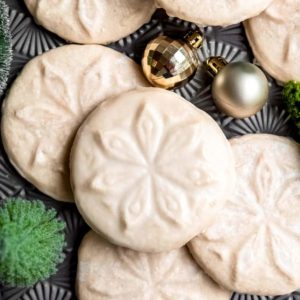
You only need 6 ingredients for these beautiful cookies. The simple glaze gives these a finished, professional look without adding a ton of work for you. Once the glaze has time to set, these cookies stack perfectly in boxes for delicious gifts everyone will love! They travel well, making them the perfect choice to bring for all your holiday parties.

Ingredients for Gluten-Free Sugar Cookies
Here’s a quick overview of what you’ll need for this recipe. For exact measurements, scroll down to the printable recipe card at the bottom of the page.
- Unsalted butter – I’ve not tried any butter substitutes in this recipe. If you only have salted butter, you may want to leave out the additional salt in the dough.
- Sugar and Salt – You want granulated sugar for the correct texture. I’ve not tried any alternative sweeteners in this recipe, but I do imagine they would work fine if you’re trying to lower the carbs.
- Egg and Vanilla extract – I’ve not tried any egg substitutes in this recipe. The vanilla extract gives that classic sugar cookie flavor. If you prefer to try a lemon or almond extract instead, that could be great!
- 1:1 Gluten-free baking flour – I used Bob’s Red Mill brand. This mix is safe for those with celiac’s, wheat allergies, or gluten sensitivities.
- For the glaze: powdered sugar, cold water, more vanilla extract.
For this recipe, you’ll want mixing bowls, electric mixer, 3-inch cookie stamps (I used these), a baking sheet, parchment paper (or a silicone pan liner), and an oven.
How to Make Gluten-Free Sugar Cookies
This is a straight-forward recipe that will give you 12 beautifully-detailed gluten-free cookies! Here’s a step-by-step guide for this holiday recipe.
Prep
Start by lining a baking sheet with parchment paper or a silicone liner. Pour some gluten-free flour into a bowl and set aside. Measure out your ingredients and have them ready to go.
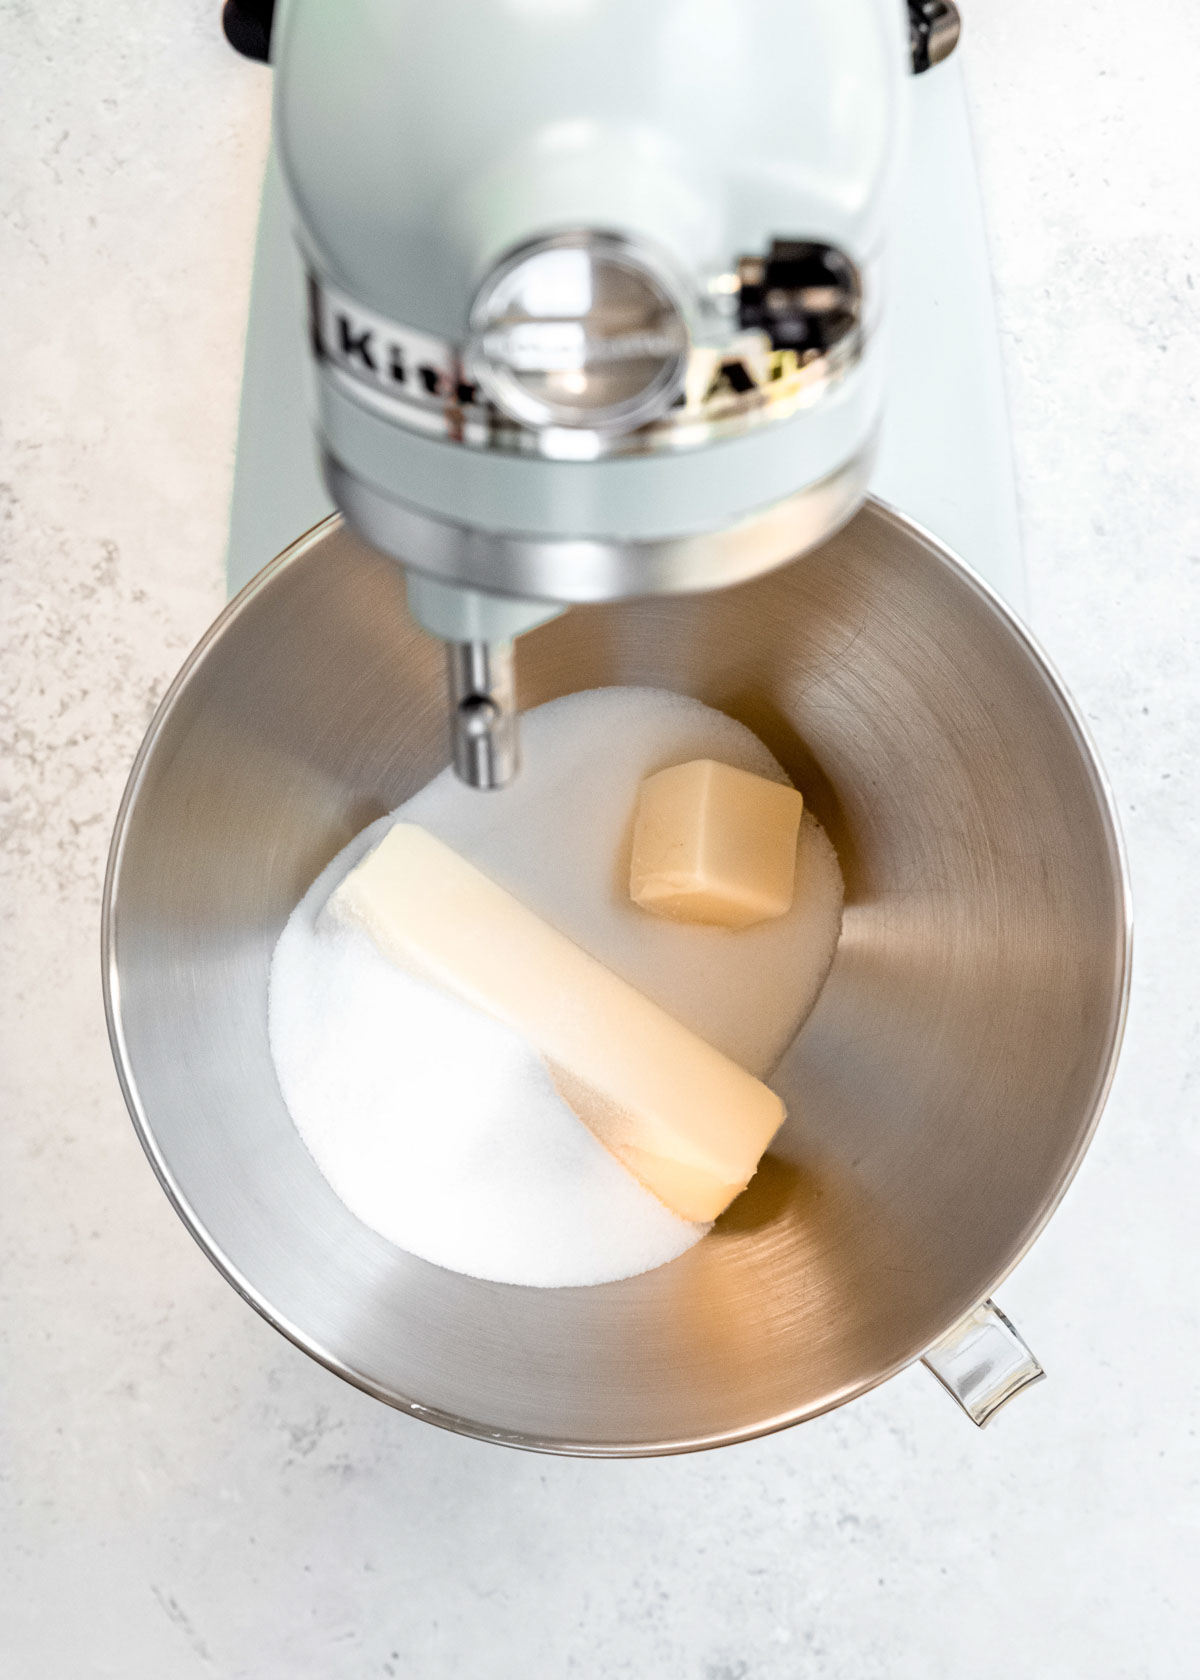
Cream sugar
In a mixing bowl, beat together the butter and sugar until light and fluffy. This will likely take about 1-2 minutes, but this helps to create the best cookie texture.
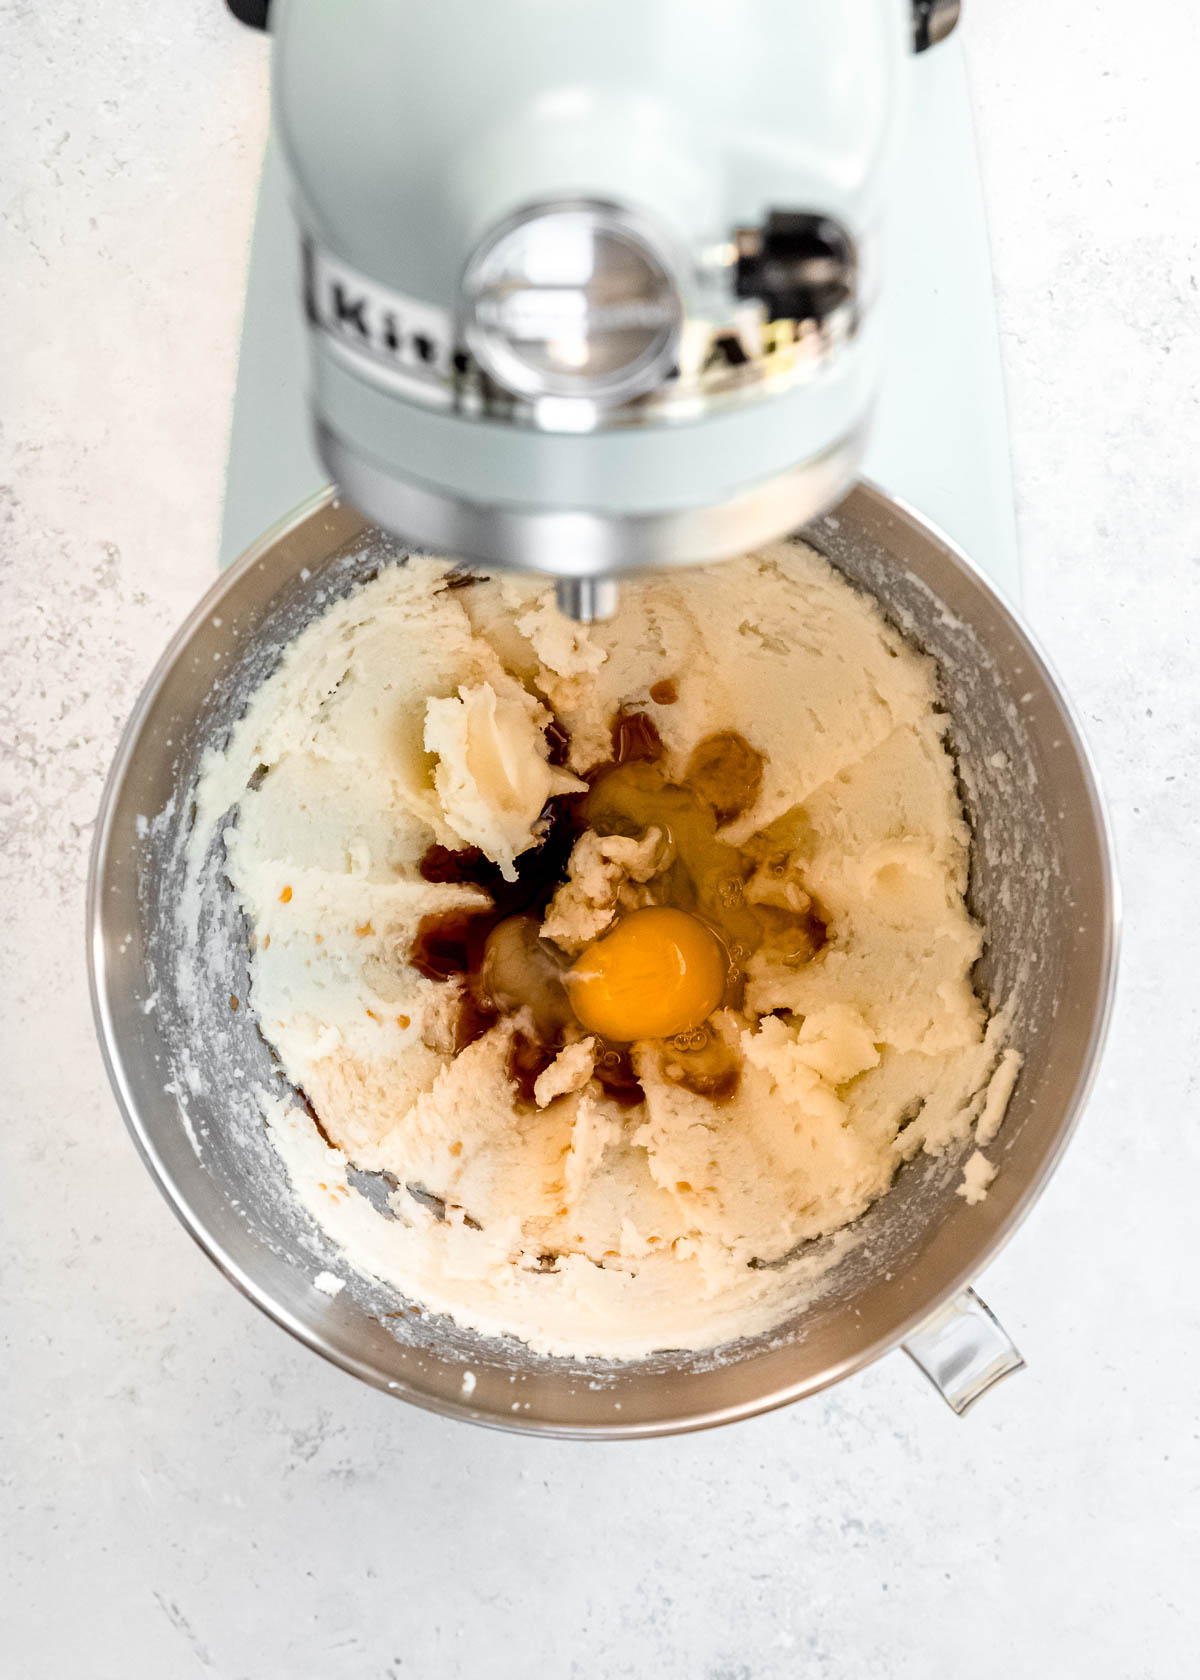
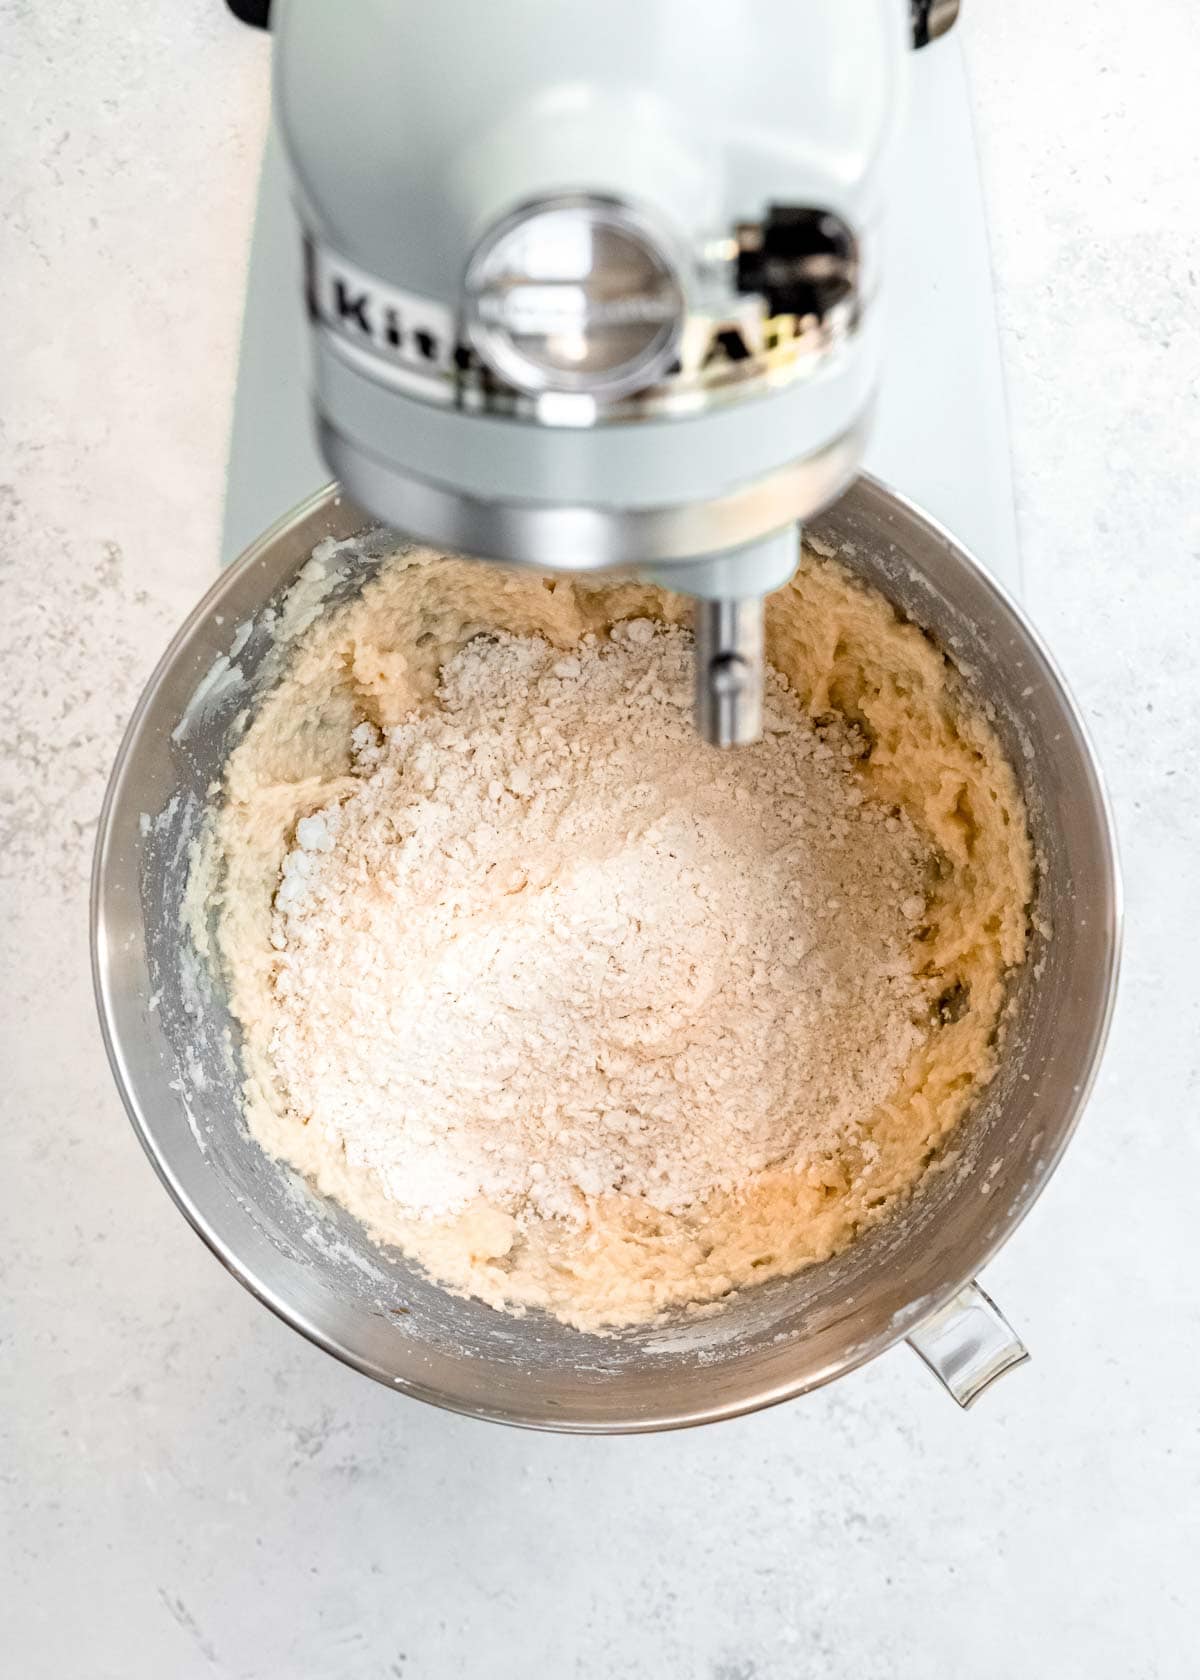
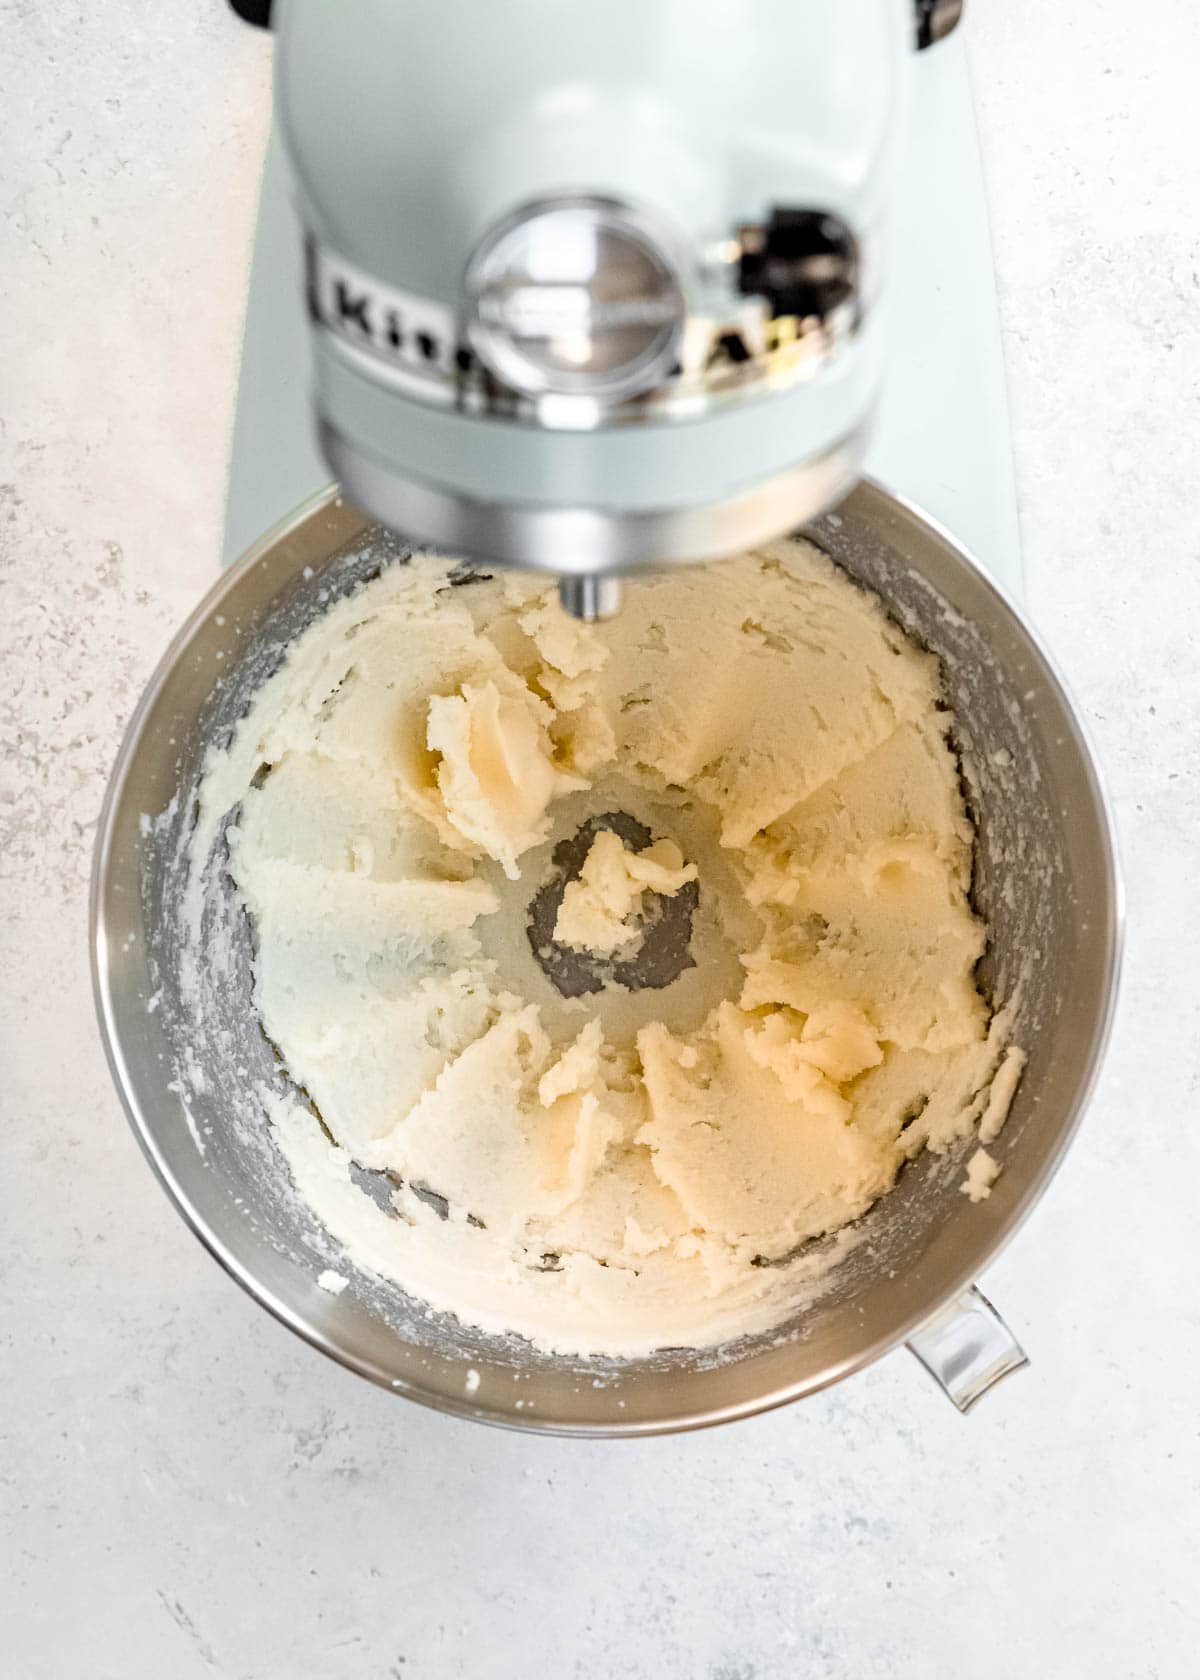
Make dough
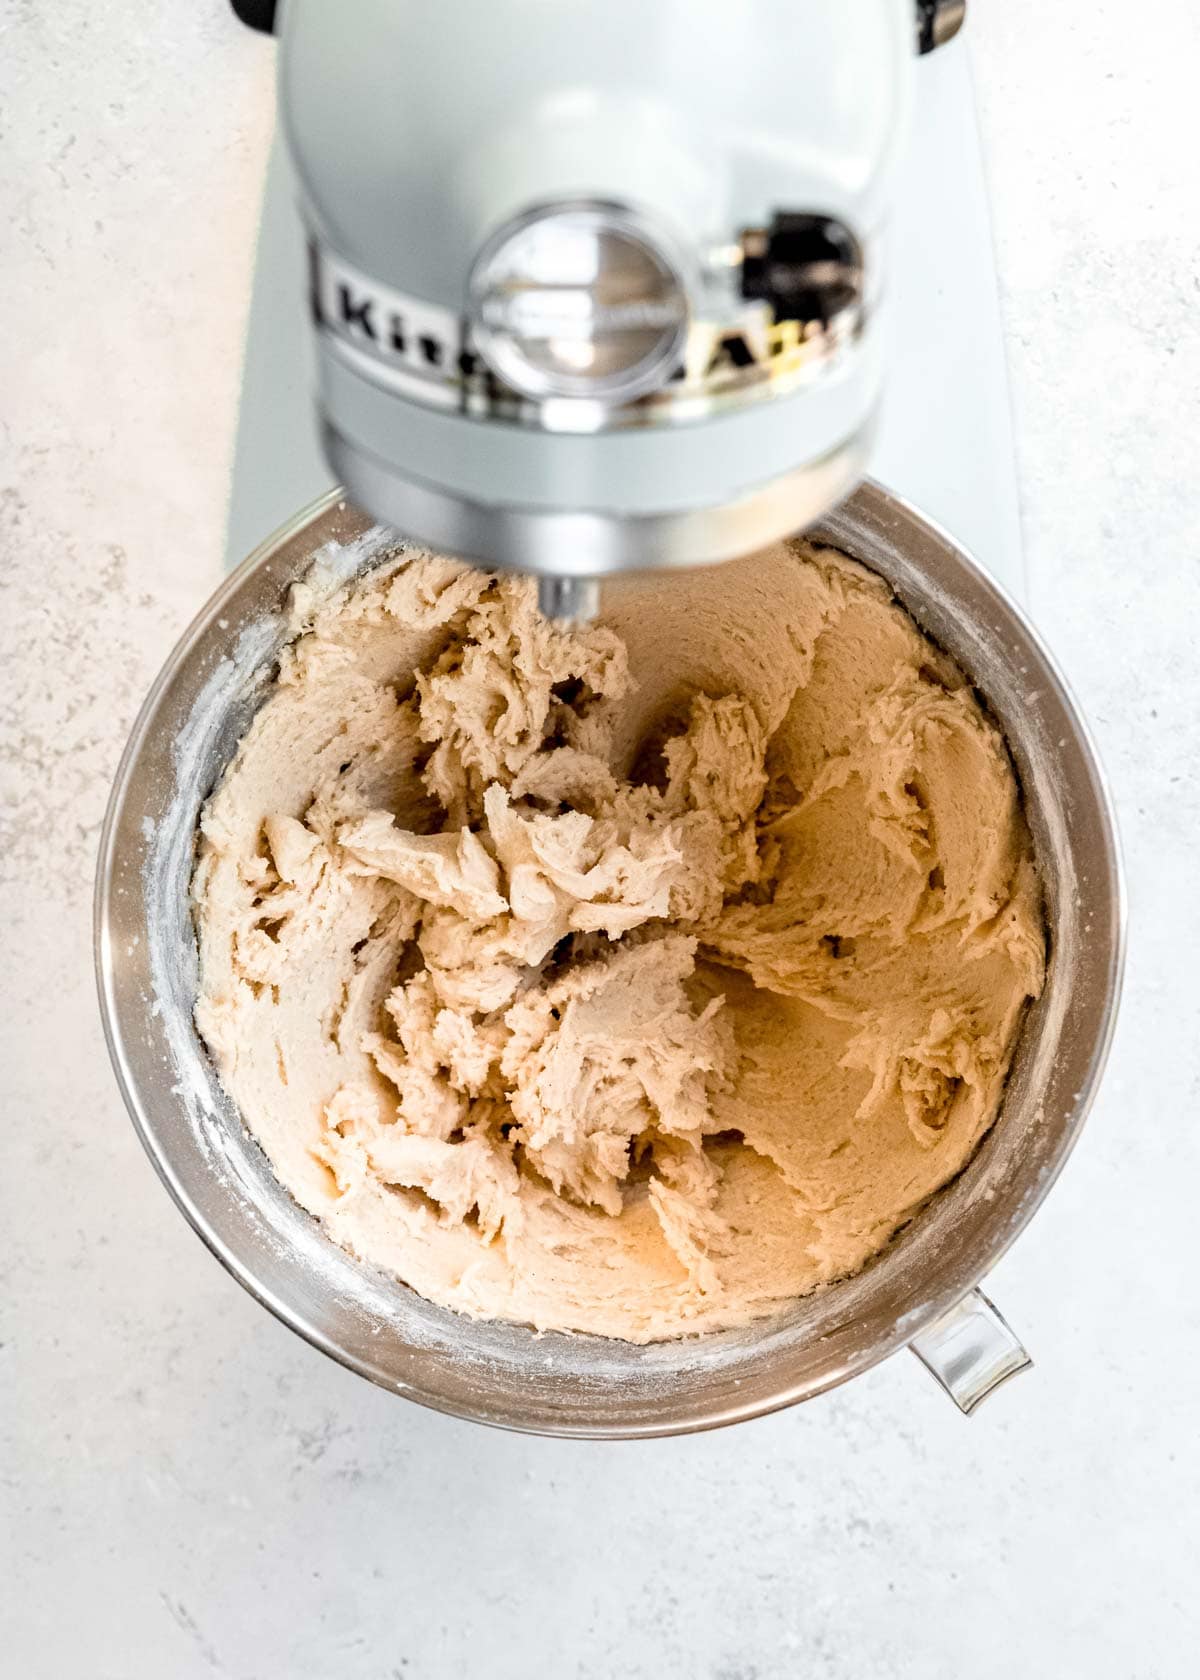
Add in the egg and vanilla extract, then mix until combined. Finally, add in the flour and salt and continue mixing on low speed. Once the mixture is well-combined, you can stop.
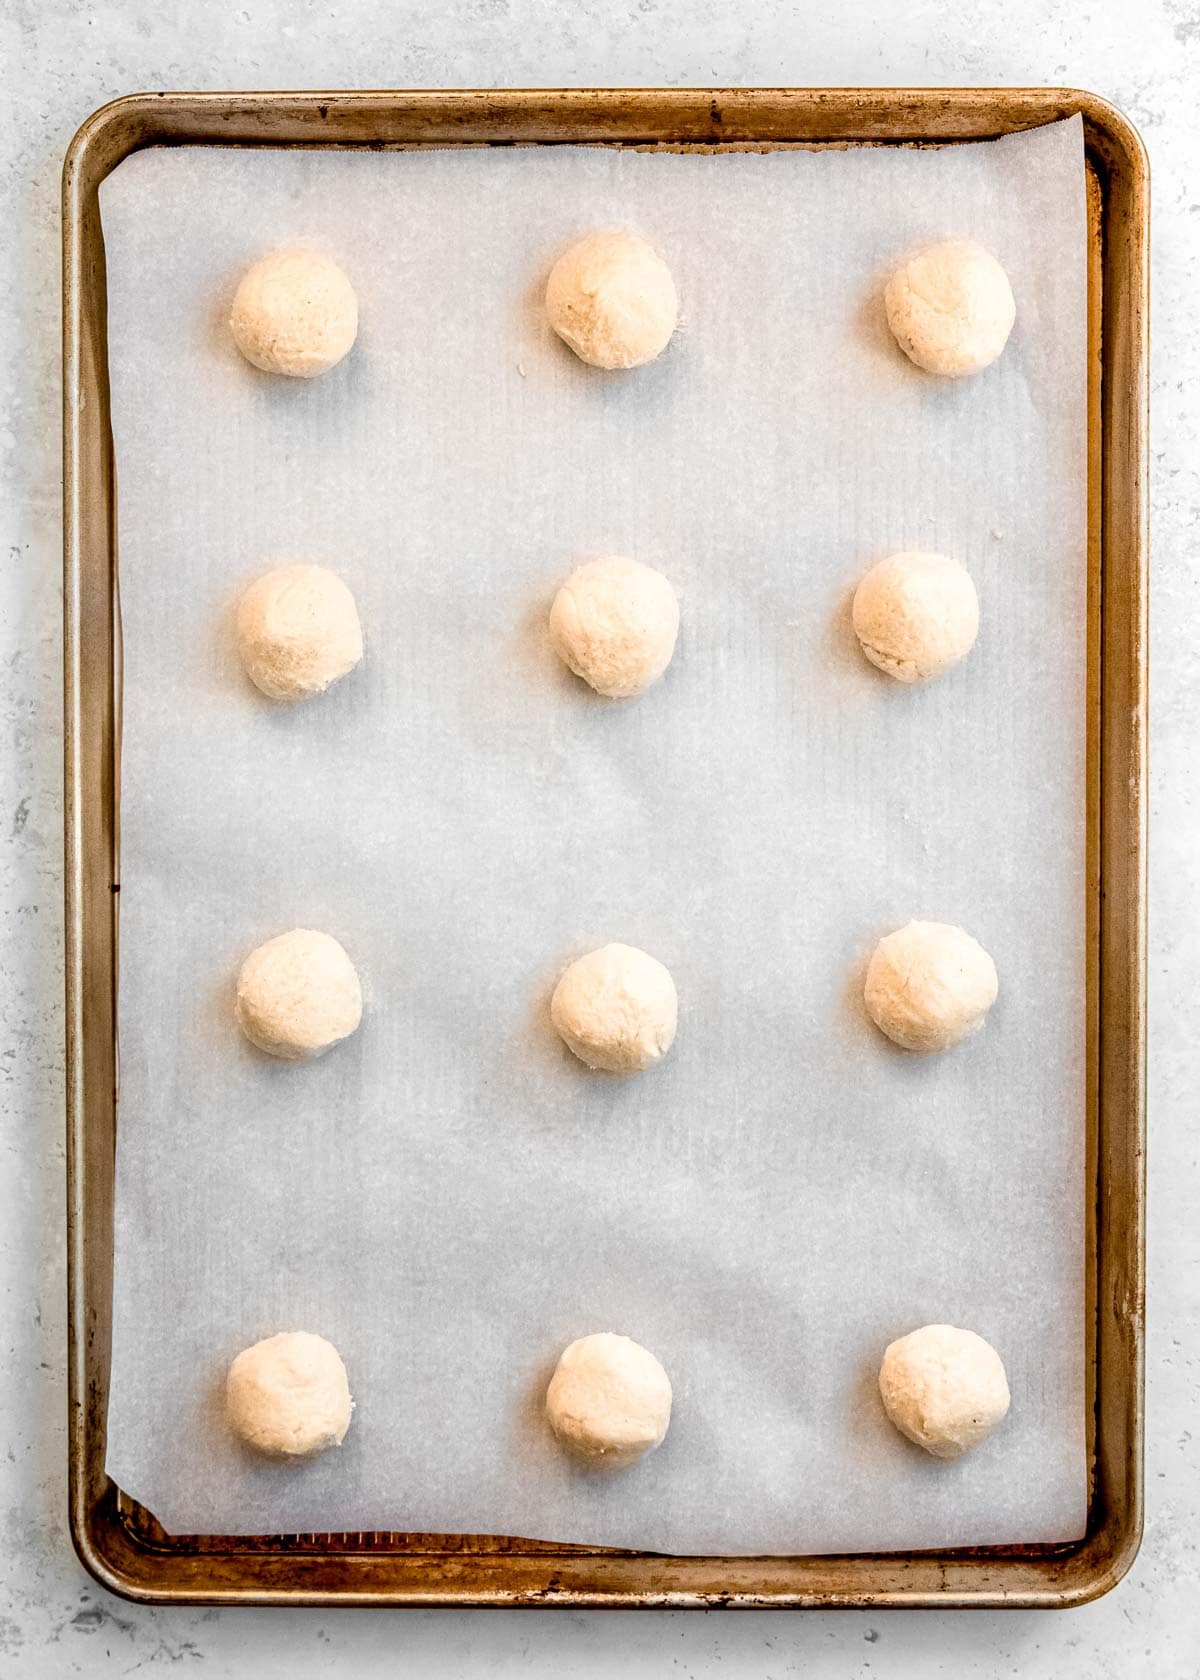
Roll
Scoop out about 2 1/2 tablespoons of dough and roll it into a ball. Place this on the prepared baking sheet, then continue with the rest of the cookie dough. You want to set the dough balls about 3 inches apart so they won’t spread to touch one another.
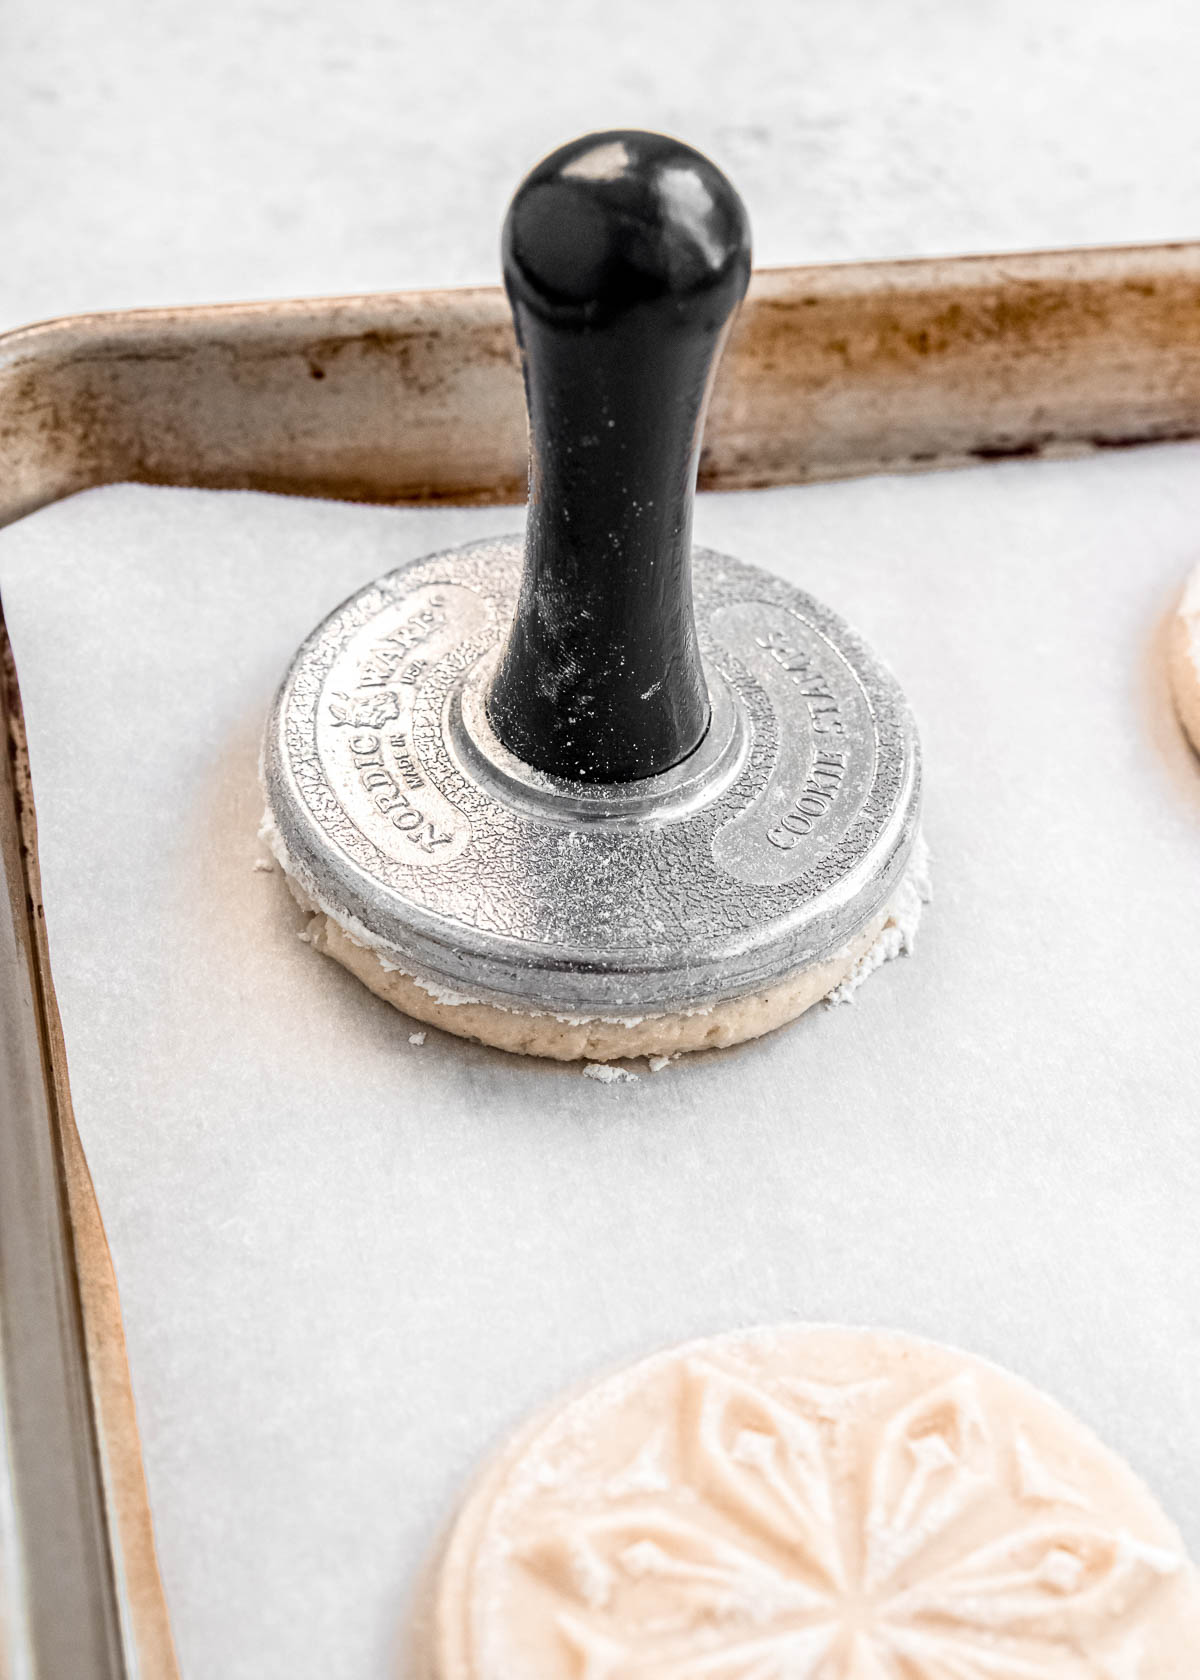
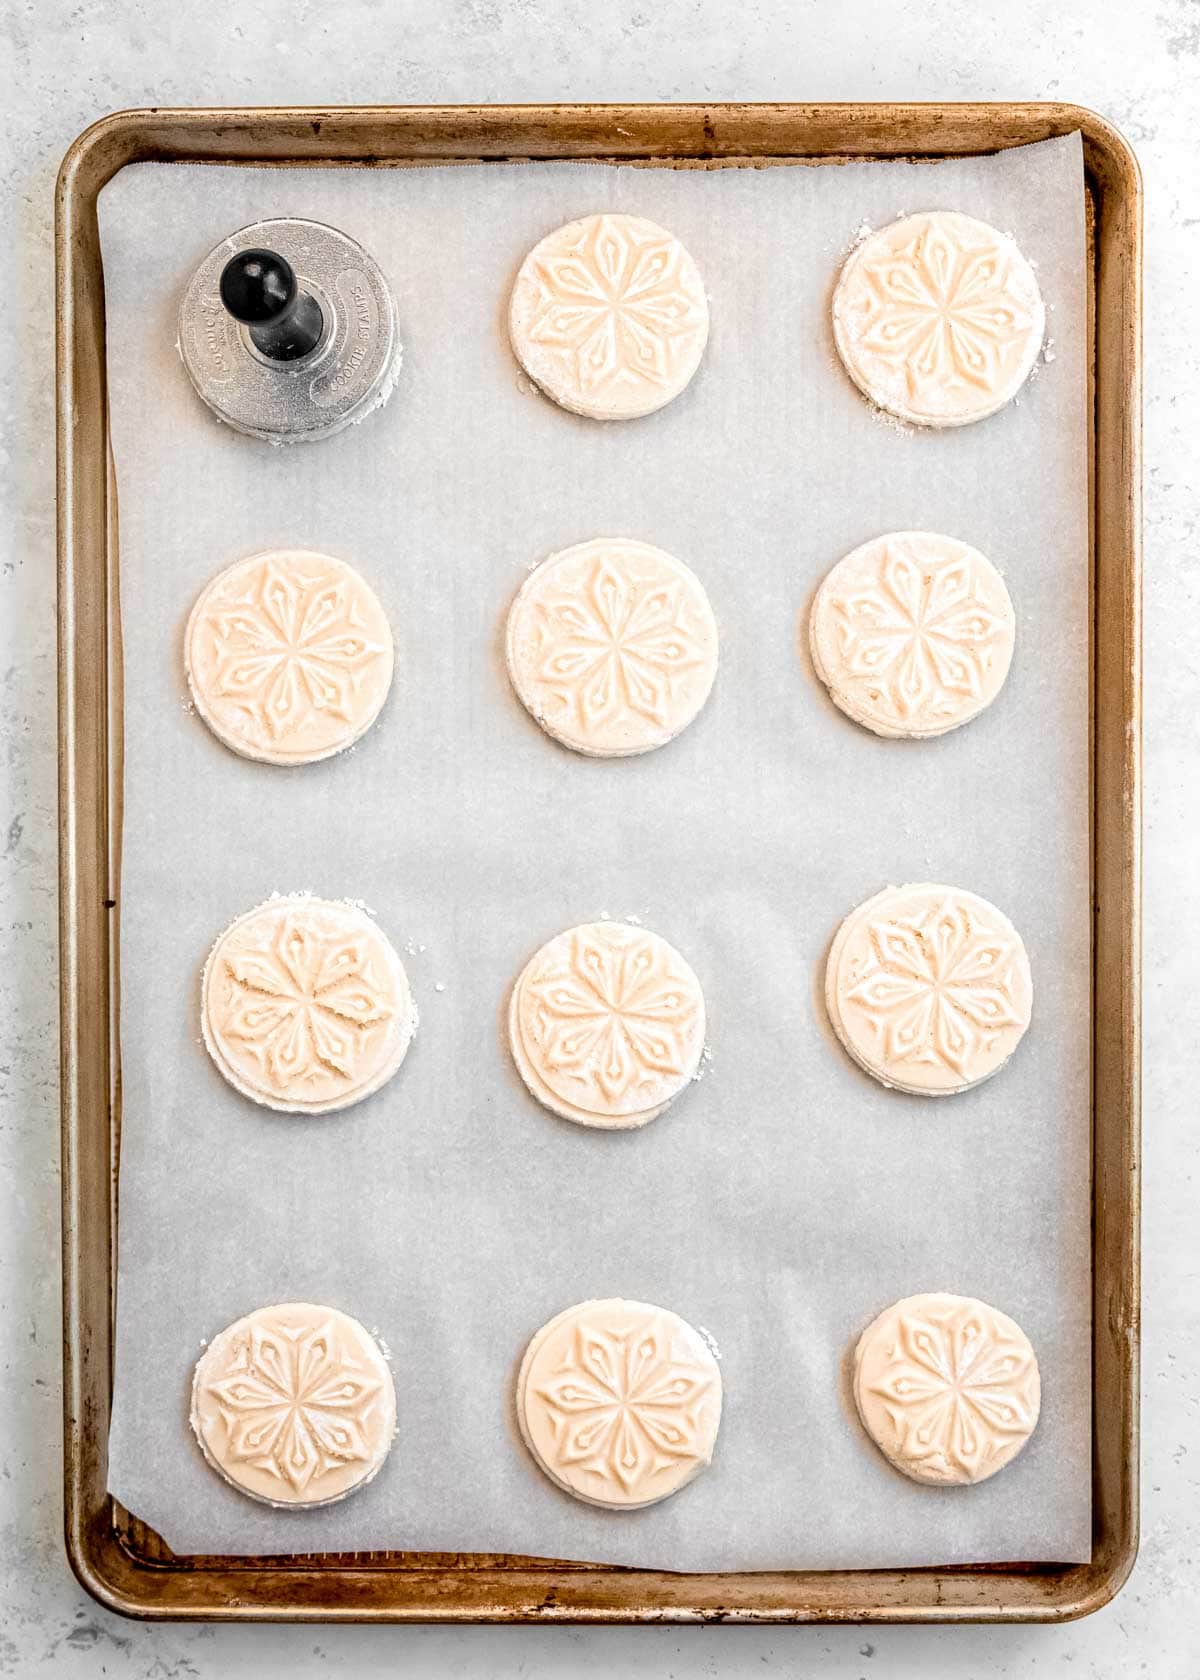
Stamp & Chill
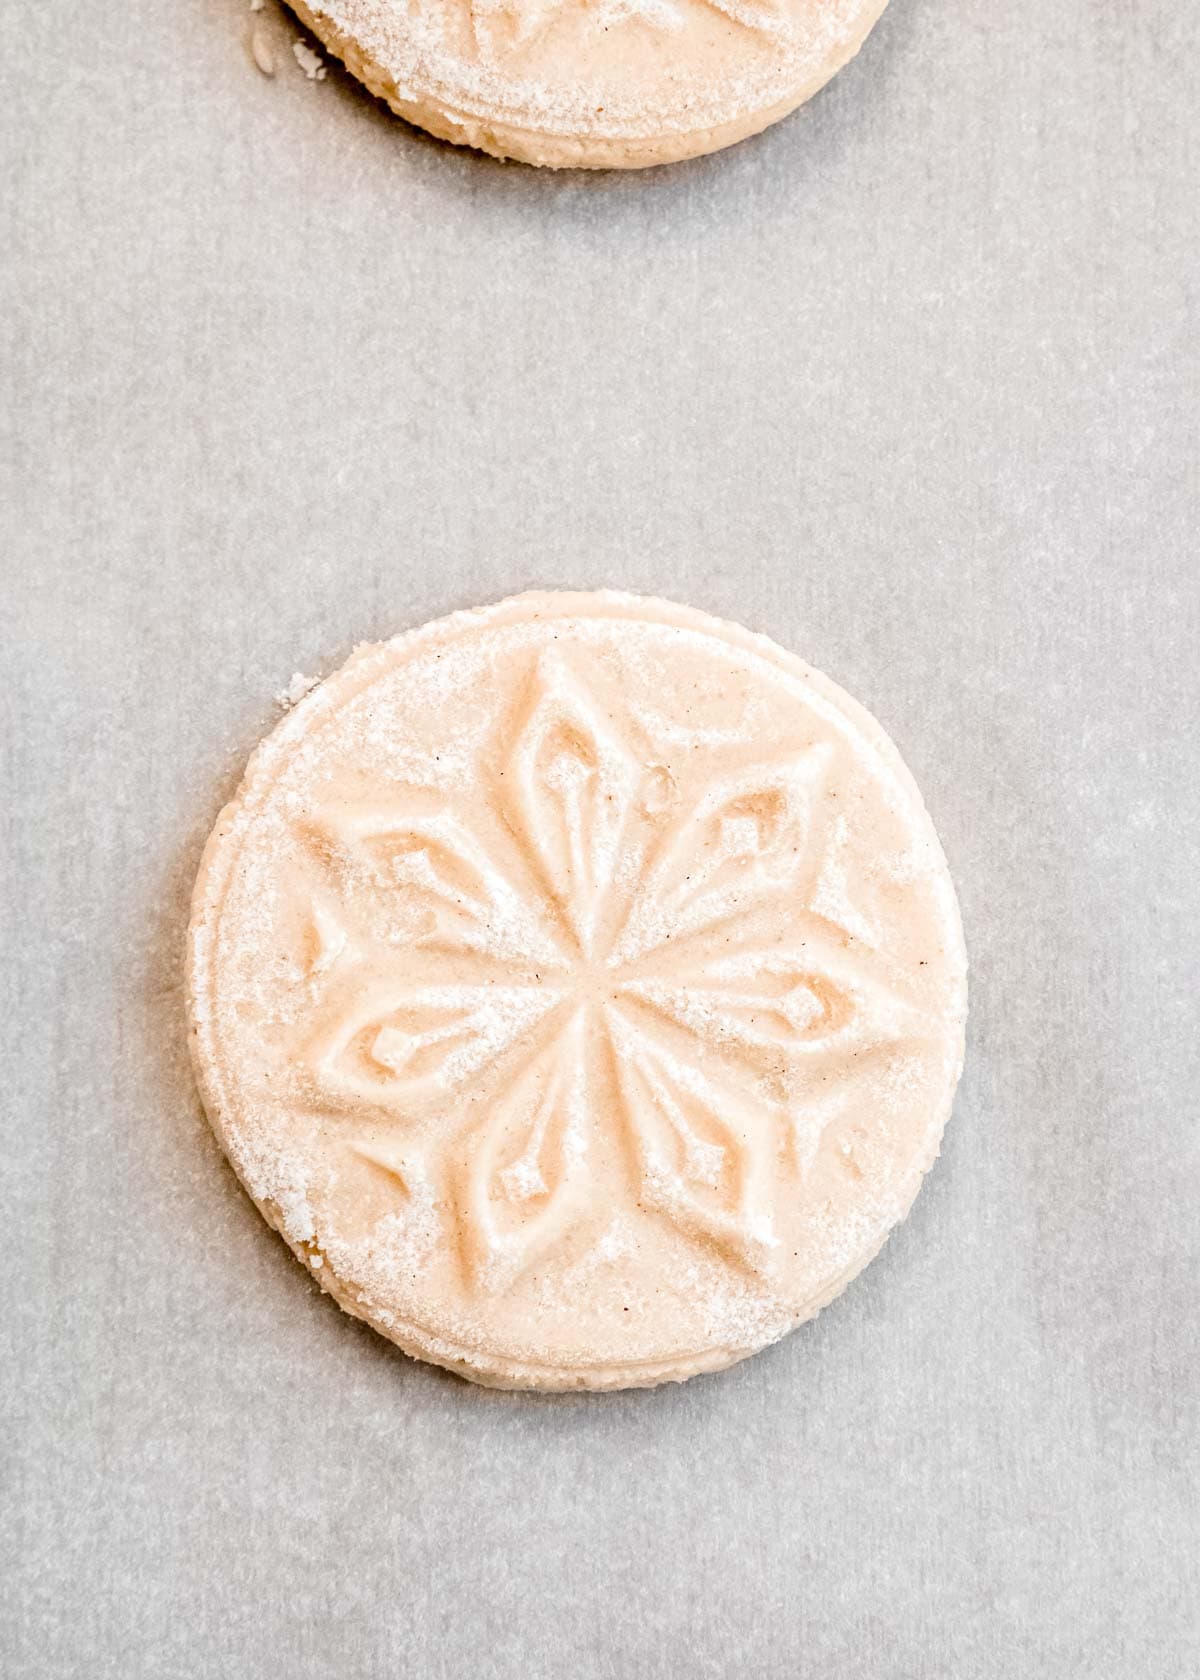
Dip the cookie stamp into the bowl of flour, then carefully stamp one of the cookie dough balls. Press down firmly until the dough reaches the edges of the stamp, then lift straight up. Dip the stamp back into the flour after each cookie to prevent sticking, then continue with the remaining dough. Allow the stamped cookie dough to chill in the fridge for 30 minutes while the oven preheats to 375 degrees.
NOTE: Chilling after stamping is essential! If you chill before stamping, the dough will crack when you stamp them. If you skip chilling all together, your cookies will spread and your design will be ruined.
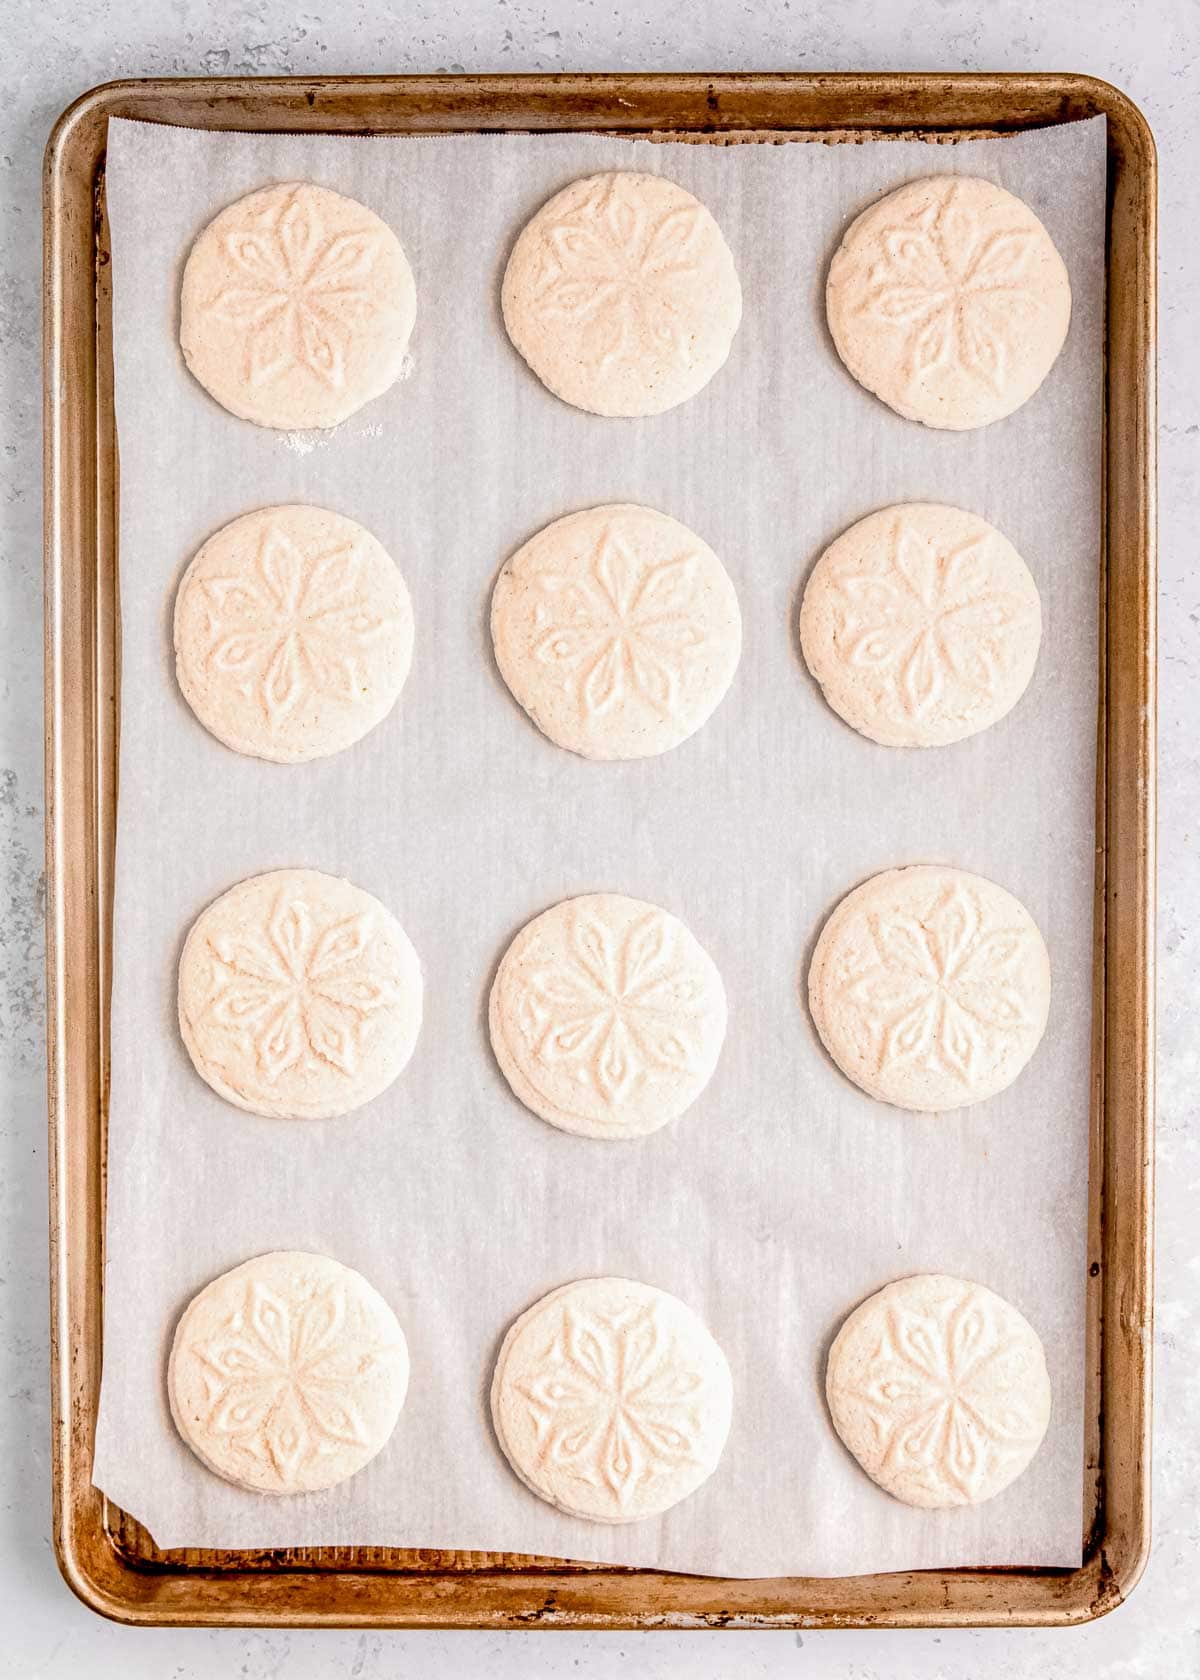
Bake
After at least 30 minutes of chilling, transfer the baking sheet full of cookies to the preheated oven. Bake for 10-12 minutes until the edges are just turning golden brown. Allow them to cool completely before moving or glazing.
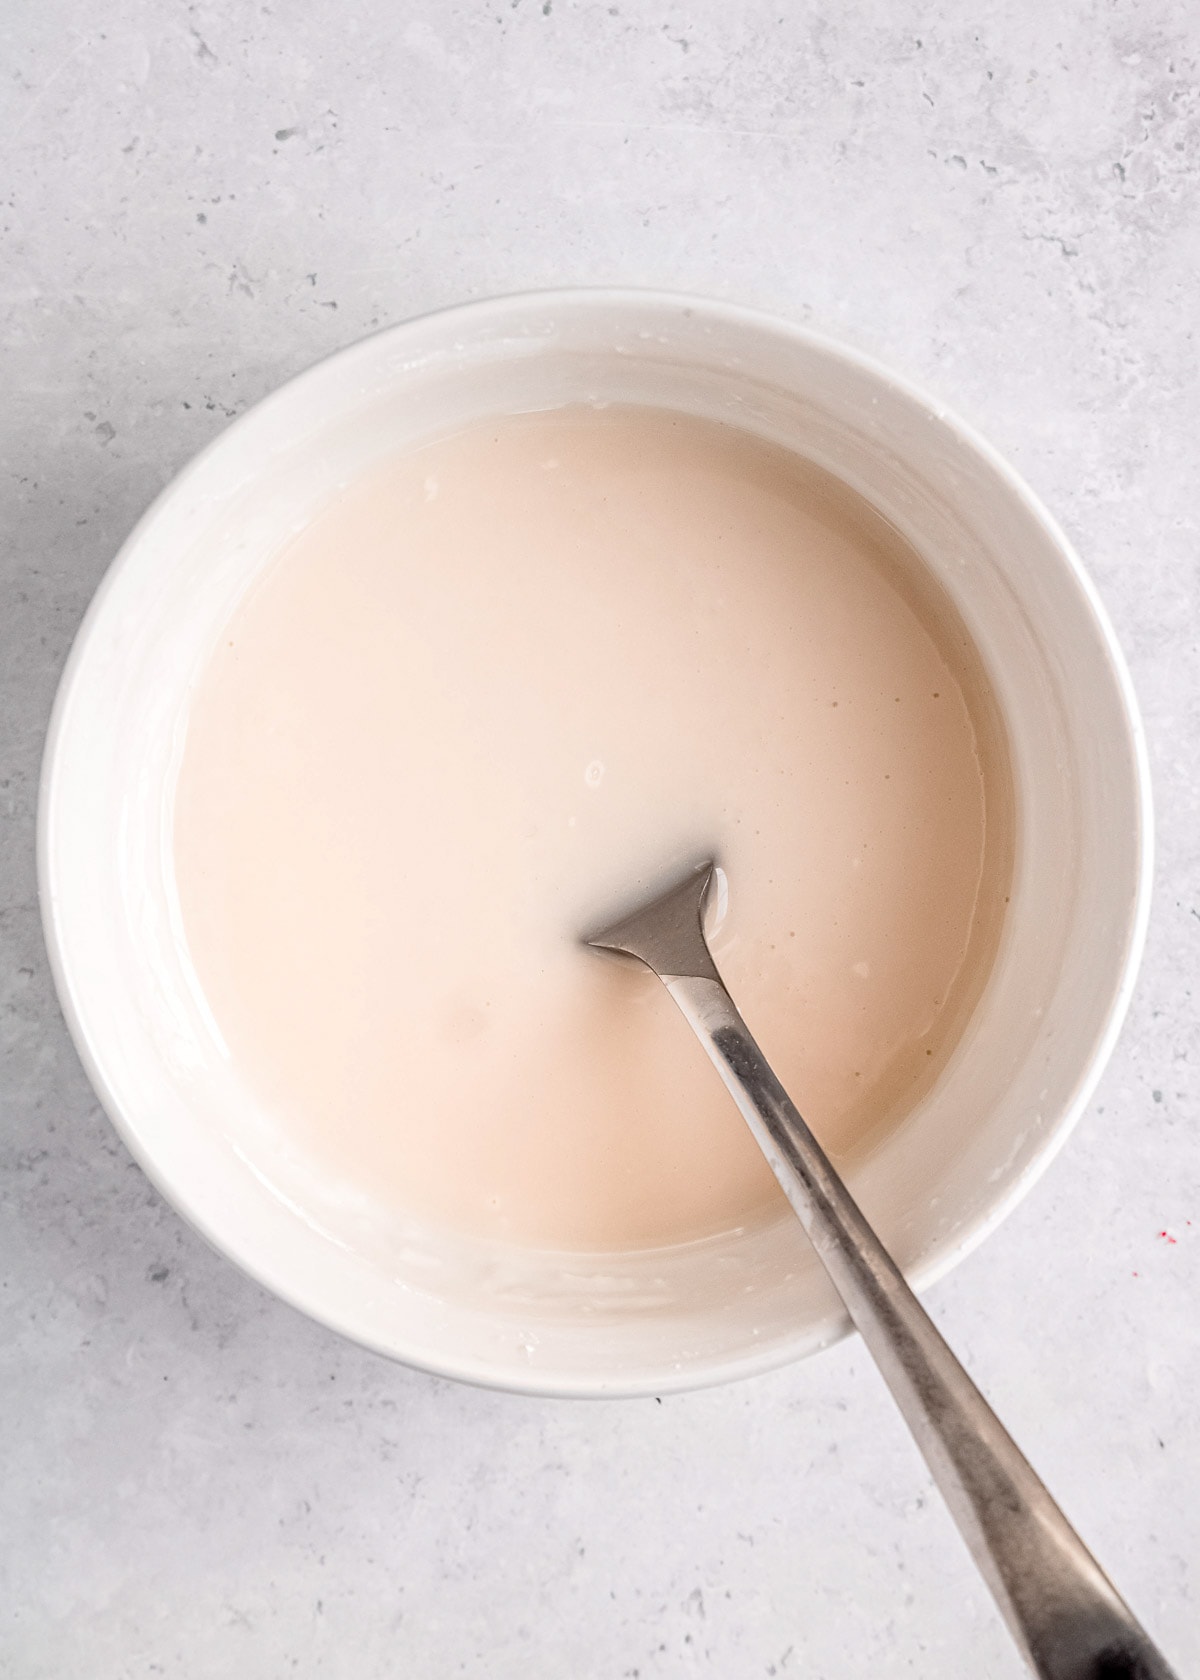
Make glaze
In a small mixing bowl, combine the powdered sugar, cold water, and vanilla extract. Stir until the glaze is thin and smooth, about the consistency of simple syrup. If it’s too thick, add 1/2 tablespoon more water until it reaches the right consistency.
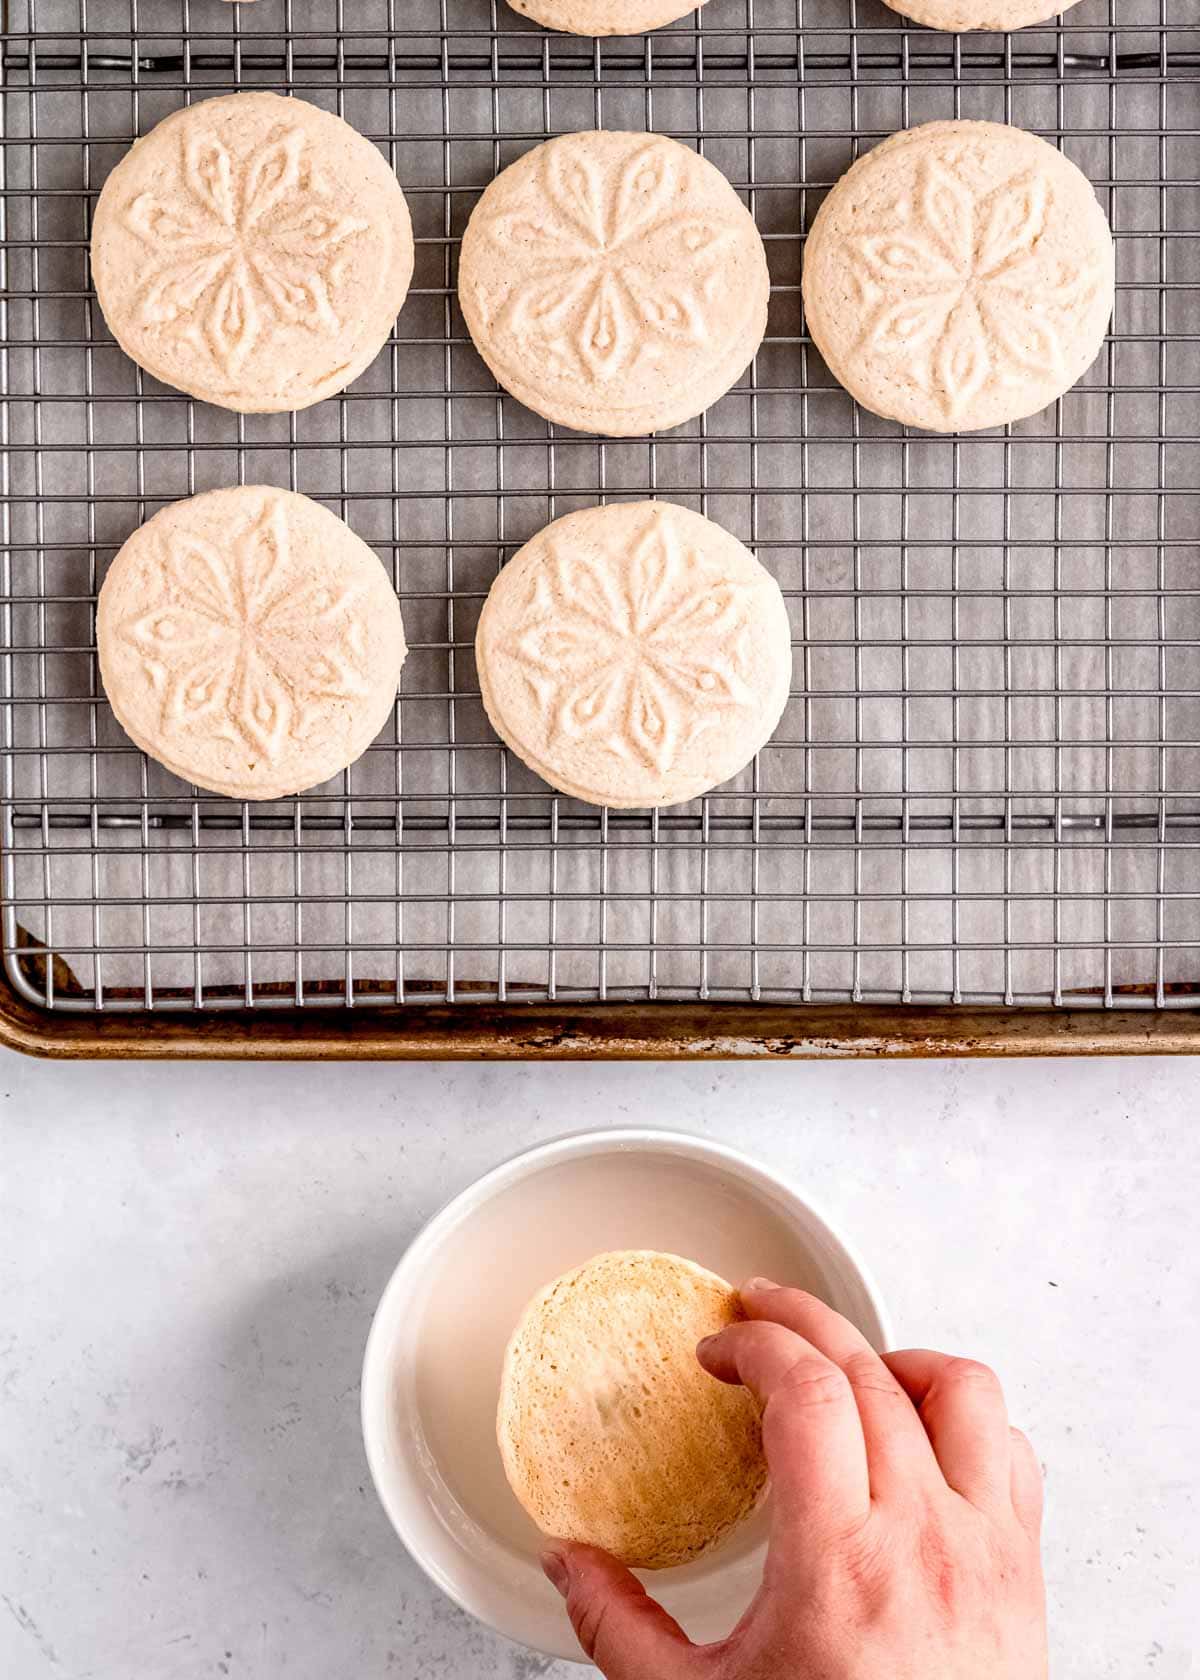
Glaze
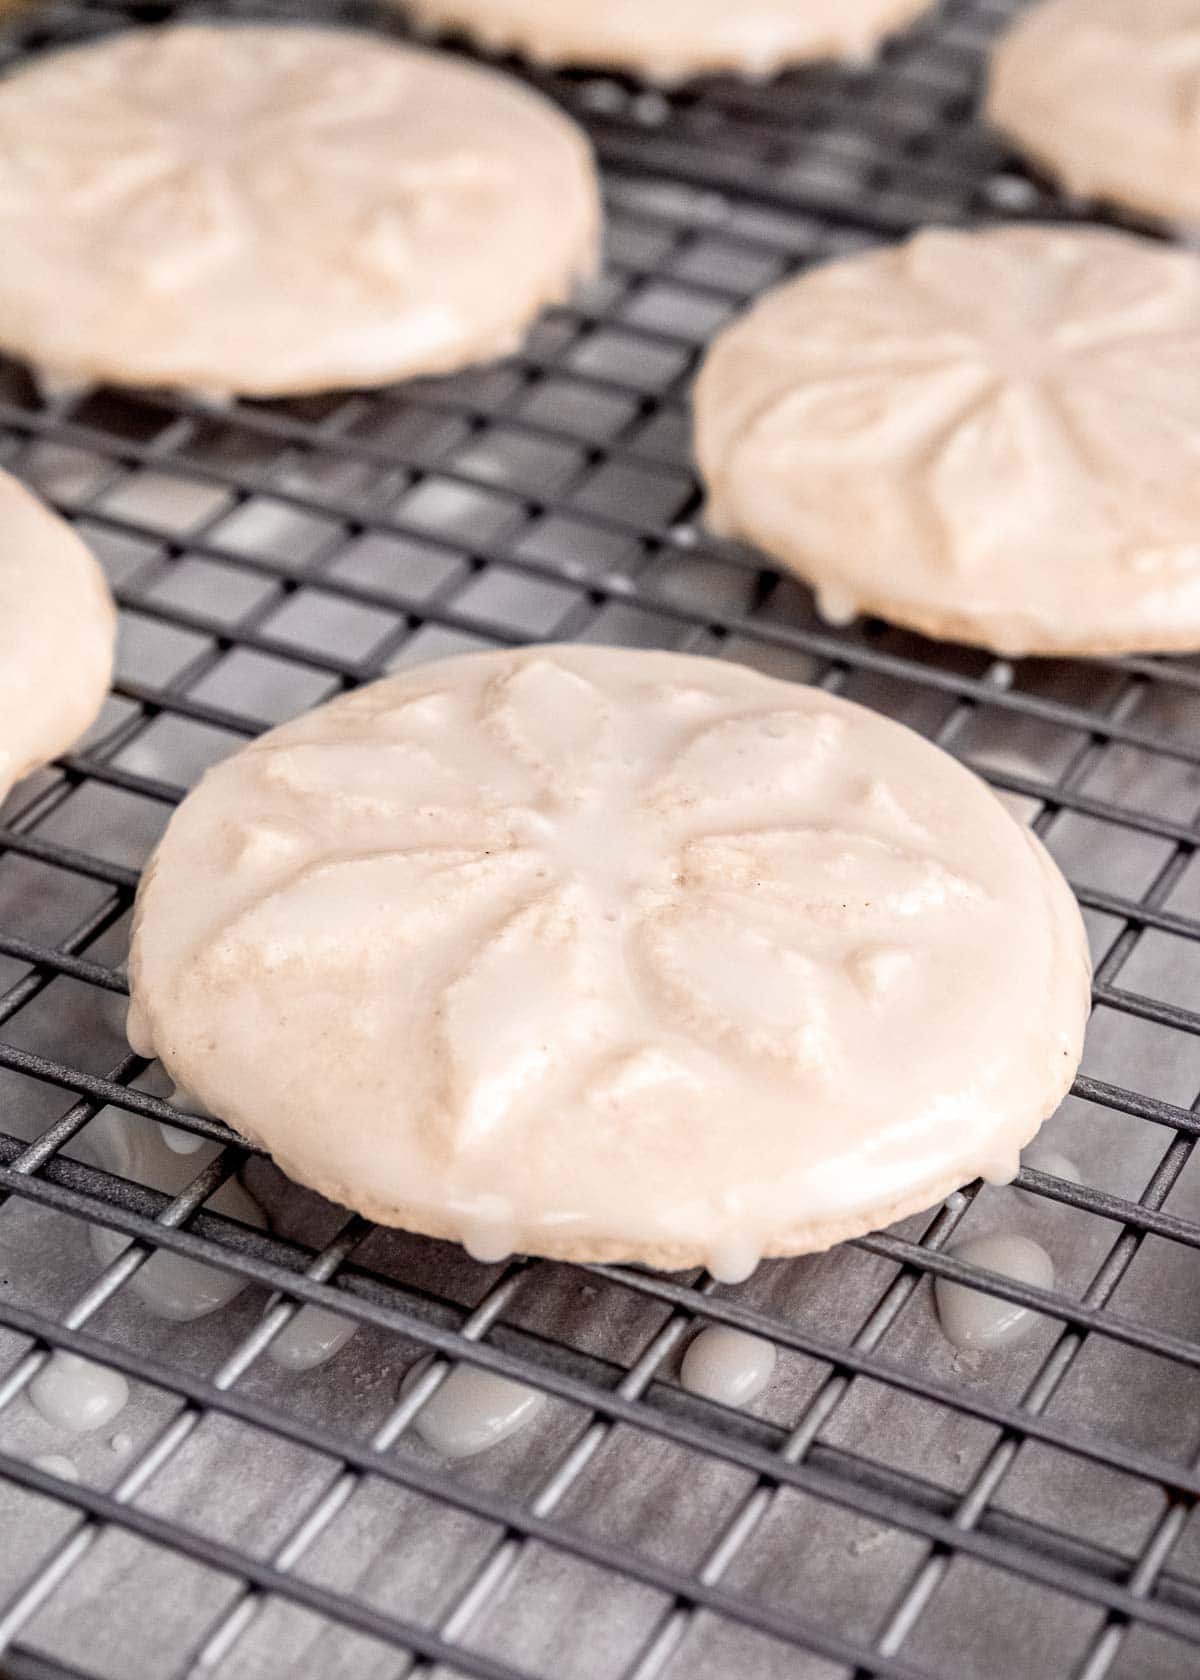
Dip the cooled cookies stamp-side down into the glaze and allow the excess to drip off. Place the cookies on a cooling rack. If you would like to add coard sugar or sprinkles, add those now. Allow the glaze to set for at least 4 hours before stacking or touching.

Serve
These cookies are best served at room temperature for the best texture. You can add coarse sugar or sprinkles when you glaze the cookies for an even more colorful, festive cookie! If you don’t love glazed cookies, you could top them with frosting, caramel sauce, or chocolate ganache.
Store
These cookies should be stored in an airtight container and left at room temperature up to 2 weeks for the best texture. You can refrigerate them to have them last longer (about a month), but this may alter the texture of the glaze. You can also freeze these cookies after the glaze has set — Store them in a freezer-safe container up to 3 months.
If you love these gluten-free cookies, you’ve got to check out these cookie exchange recipes!
- Cranberry White Chocolate Macadamia Nut Cookies – These gluten-free cookies are also made keto-friendly with almond flour! You can easily use regular sugar instead of alternative sweeteners if you don’t need them low-carb.
- Keto Red Velvet Cookies – You’ll love how chewy these are with both almond flour and coconut flour! The cream cheese icing on top really helps make these our favorite gluten-free holiday cookies!
Glazed Gluten-Free Cookie FAQs
Yes, you can! For the absolute best results, freeze these stamped cookies BEFORE baking. Simply make and stamp the dough, then place the baking sheet in the freezer for 2-3 hours. Then transfer frozen cookies to a freezer bag and cook within 1-2 months! Bake from frozen (add 2-4 minutes to cooking time), then glaze after cooling.
You can also freeze baked, glazed cookies up to 3 months, but the freezing/thawing process may alter the texture of the glaze and make it stickier.
Yes, for uniform, chewy cookies with a pretty design, you do need to chill the dough after stamping and before baking. Spending 30 minutes in the fridge will help ensure the cookies don’t spread too much and turn into a mess.
I have not tried this recipe with any other flour and cannot recommend any substitutions.
Get the Recipe: Gluten-Free Sugar Cookies
Ingredients
- 5 ounces unsalted butter, room temperature
- ¾ cup granulated sugar
- 1 large egg
- 1 tbsp vanilla extract
- 2 cups 1:1 GF baking flour, plus more for stamping
- ½ tsp salt
Glaze:
- 1 cup powdered sugar
- 2-3 tbsp cold water
- 1 tsp vanilla extract
Instructions
- Line a baking sheet with parchment paper. Pour some GF flour into a bowl and set aside.
- In a mixing bowl, beat together the butter and sugar until light and fluffy (about 1-2 minutes).
- Add the egg and vanilla extract and mix until combined.
- Add the flour and salt, and mix on slow speed until combined.
- Scoop out about 2 ½ tbsp of dough, roll into a ball, and set it on the parchment paper. Repeat with the remaining dough, setting each cookie about 3 inches apart from each other.
- Dip your cookie stamp into the bowl of flour, then carefully stamp one of the cookie balls, pressing down firmly until the dough reaches the edges of the stamp, then lift straight up. Dip the cookie stamp into the bowl of flour between each cookie to prevent sticking.
- Place the baking sheet with the cookies in the fridge for 30 minutes, and preheat the oven to 375 degrees while the cookies chill.
- Bake the chilled cookies in the preheated oven for 10-12 minutes until the edges are just turning golden brown. Allow the cookies to cool completely, the move on to step 9.
- Make the glaze by mixing together the powdered sugar, 2 tbsp of water, and the vanilla extract. You want the glaze to be thin, about the consistency of simple syrup. If it’s too thick, add ½ tbsp more water at a time until it reaches the desired consistency.
- Dip the cooled cookies stamp side down in the glaze, and allow the excess to drip off. Place on a cooling rack and allow the glaze to set for at least 4 hours. After the glaze sets, these cookies can be stacked and stored in an airtight container. Perfect for gifting!
Notes
- I used Bob’s Red Mill 1:1 GF baking flour for these.
- It is ESSENTIAL that you chill the cookies after you stamp them, otherwise, they spread way too much in the oven. If you chill the dough before you stamp them, the cookies will crack when you stamp them.
- You can also add coarse sugar or sprinkles right after you glaze them!
- Once the glaze sets, you can stack these making them great for packing in a cookie box.
- These are the stamps I used!