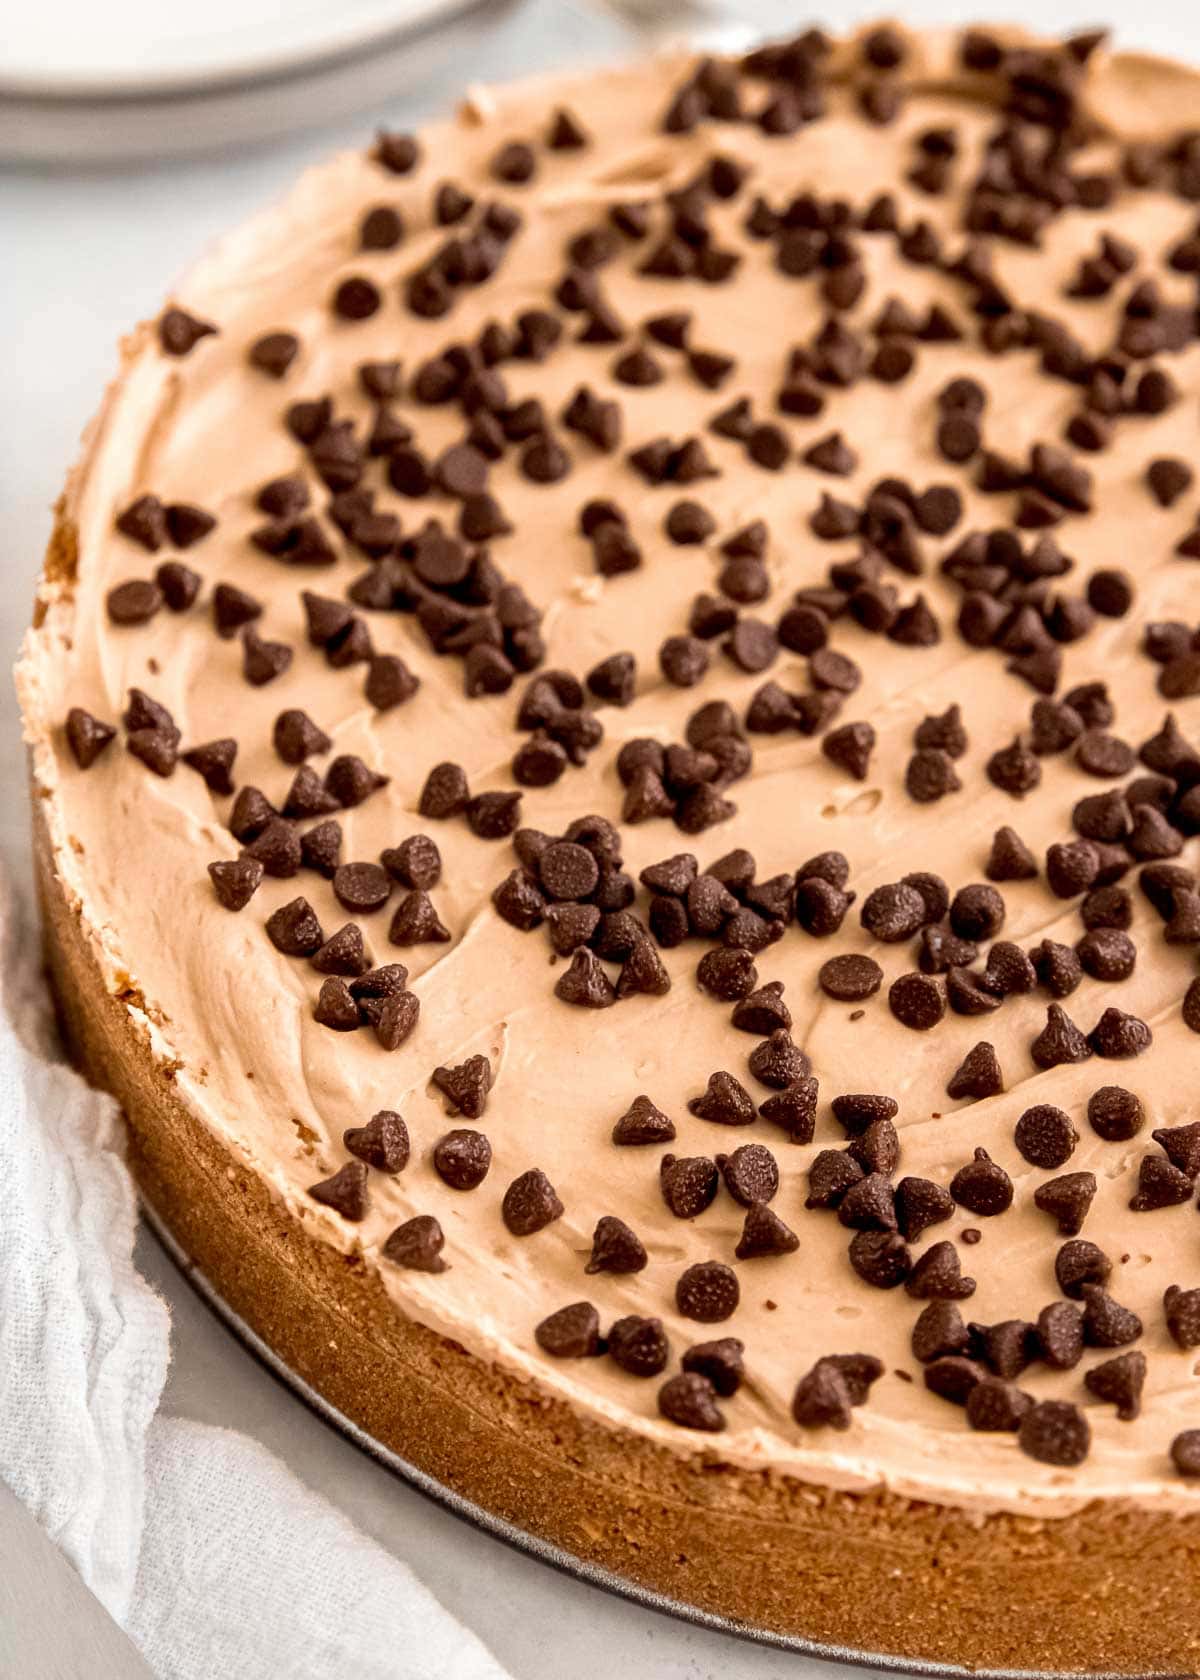
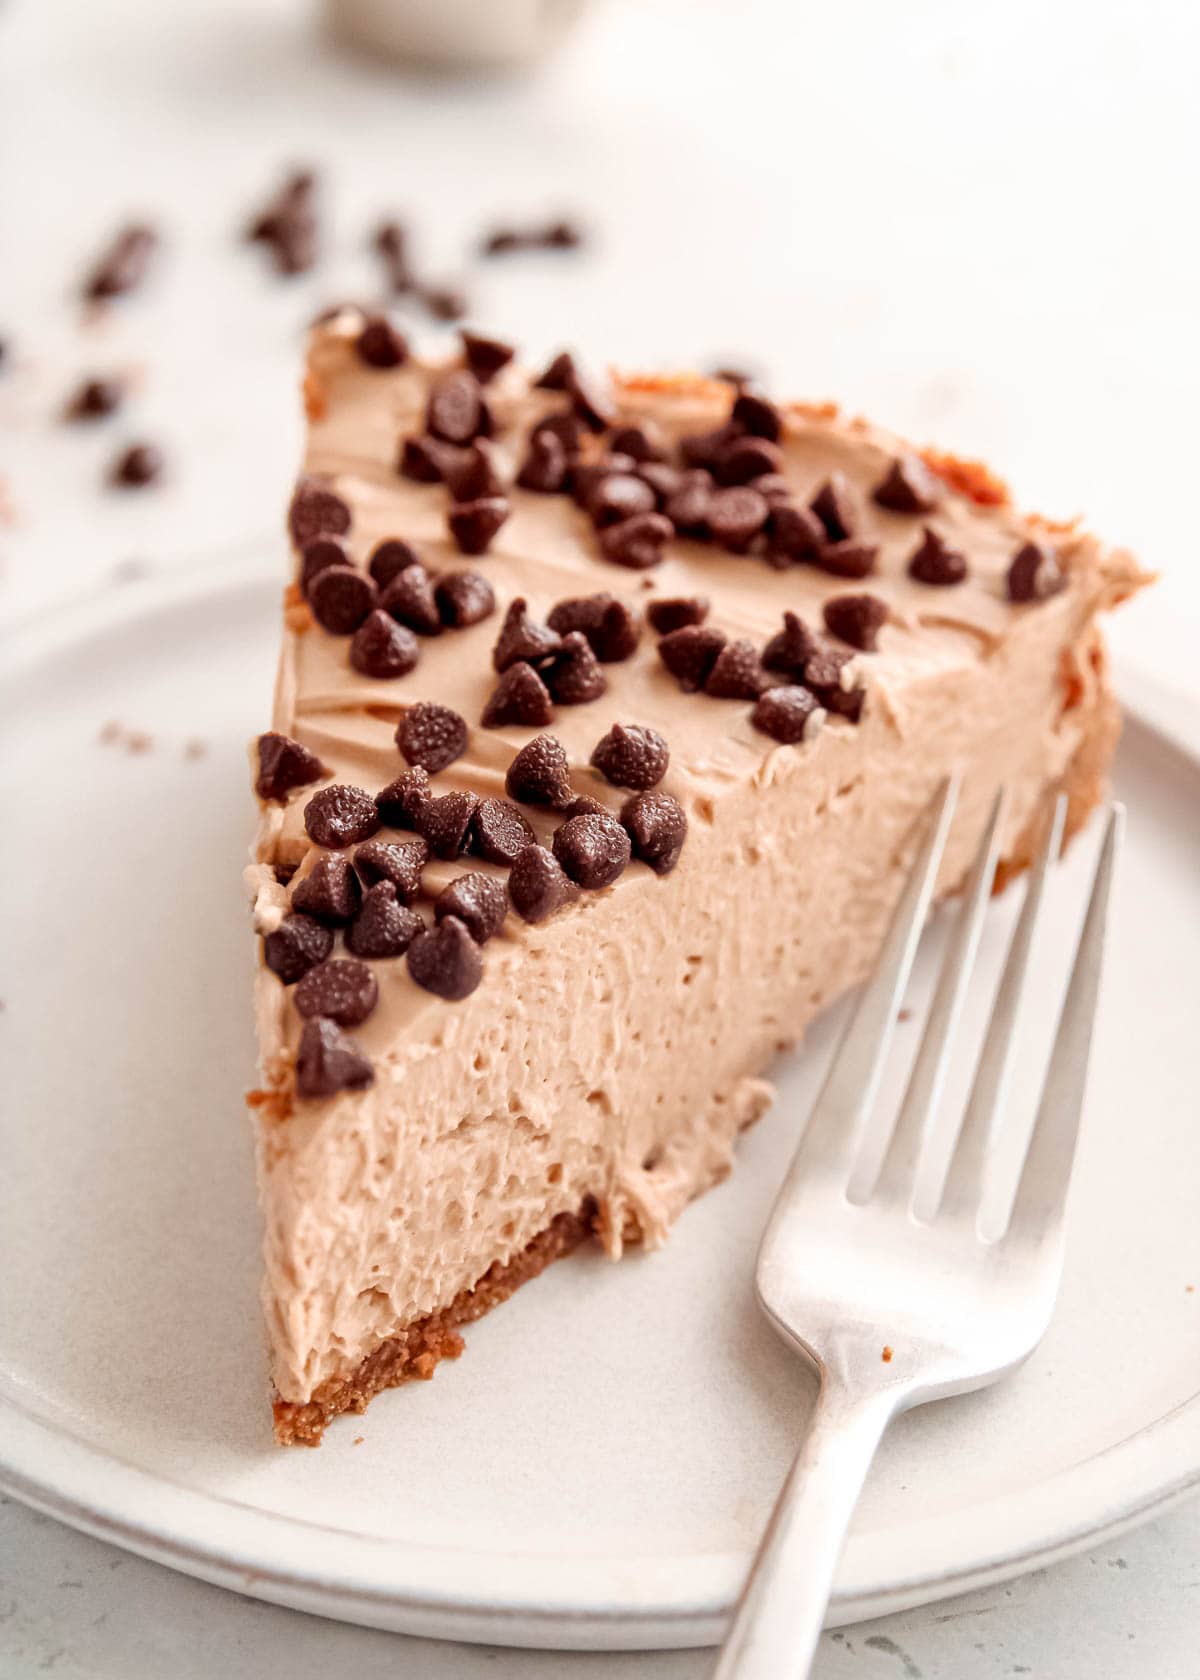
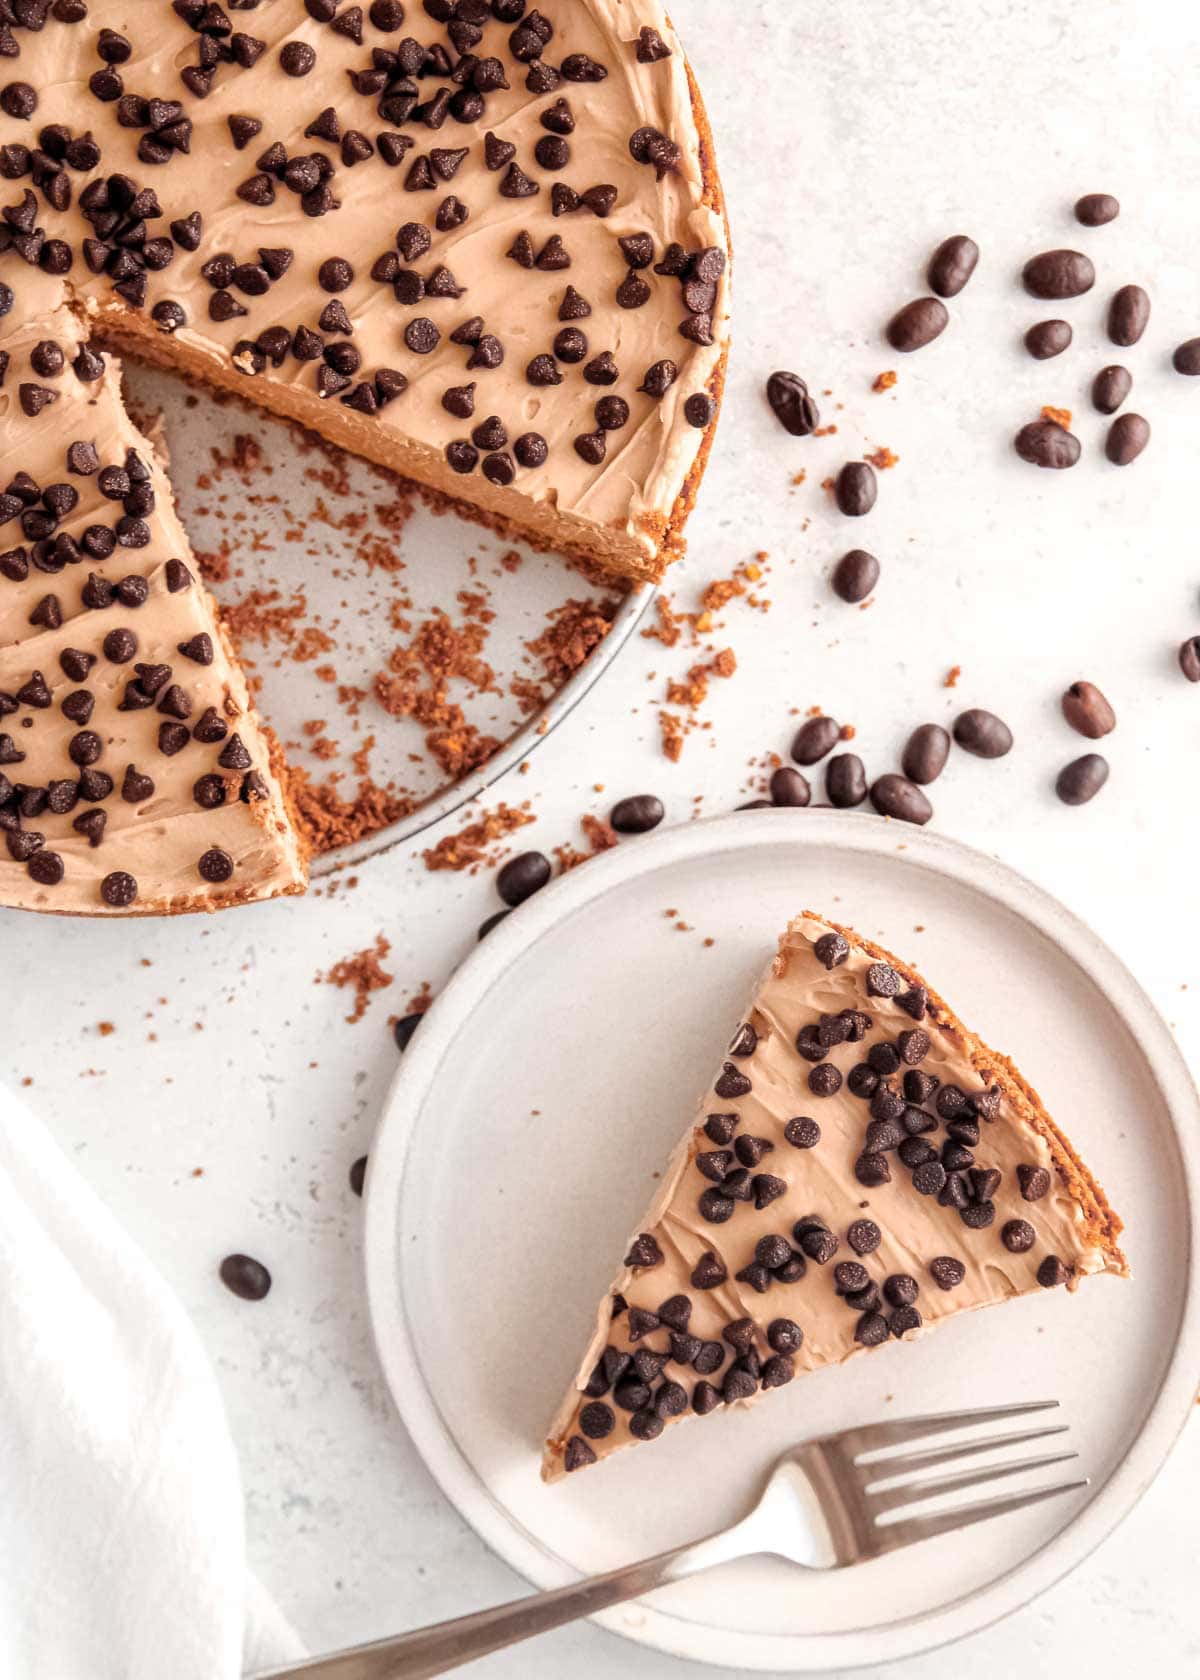
No Bake Mocha Cheesecake
Enjoy unbelievable espresso flavor in this delicious No Bake Mocha Cheesecake! Rich, creamy, and perfect for holidays and celebrations.
No-Bake Chocolate Cheesecake
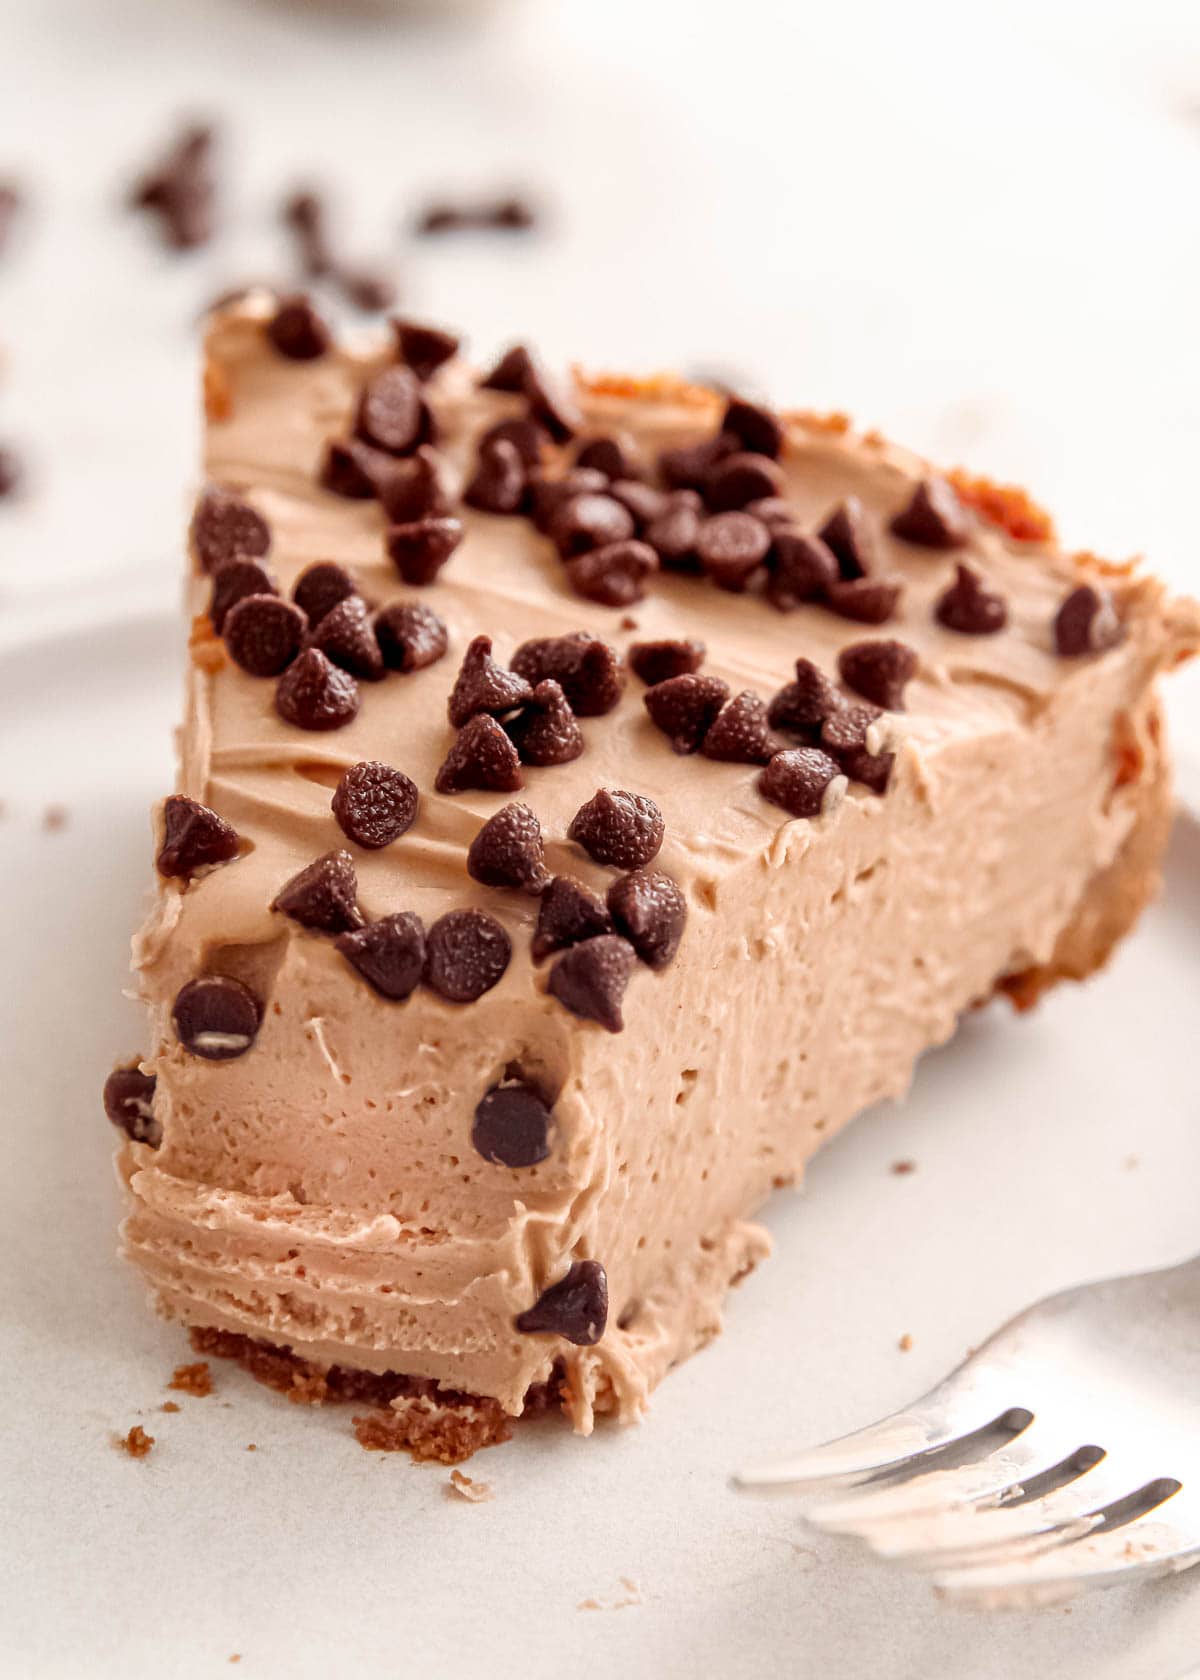
This No-Bake Chocolate Cheesecake is a decadent dessert you can prepare ahead of time. Bursting with espresso and cocoa flavor, it’s the perfect rich bite you want at the end of the night! A sweet graham cracker crust and creamy cheesecake filling just cannot be beat!
Once you taste this cheesecake, you’ll completely understand its greatness. The true beauty of this recipe, though? It’s PERFECT for surprises. New baby arrived a bit early? Just found out your coworker bestie’s birthday is tomorrow? Cousin just eloped? Forgot about the work potluck you signed up for? You can put in 15 minutes of work tonight, and it’ll set overnight! Way less expensive than popping into a bakery and even more delicious.
It’s freezer-safe and meal-prep friendly, so consider making two and transfer one to the freezer after setting. It’s egg-free, nut-free, and you can easily make it gluten-free with the right graham crackers. This will be a luscious dessert everyone will love! If you prefer a baked cheesecake but love these flavors, try this Mocha Cheesecake that’s topped with ganache!
Ingredients for Mocha Cheesecake
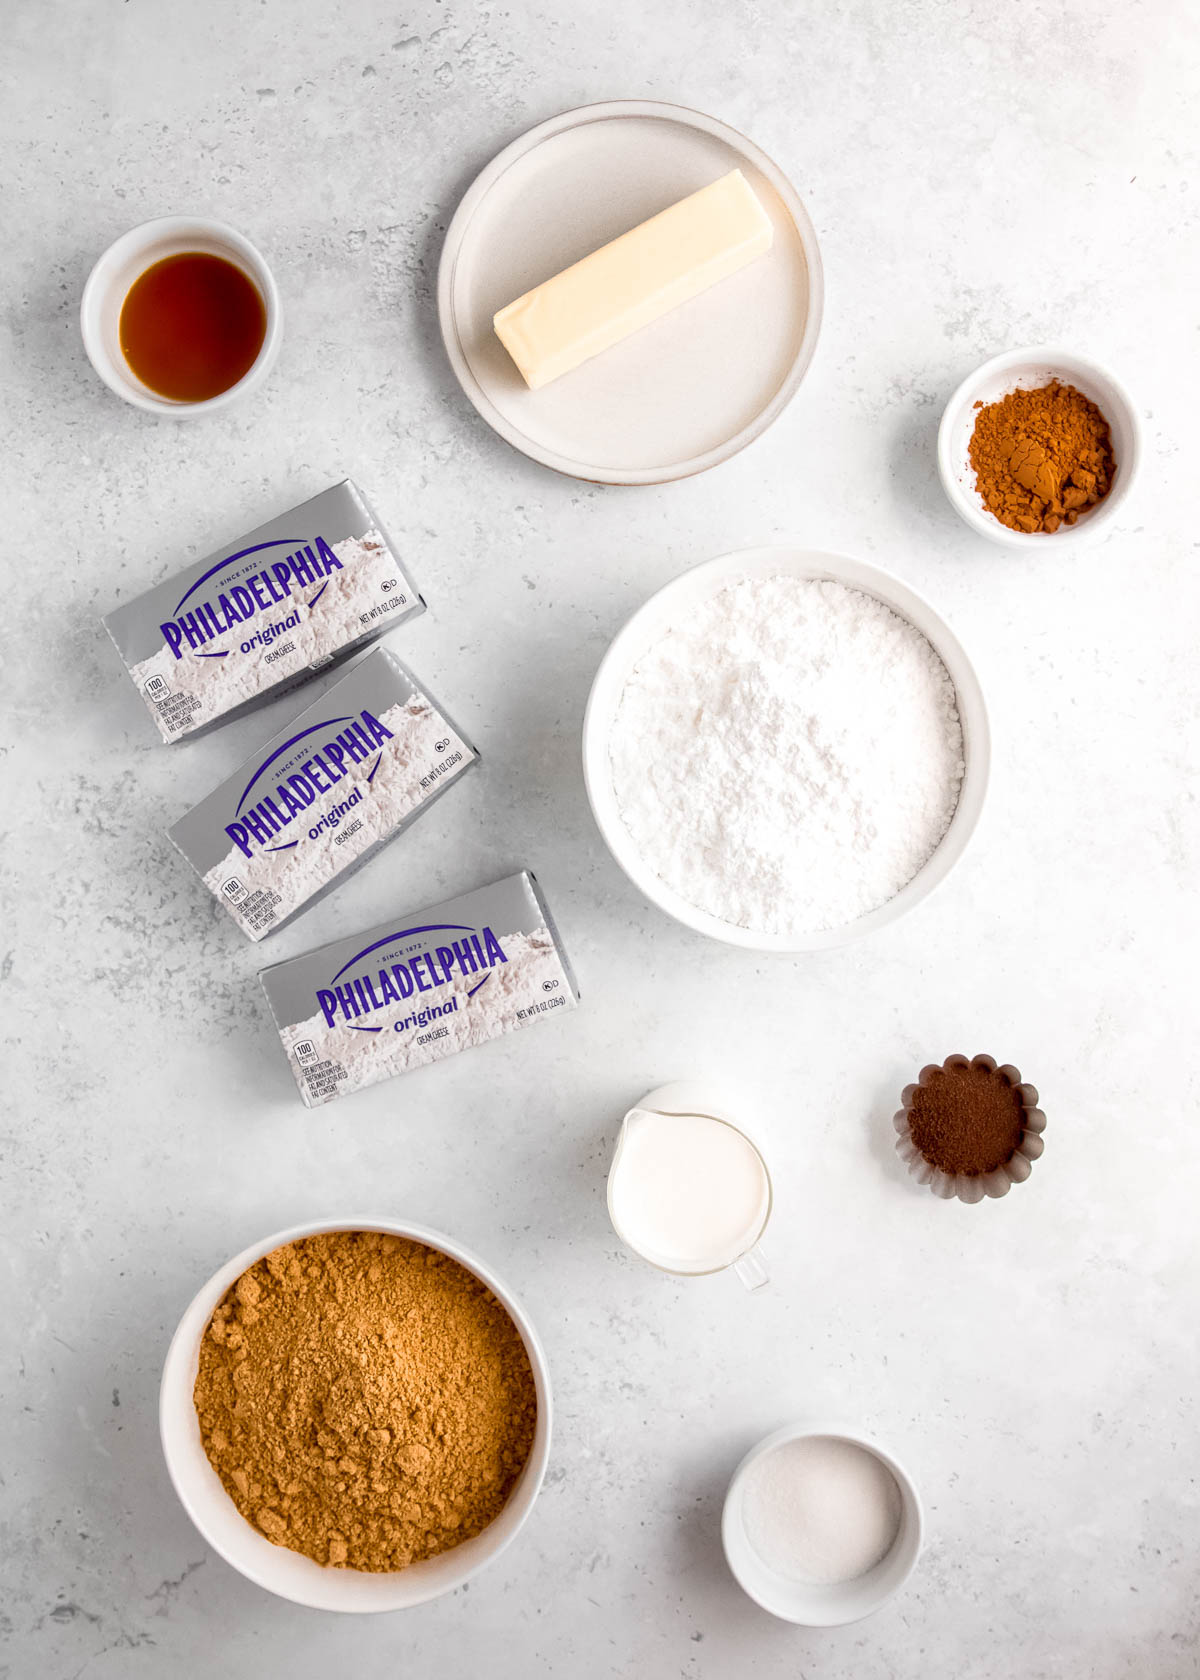
Here is a quick overview of what you’ll need for this decadent dessert. For exact measurements, keep scrolling down to the printable recipe card below.
- Graham cracker crumbs, Unsalted butter, Granulated sugar, Cocoa powder – Gluten-free graham crackers work great for this. Alternatively, you could skip out on the cocoa powder in the crust and just use chocolate graham crackers instead.
- Cream cheese, Powdered sugar, Heavy whipping cream – These create a wonderfully creamy, rich cheesecake filling! Full-fat cream cheese will give you a more classically creamy texture as low-fat versions have more moisture and can create a more “watery” cheesecake filling.
- Espresso powder, Cocoa powder, Vanilla extract – These give the complex, delicious flavor that we’re looking for. I used this espresso powder because it’s super fine and always perfect for baked goods.
- Mini chocolate chips – These are optional and used as a beautiful garnish on top! Feel free to leave these off if you’d like (or swap them for espresso chips, maybe white chocolate chips, whatever you prefer)!
You’ll want mixing bowls, a mixer (you can hand-beat the mixture with a whisk, but it takes longer), a spatula, 9″ springform pan, and parchment paper liners. Give yourself an absolute minimum of 6 hours to allow the cheesecake to set in the fridge.
How to Make a No Bake Mocha Cheesecake
This coffee-flavored cheesecake comes together pretty easily in about 15 minutes! Here’s a step-by-step guide to show you how to recreate it for yourself.
Make crust
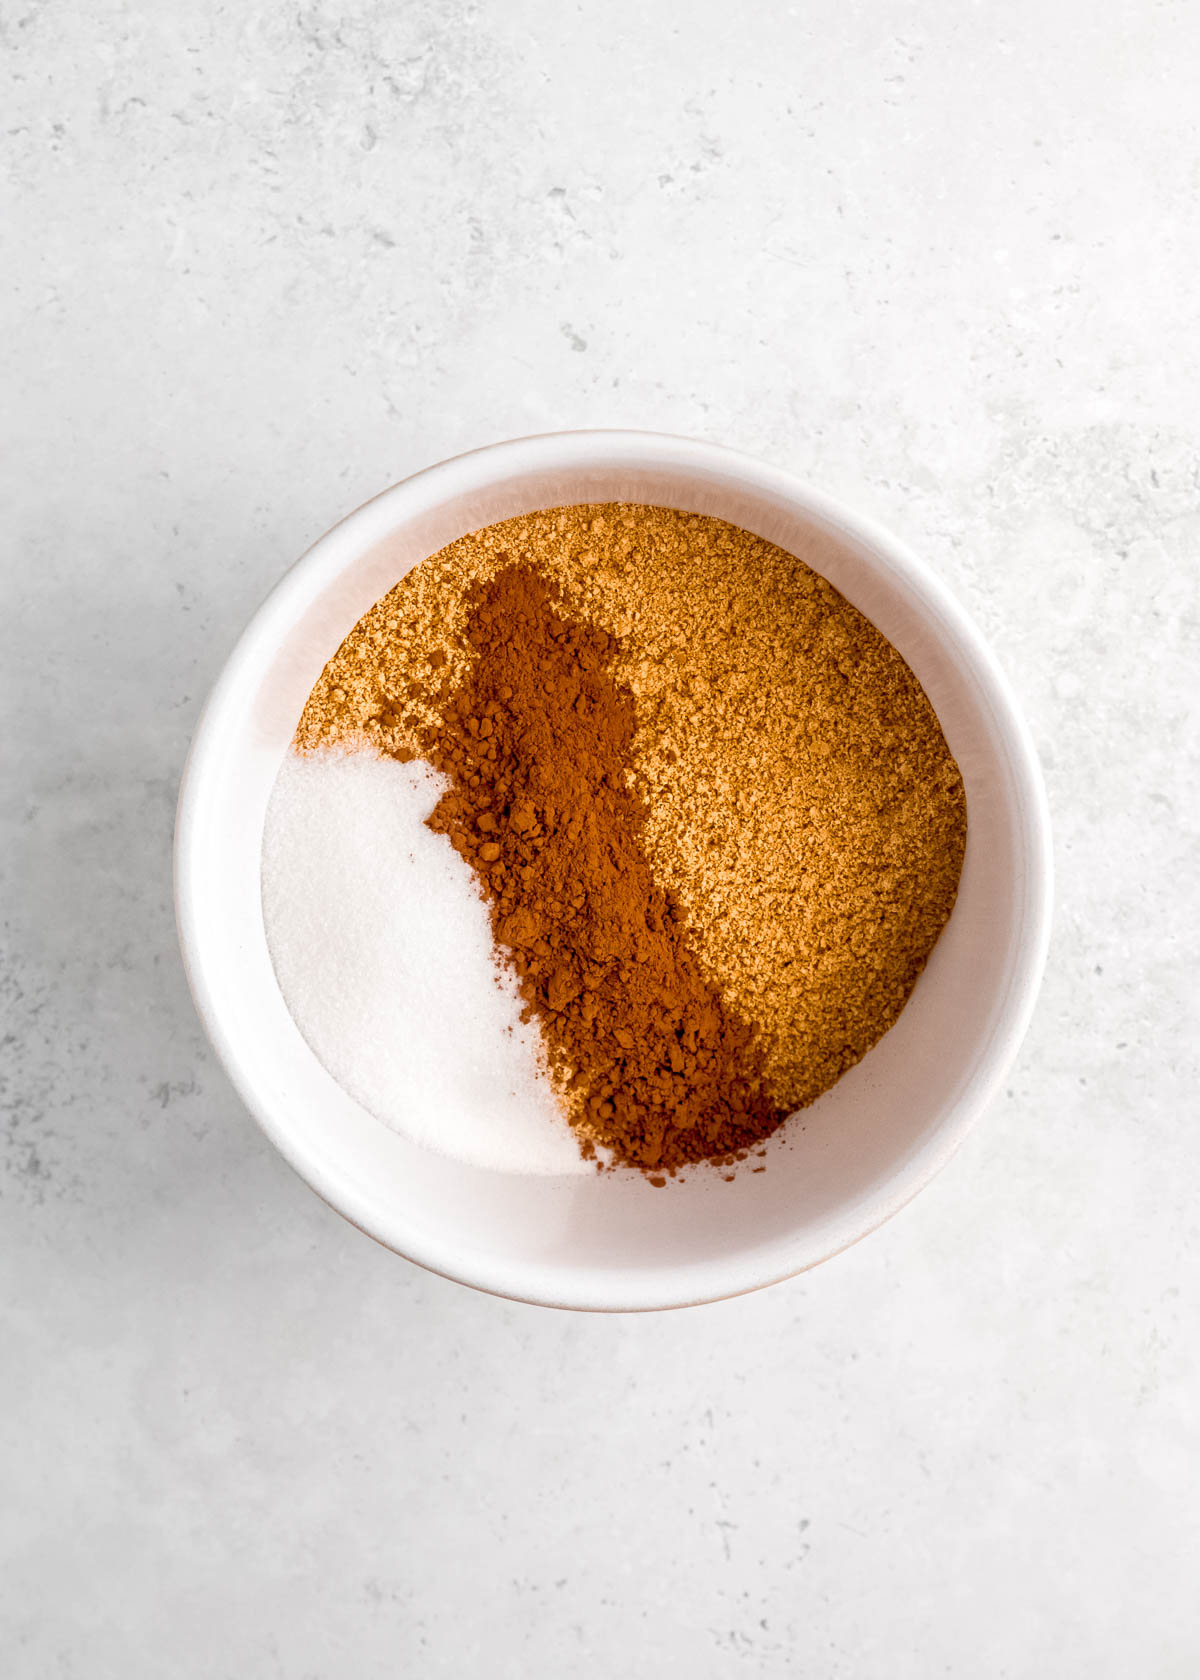
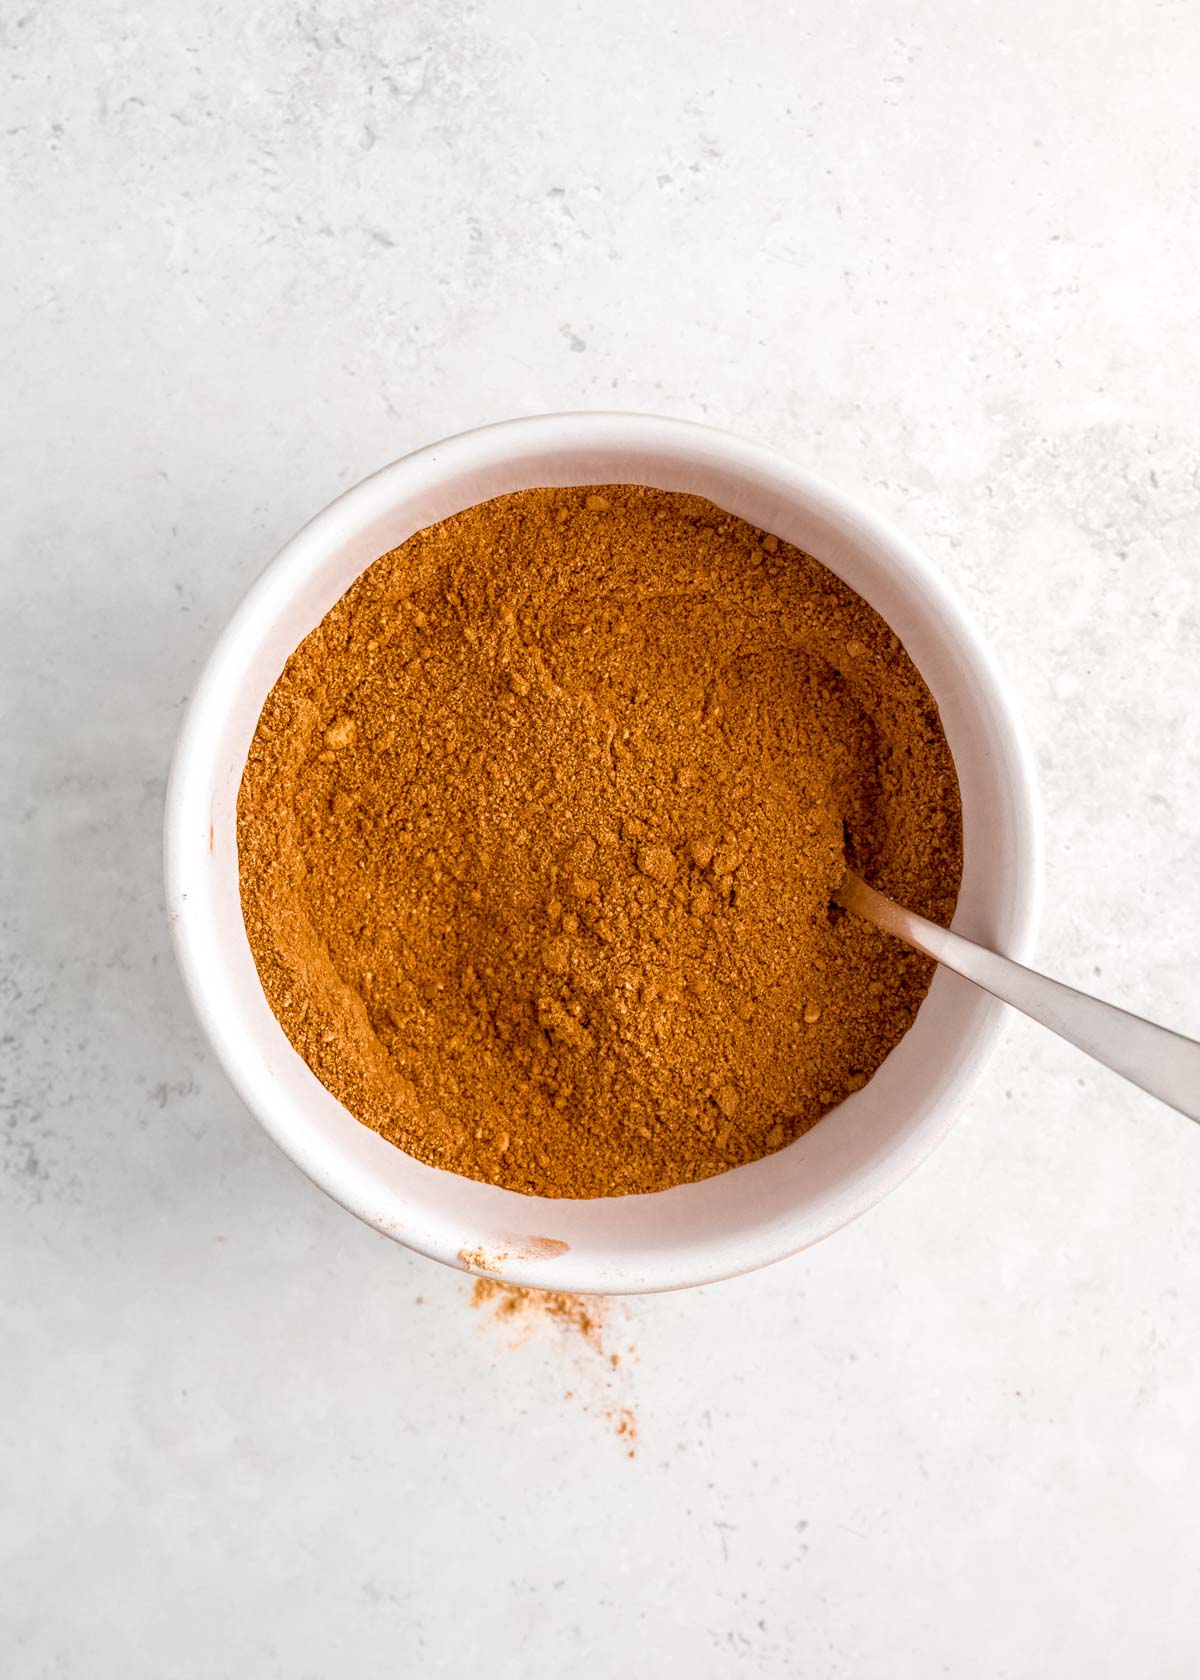
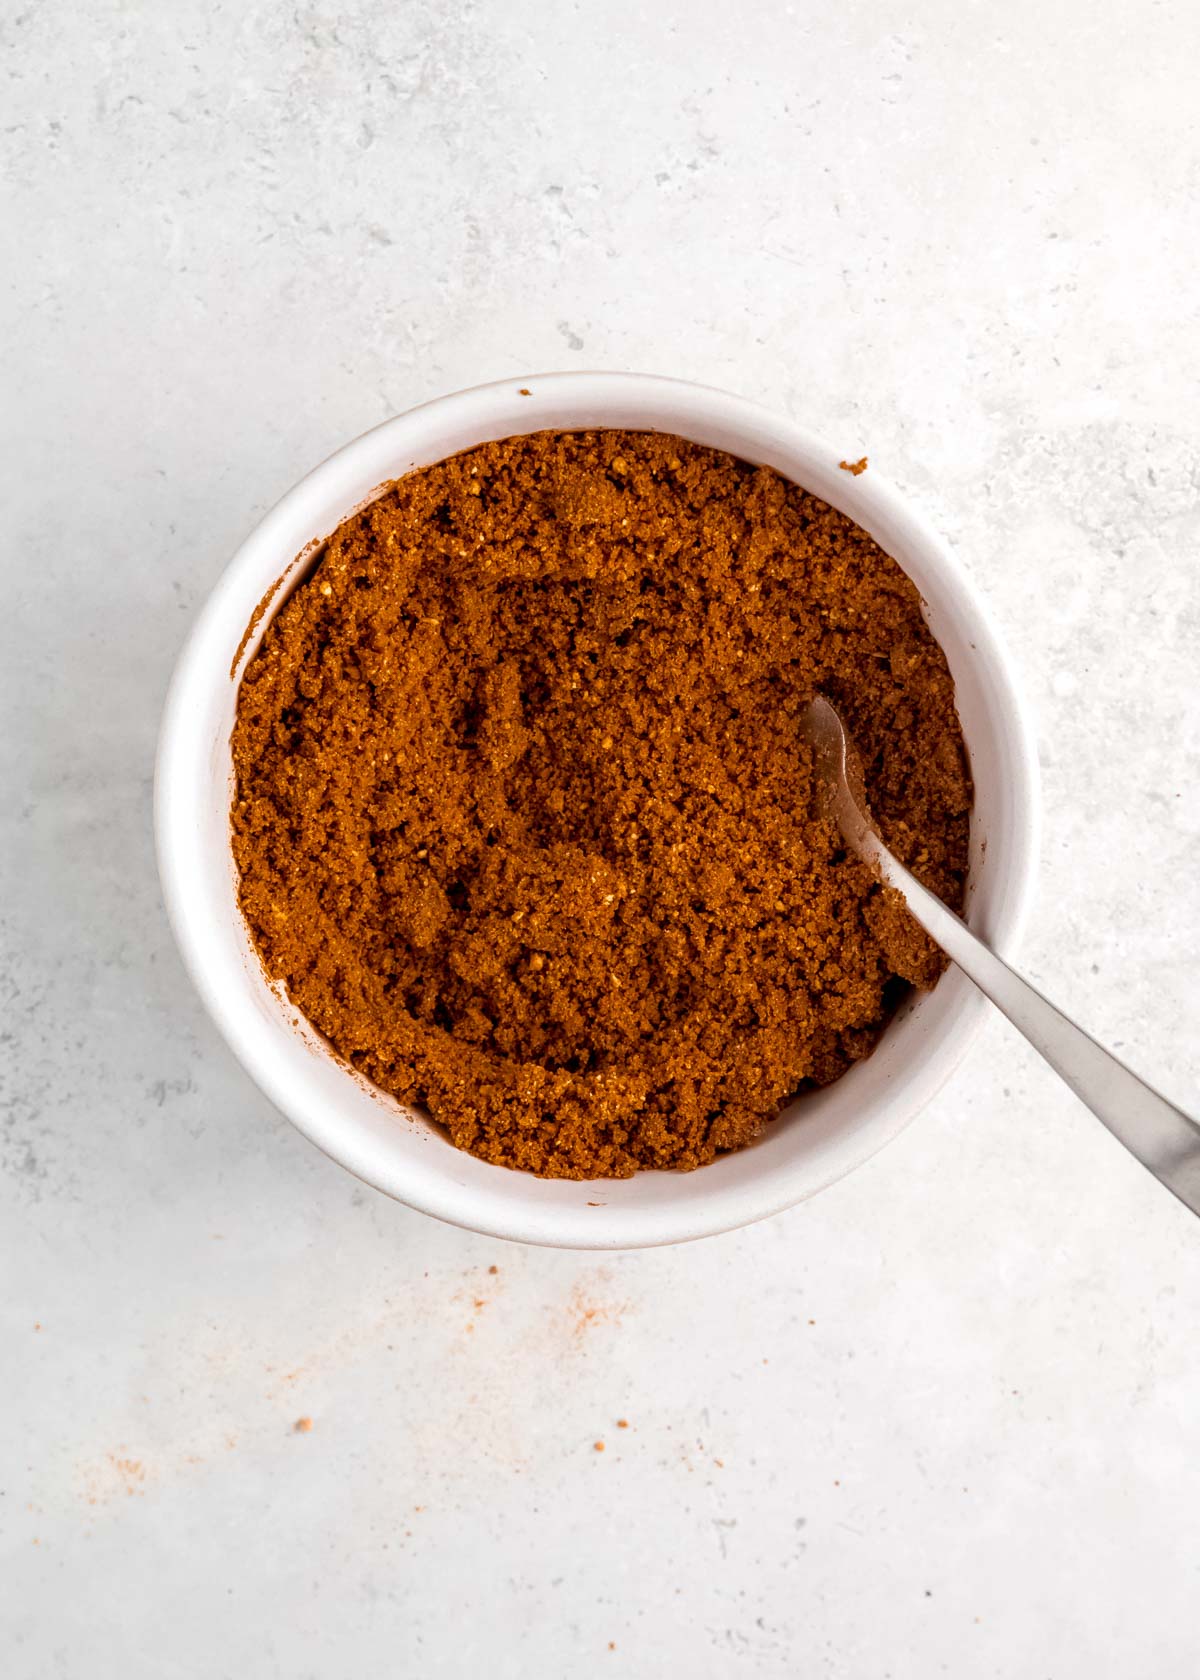
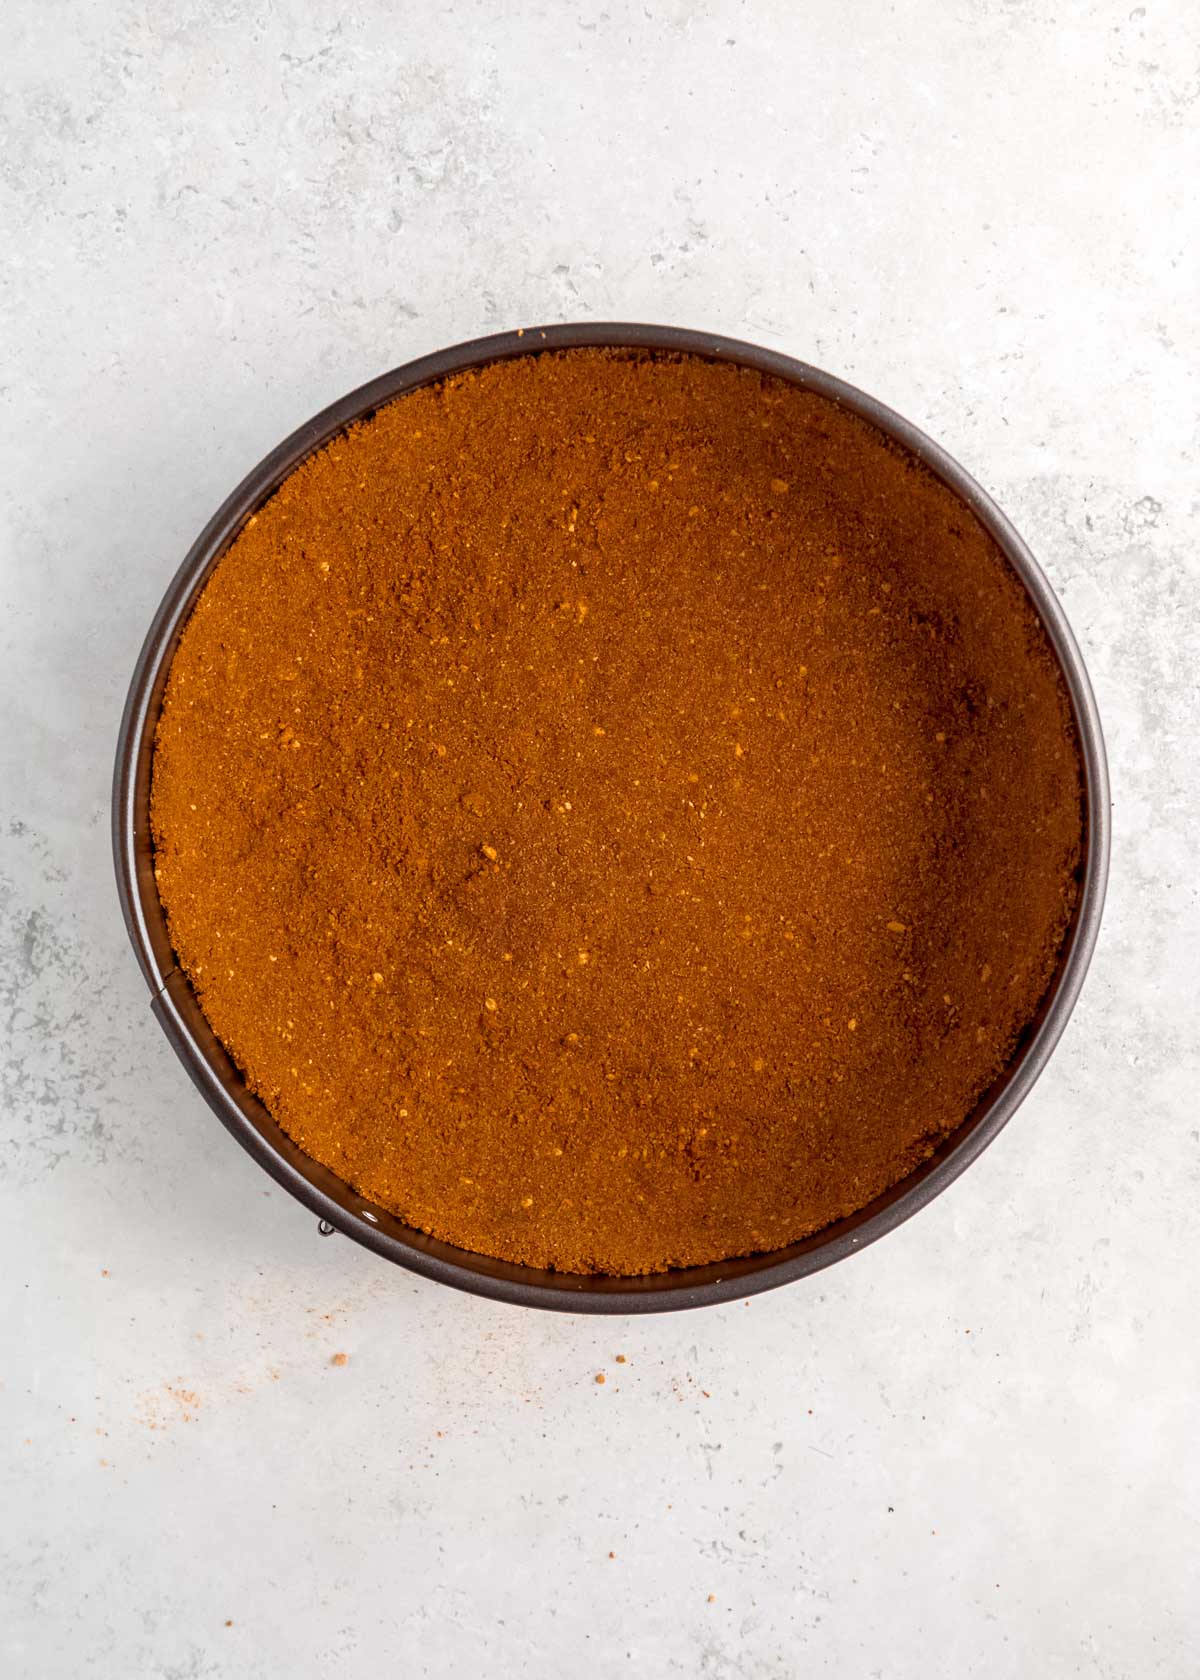
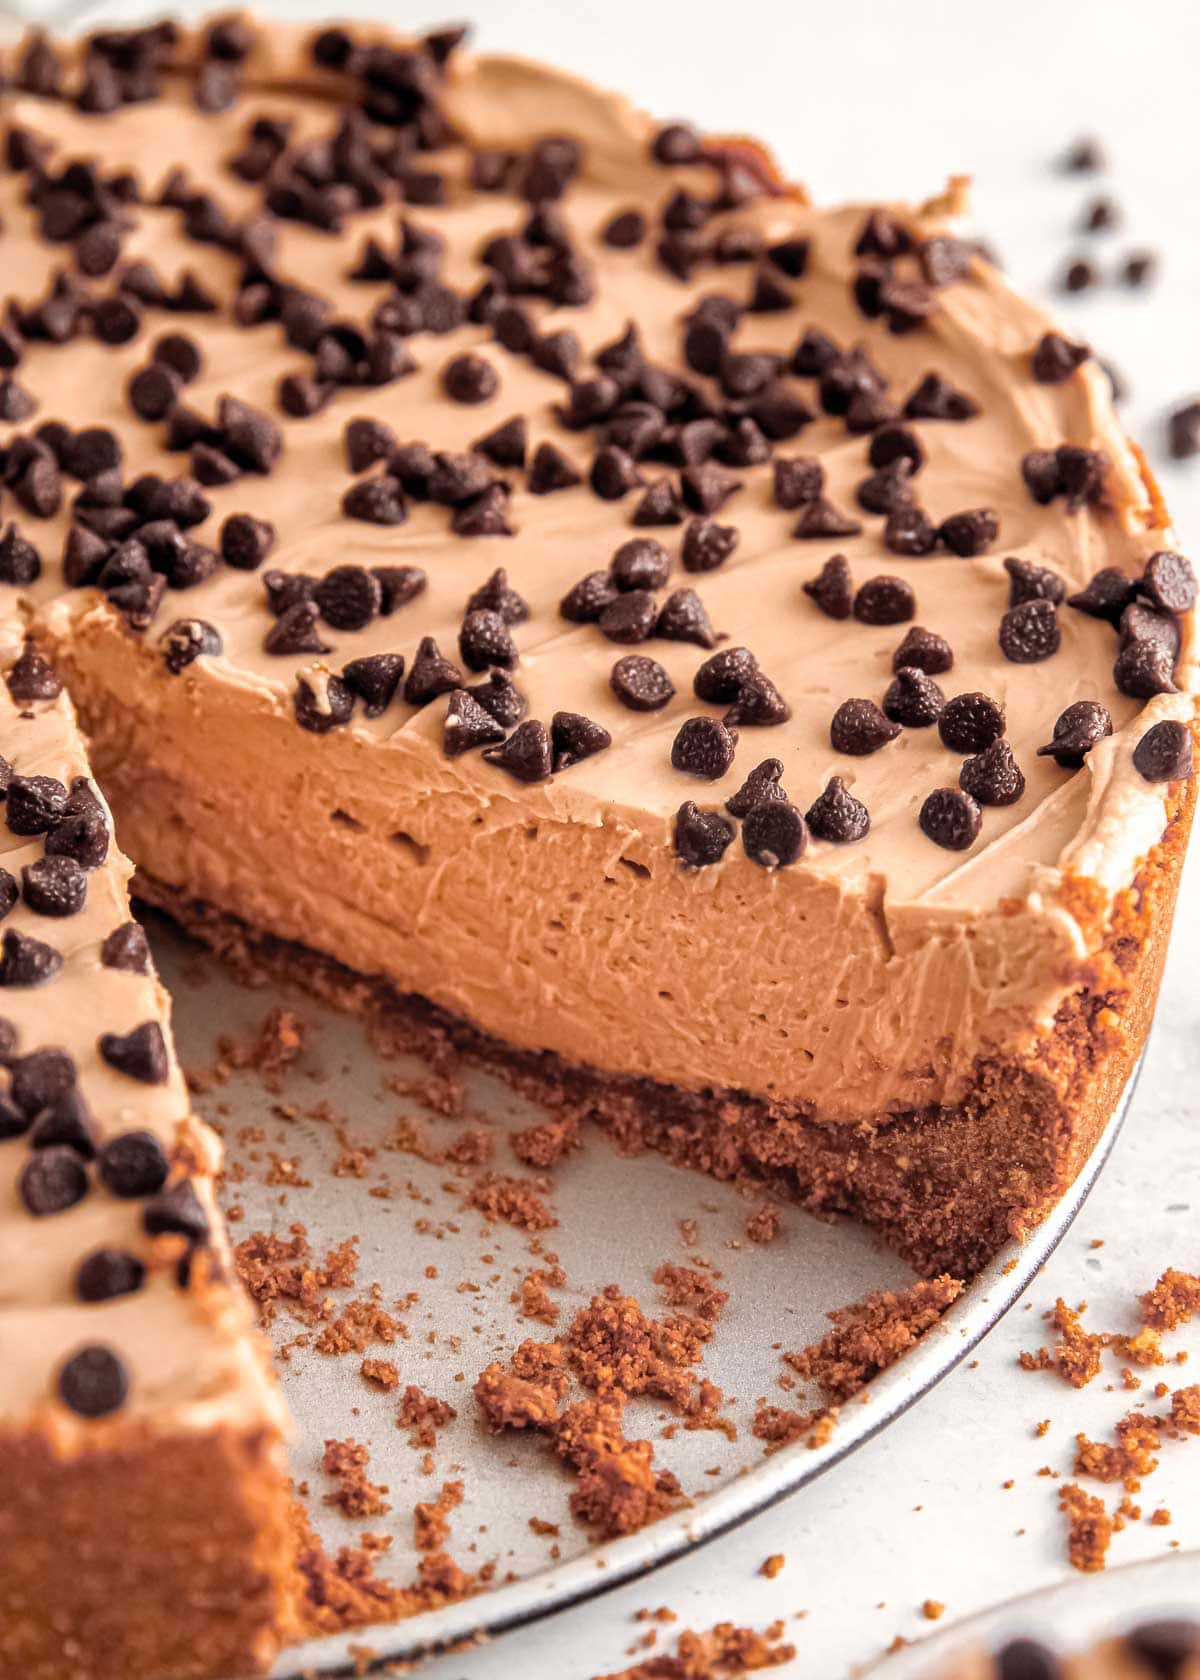
First, line your springform pan with a parchment paper liner and set it aside. In a medium bowl, mix together the graham cracker crumbs, melted butter, and sugar. Once it’s well-mixed and crumbly, press it into the lined pan to form the crust. Press it up the sides of the pan about 1 1/2 inches.
*Note: This step is very important if you care about the presentation. If your crust doesn’t go up about 1 1/2 inch, you’ll have a lot of cheesecake filling touching the pan. This can stick, causing a mess that doesn’t look great. If you press the crust up the side, it will slide right out and look fantastic. Either way, it’ll taste great.
Make flavored cream cheese mixture
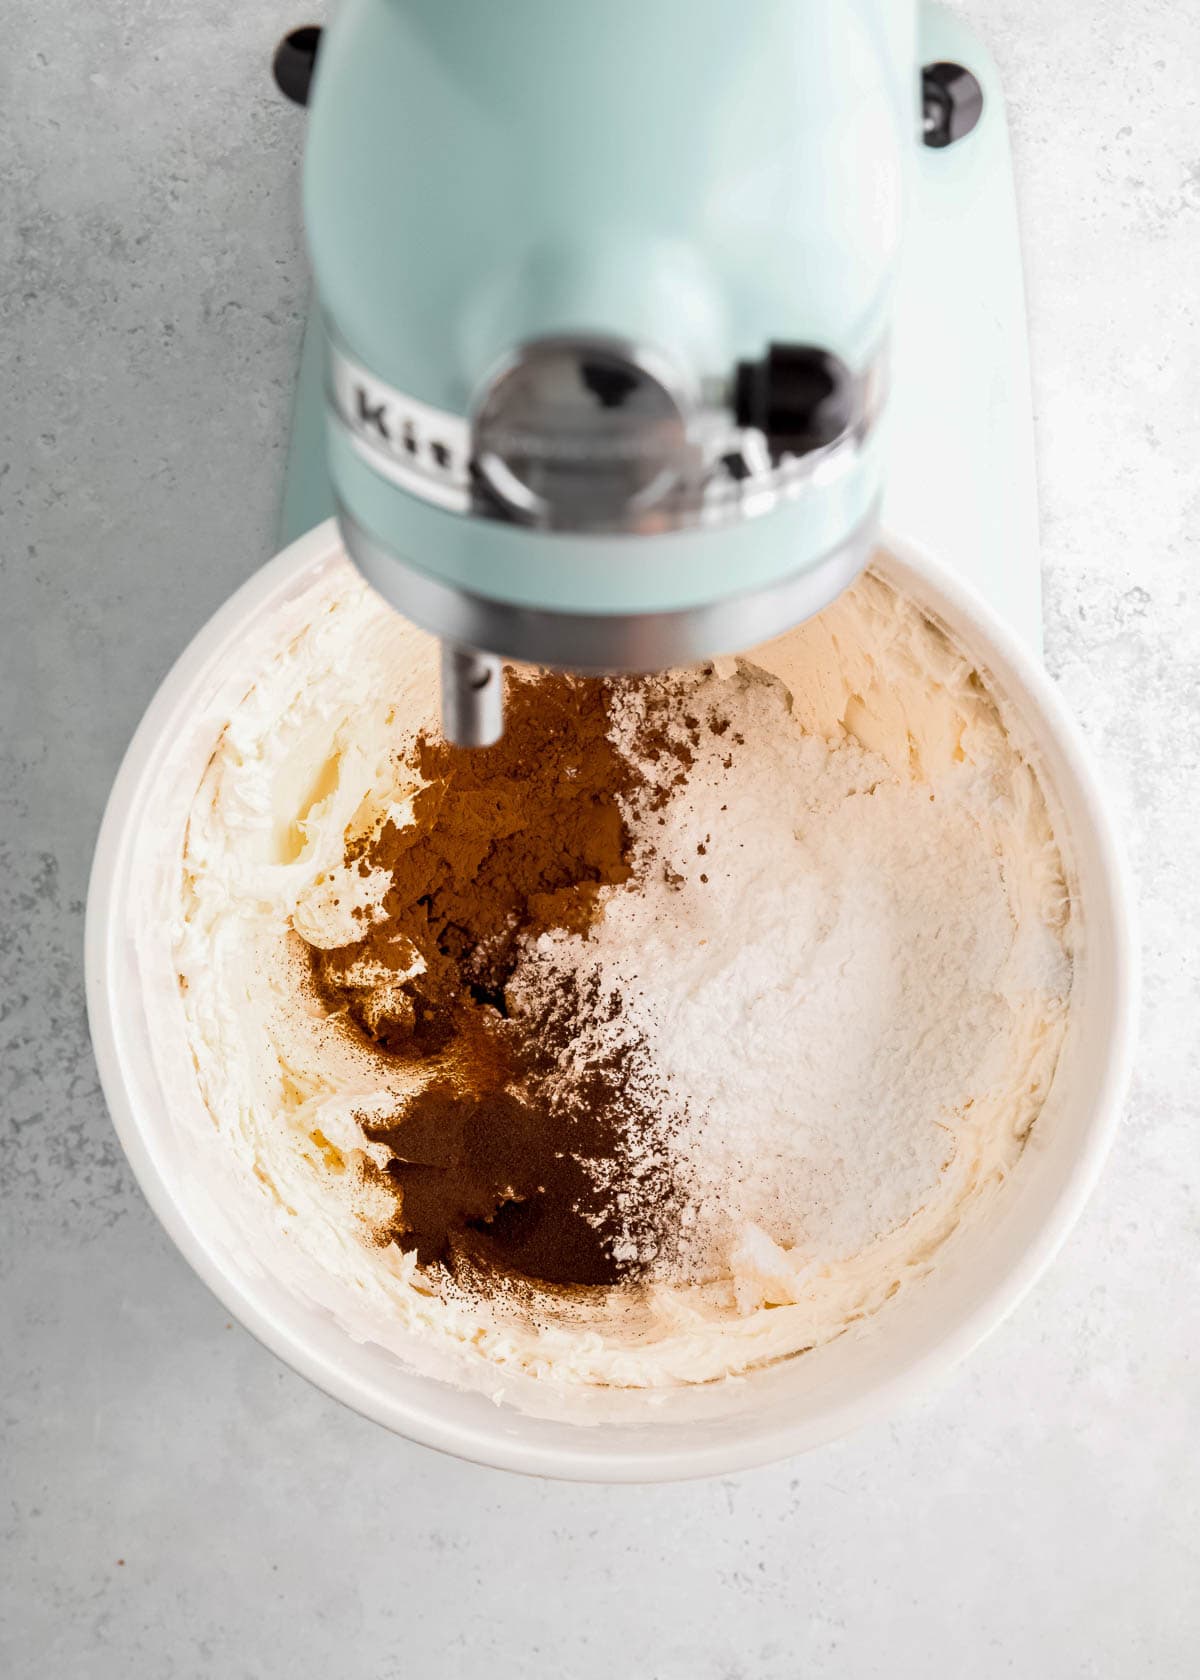
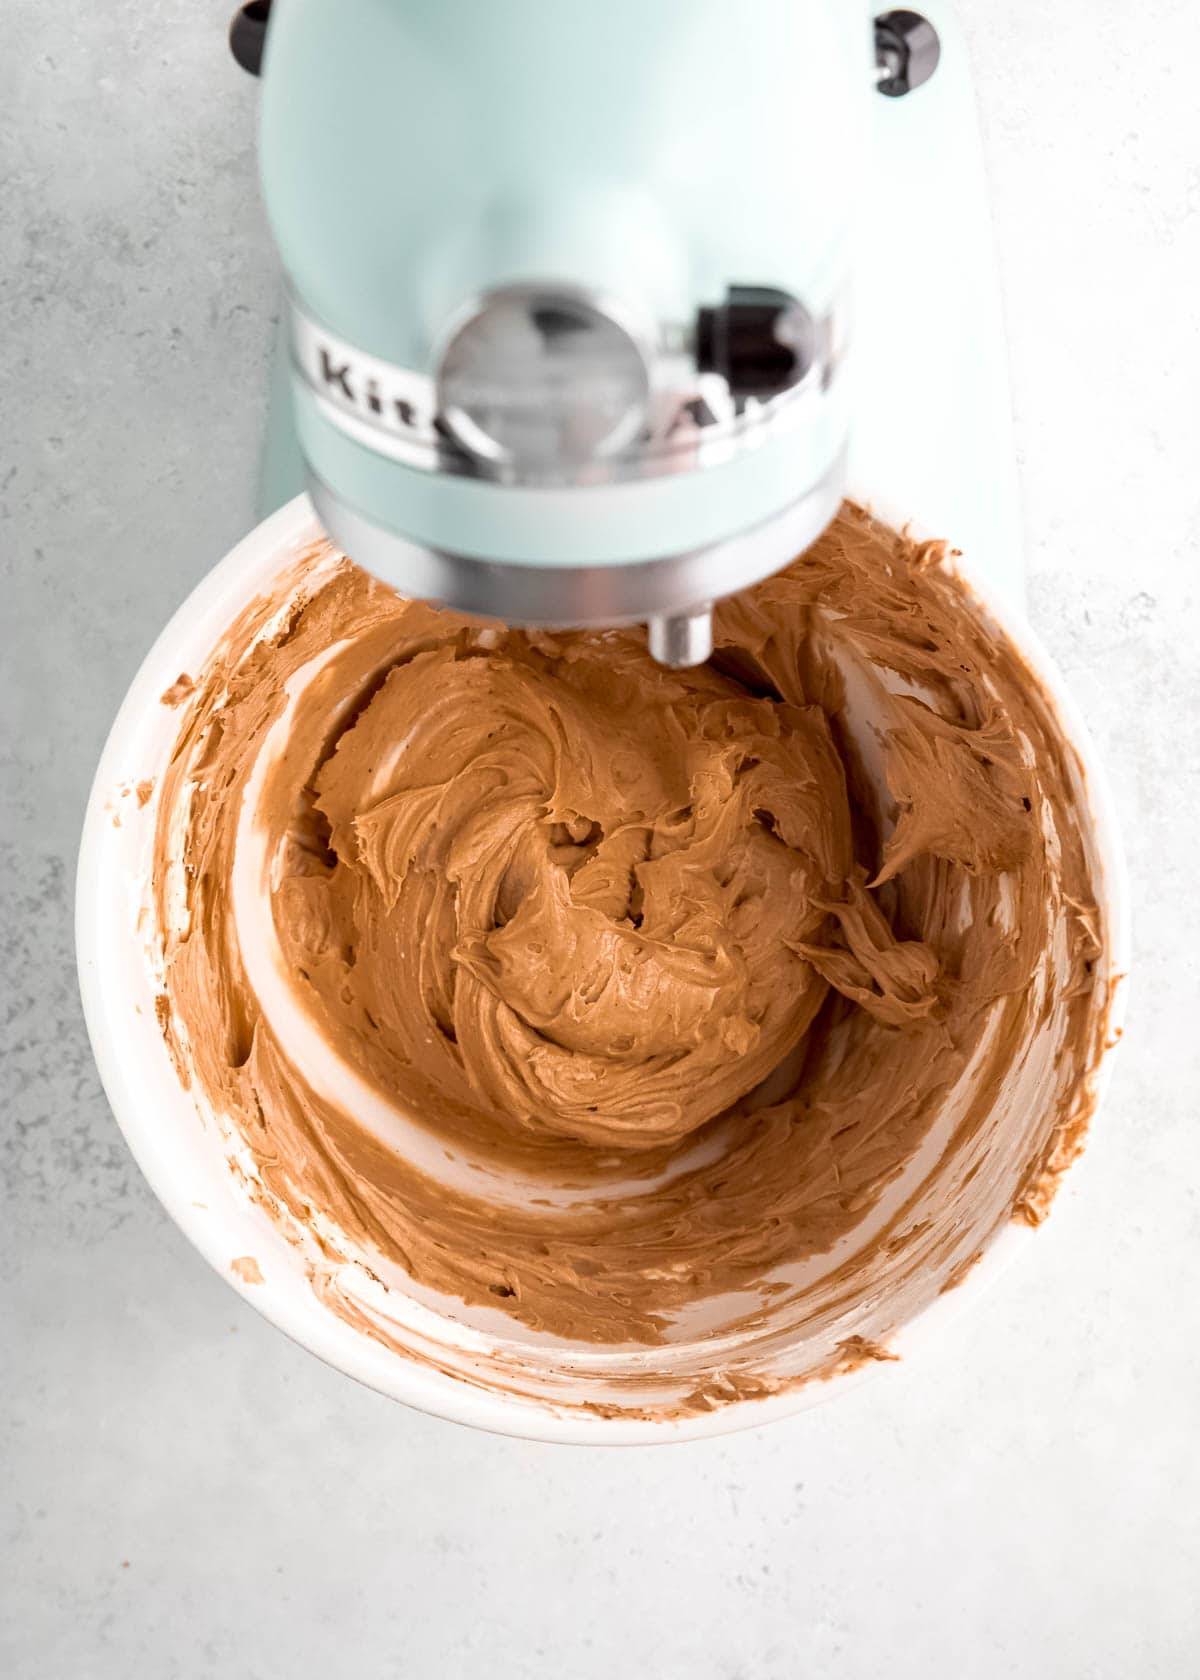
This will require two separate bowls. In bowl #1, add your softened cream cheese and beat until it’s nice and smooth. Then add in your powdered sugar, espresso and cocoa powders, and vanilla extract. Beat until well combined, then set aside.
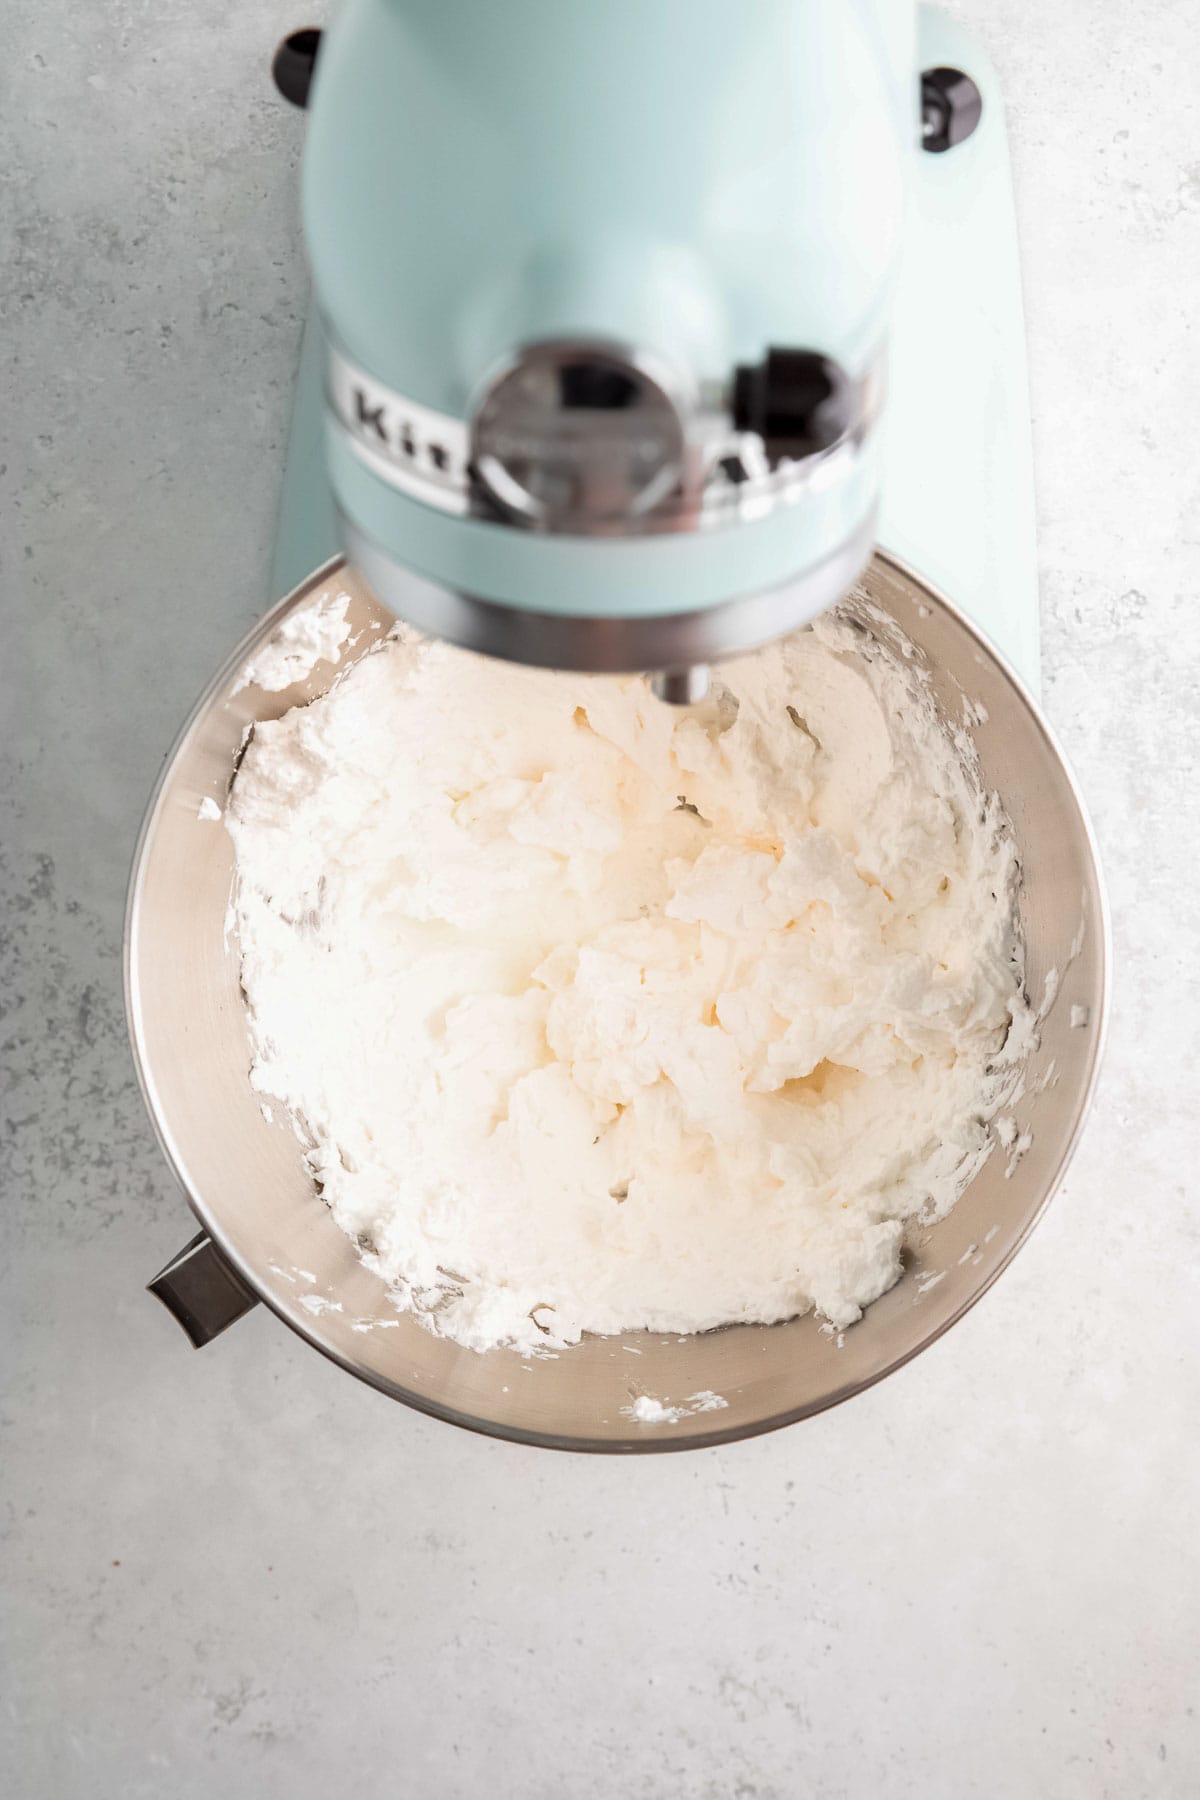
Beat & add heavy whipping cream

In bowl #2, pour in your whipping cream and beat on high until stiff peaks form. This is very important! There’s no baking to cause the cheesecake to rise and become fluffy, so we’re relying on the whipped cream to provide lift and that airy texture.
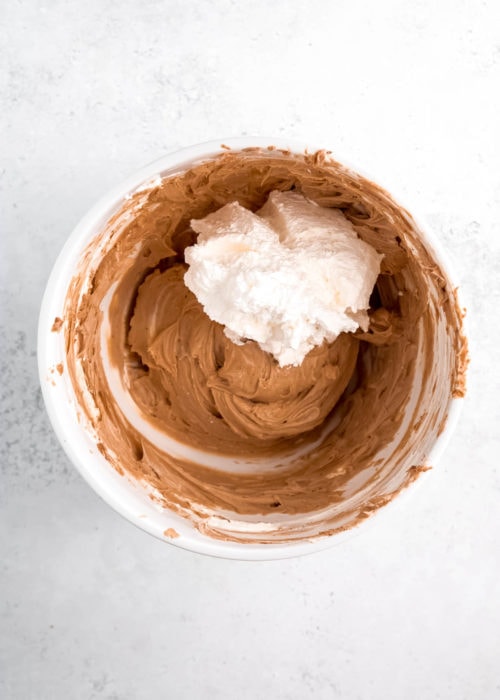
Gently pour the whipped cream into the bowl of mixed cream cheese. Carefully fold it in, combining until well mixed. Make sure to not be too quick or rough–You don’t want to ruin those great peaks you just worked so hard to make! Don’t overmix, just combine until you don’t see any streaks of whipped cream.
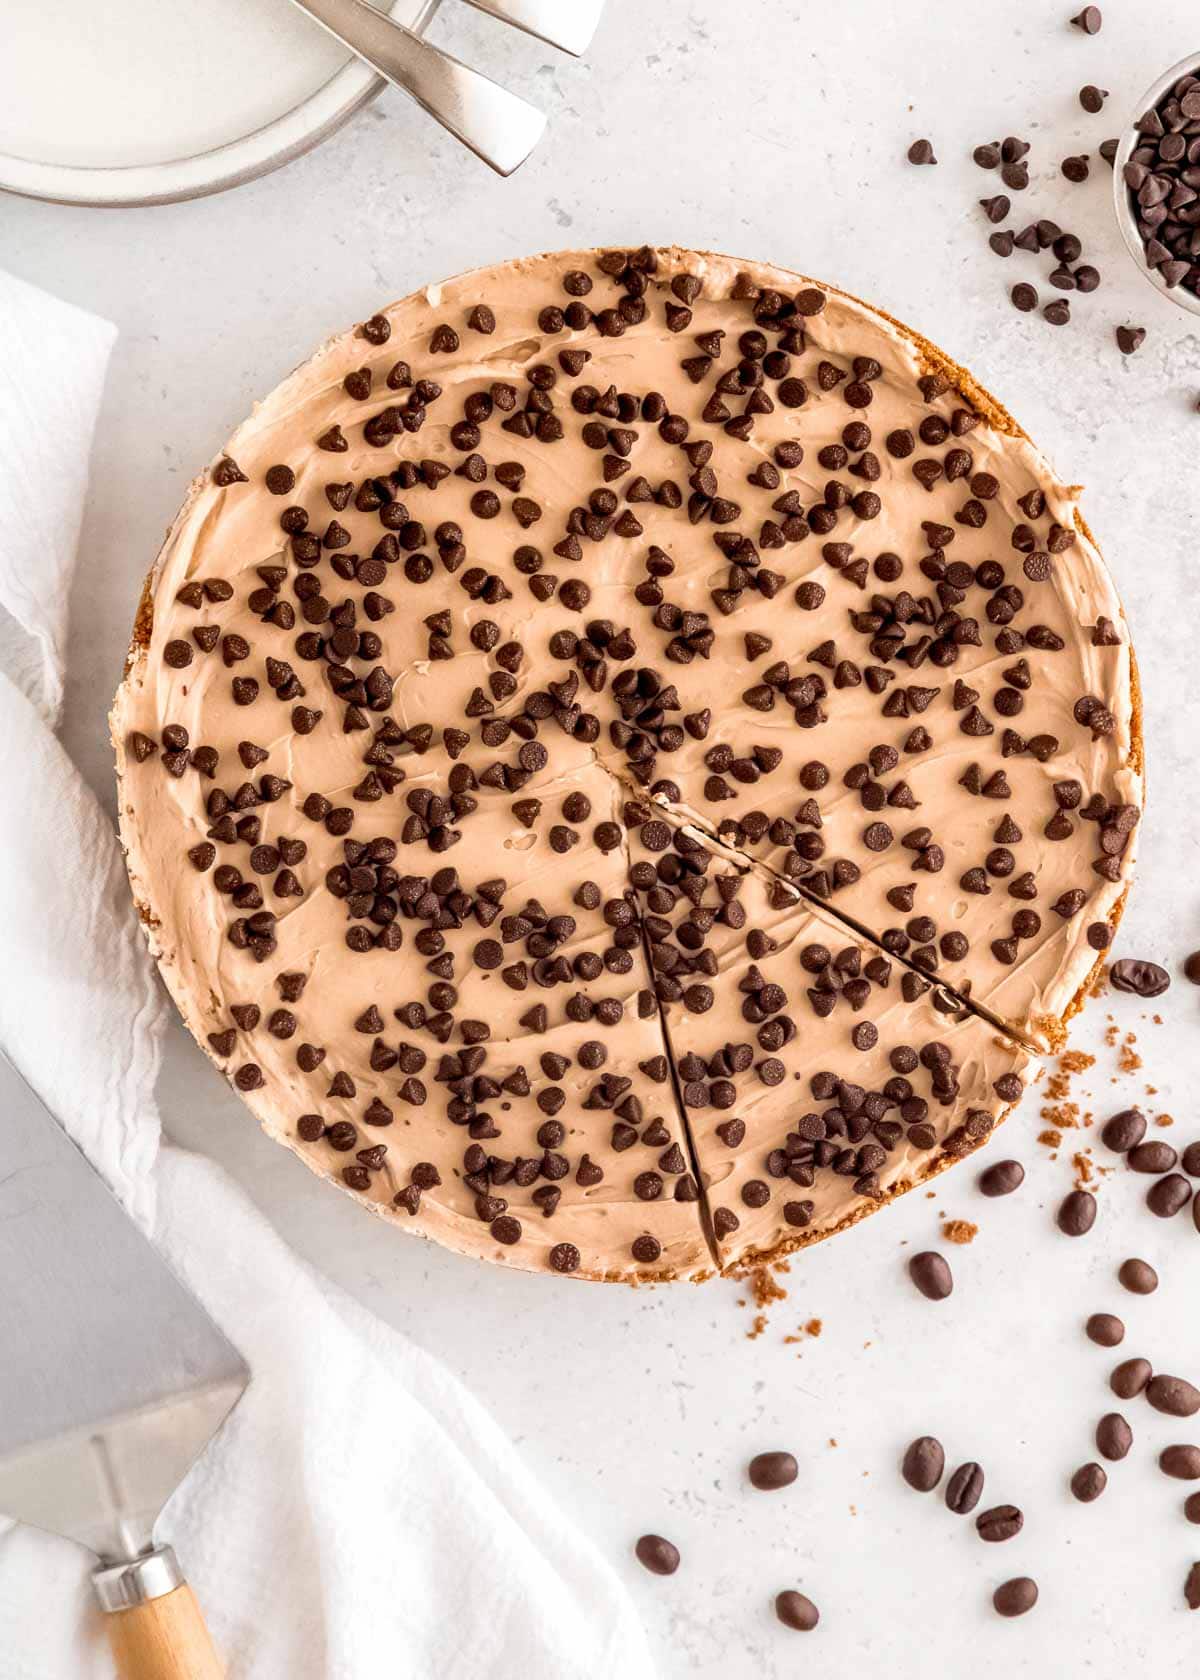
Assemble and chill
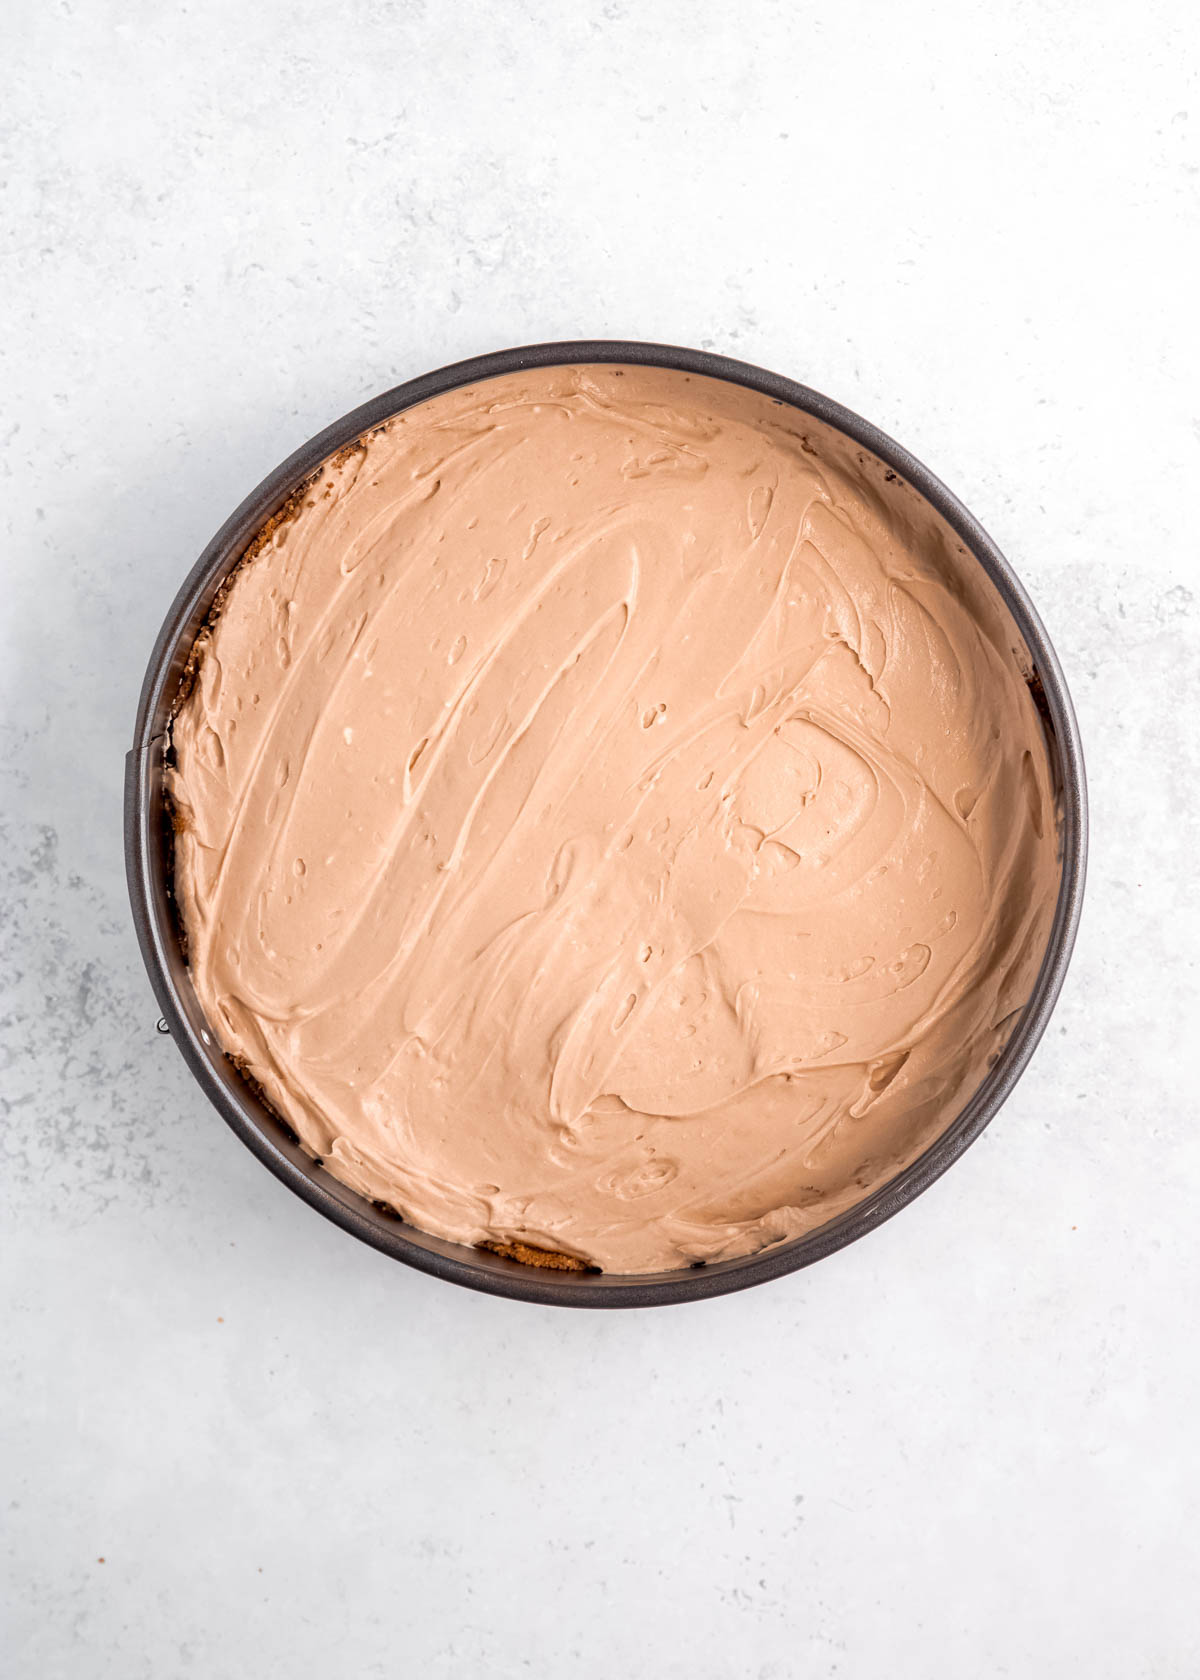
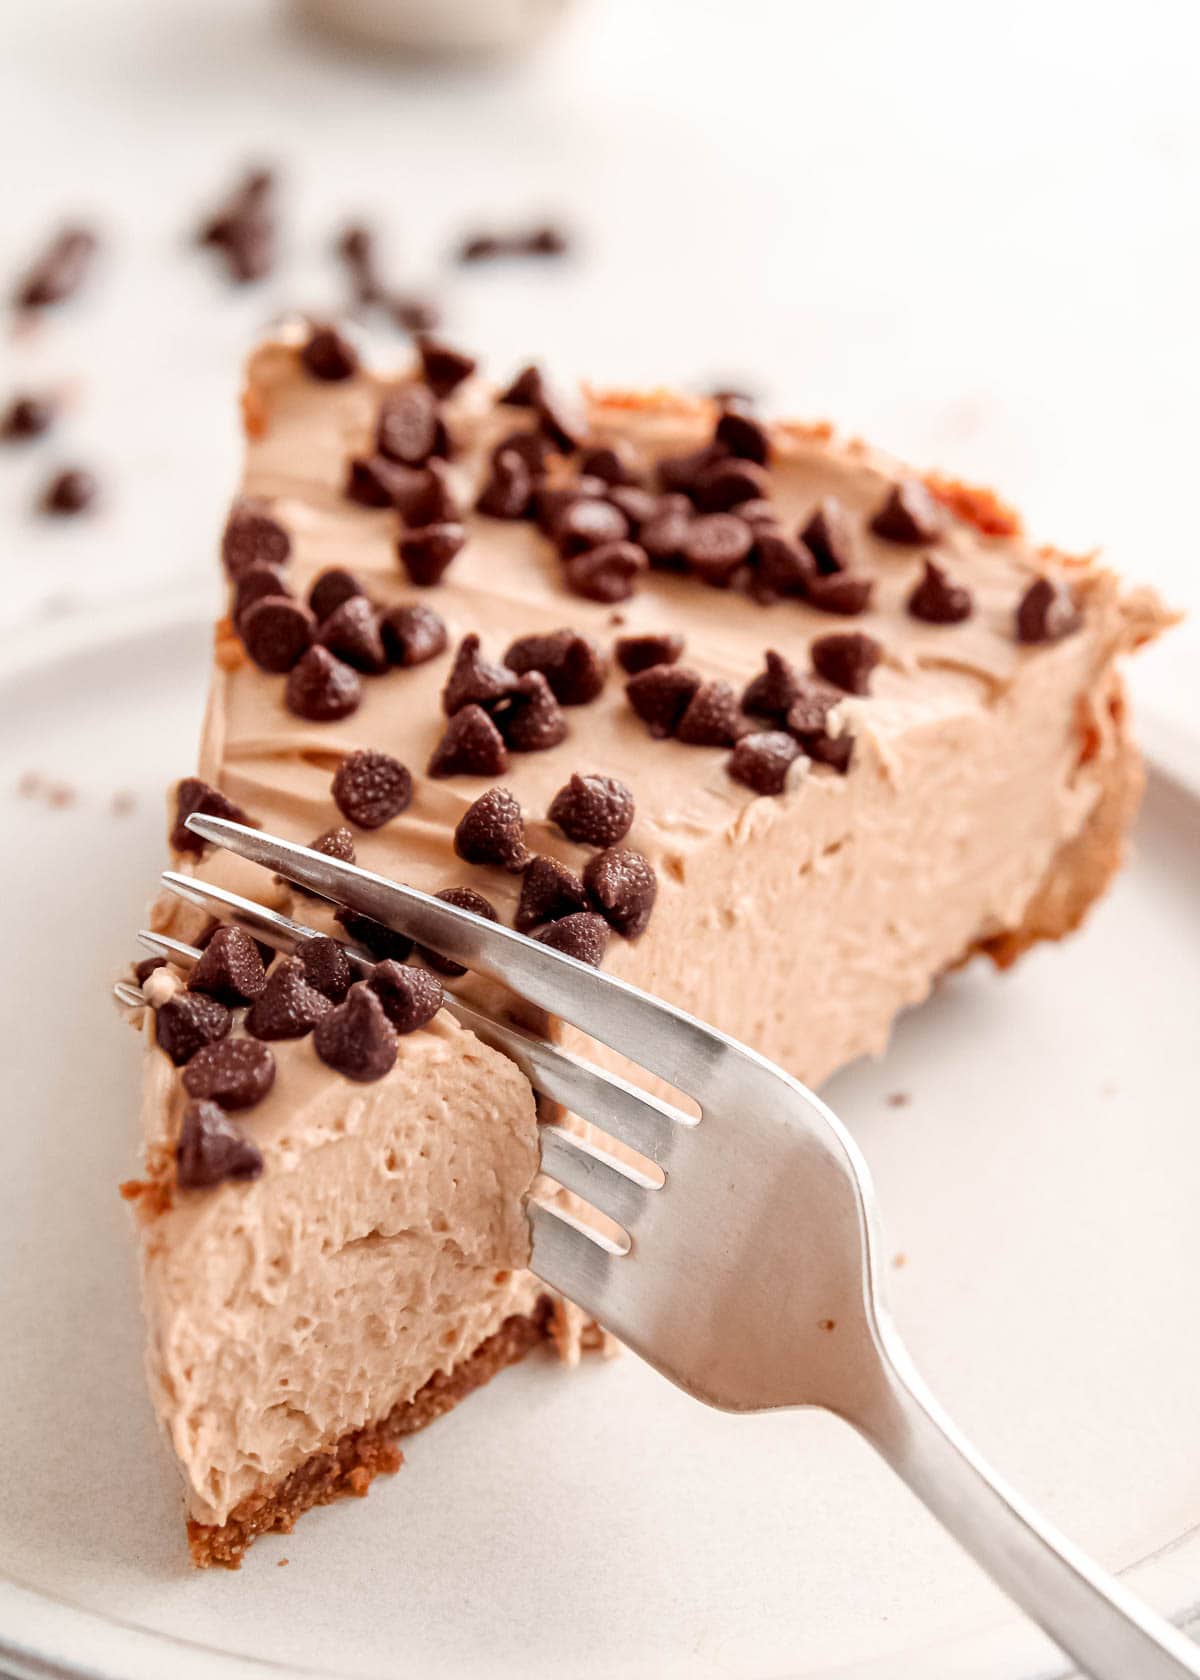
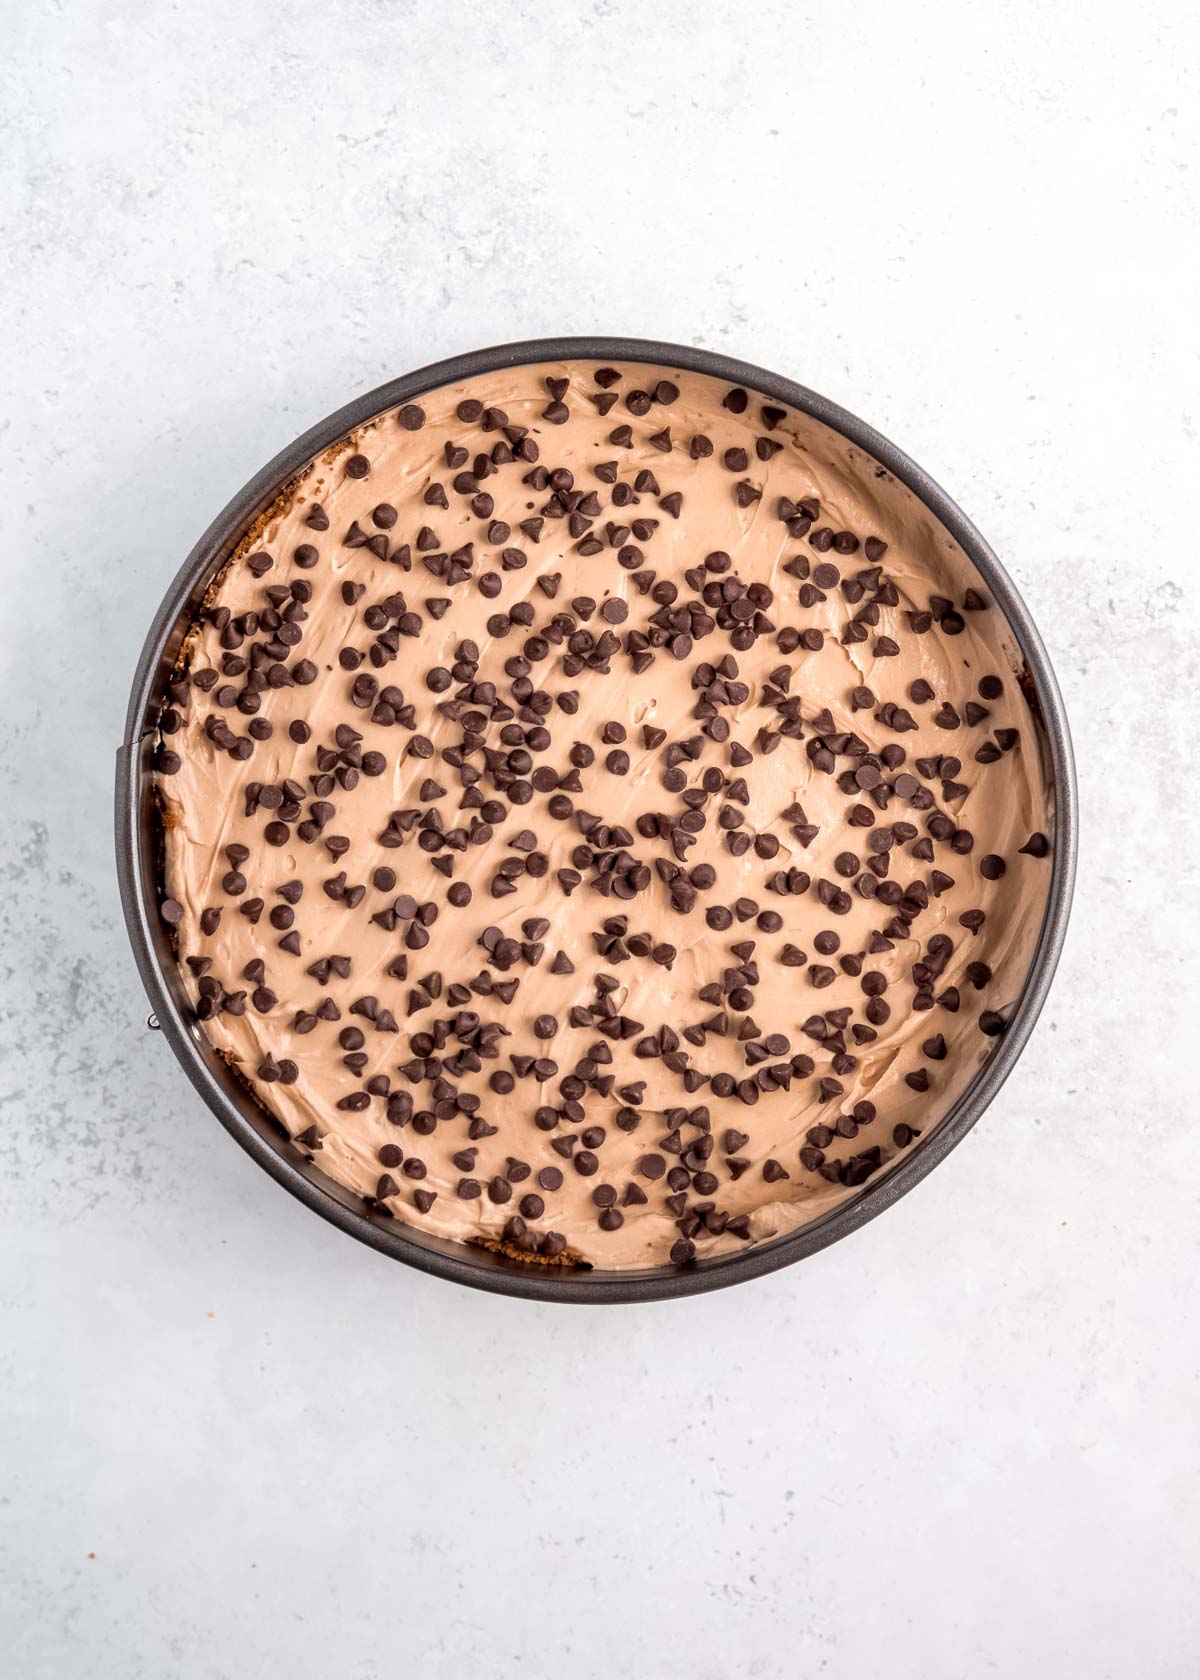
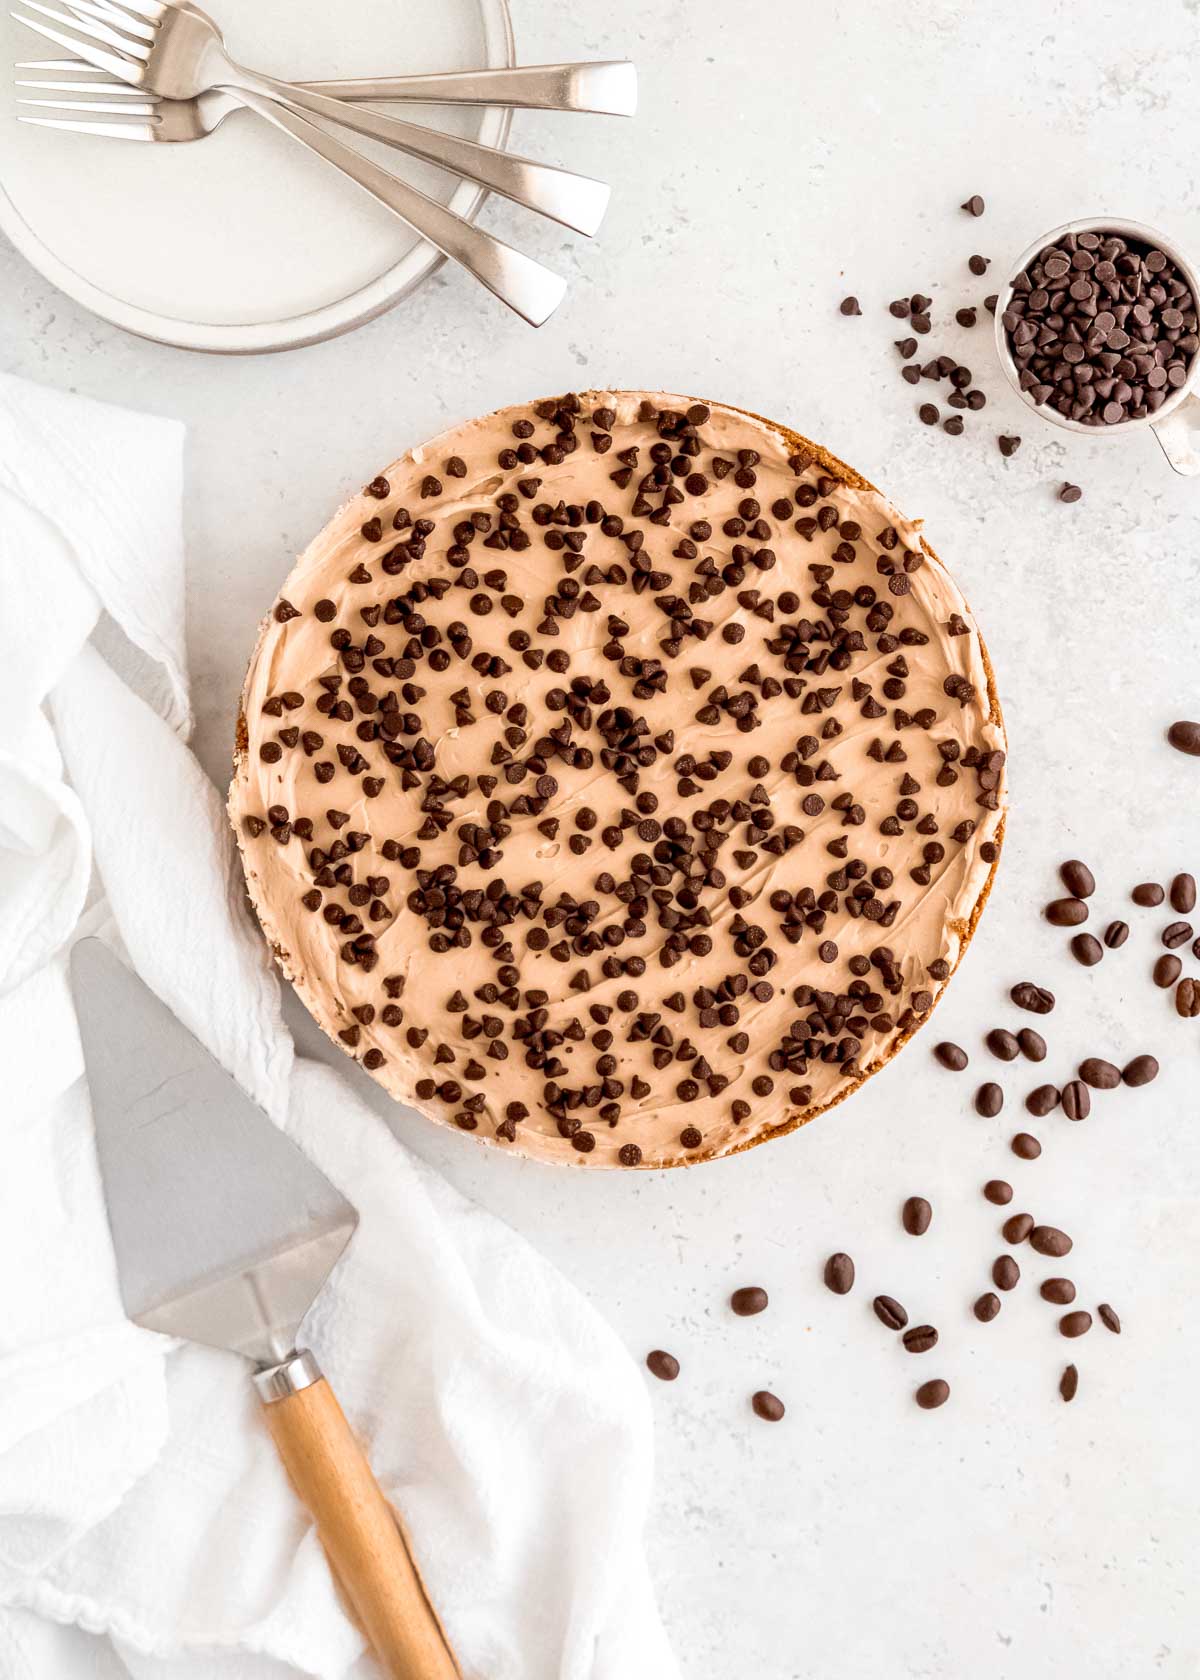
Pour the mixed cheesecake filling into the crust, then cover and refrigerate it for at least 6-8 hours. When the center is firm and clearly set, top with the mini chocolate chips, take it out of the springform pan, slice, and serve!
How to Serve Cheesecake
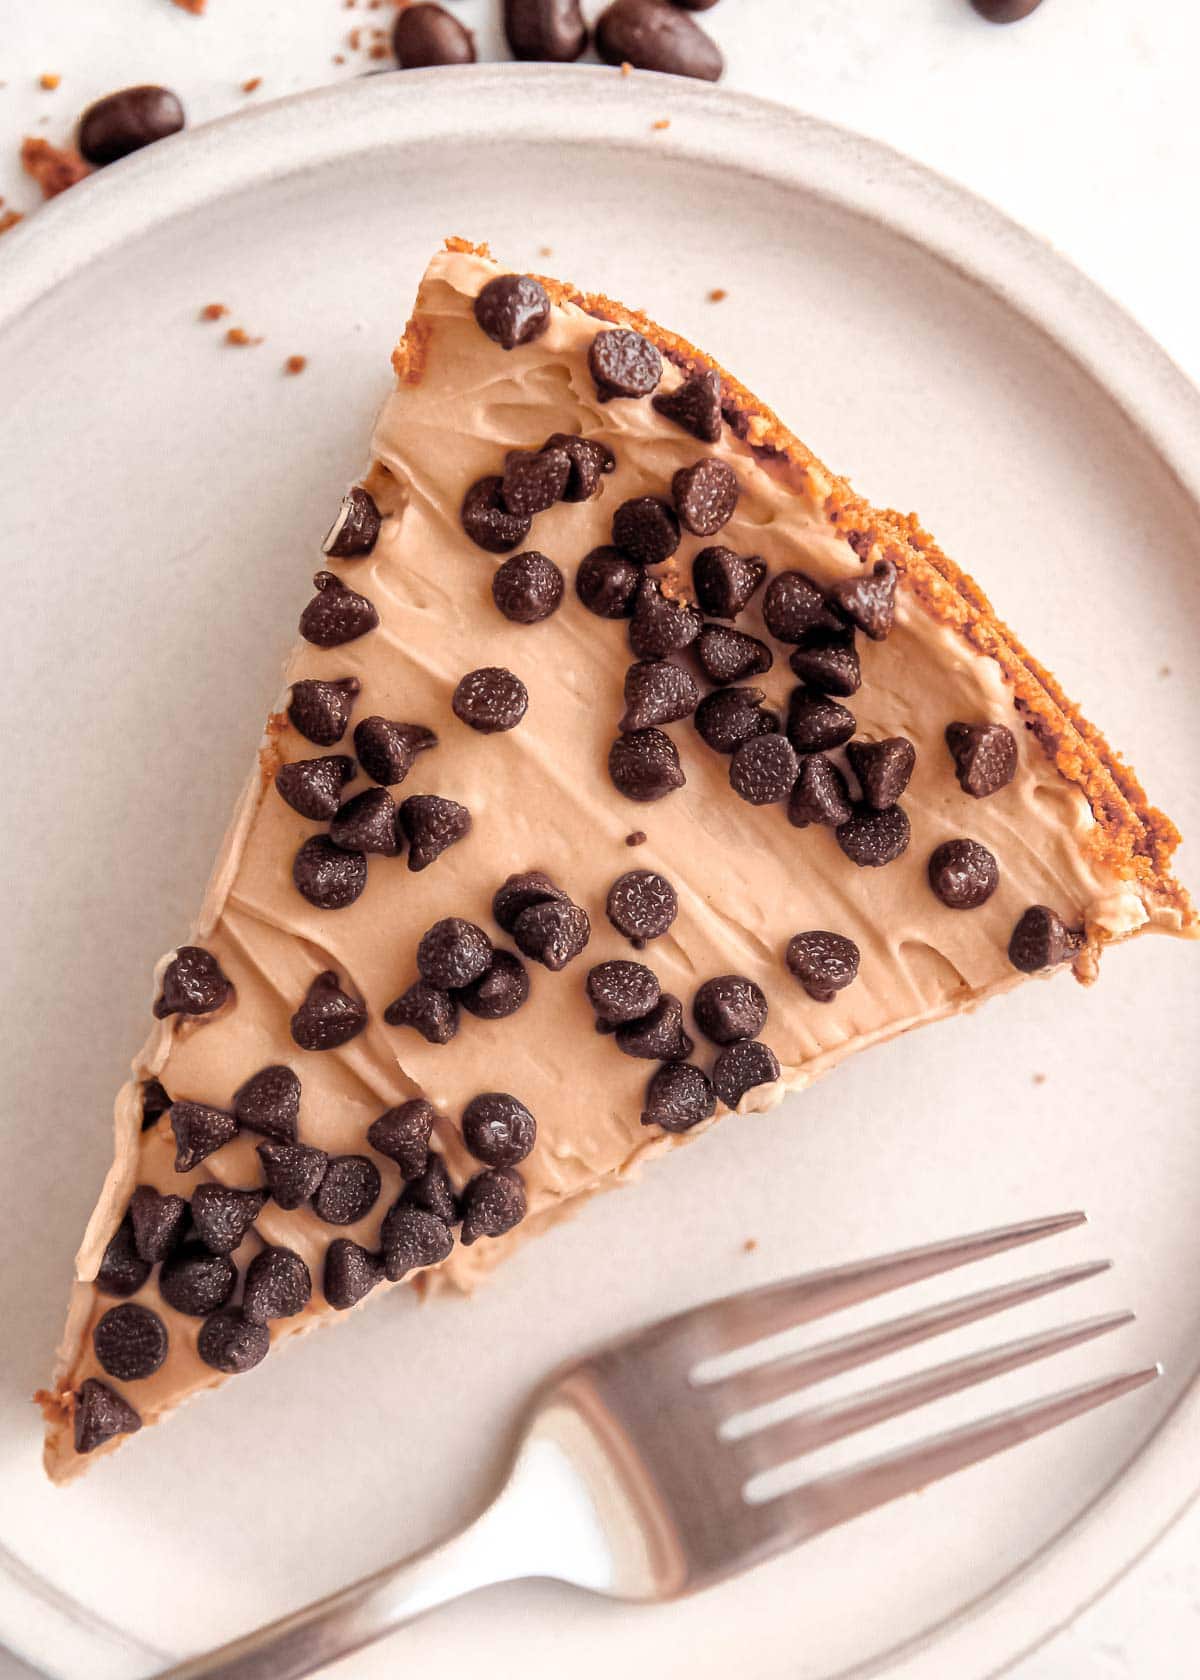
Once the cheesecake has set and is firm, pop off the ring to release the sides. The parchment paper should make it easy to move the cheesecake with large spatulas. Serve it chilled with extra chocolate chips (or maybe with ganache or caramel sauce if you’re feeling extra special).
More possible cheesecake toppings:
- Chocolate Whipped Cream
- Raspberry Topping
- Butter Pecan Topping
- Big on the sauce? Try Strawberry Sauce or Peanut Butter Sauce
- Love a decorative candy topping? Try Almond Butter Cups, Coconut Mocha Bark, or Chocolate Covered Macadamia Nuts!
How long does cheesecake last in the fridge?
No-bake cheesecakes usually last just 4-5 days in the fridge in an airtight container. If possible, wrap tightly in plastic to keep it as fresh as you can. Make sure to protect it from other scents in the fridge as cheesecake can pick up smells that may be coming from other food in the fridge.
Can you freeze no-bake cheesecake?
Yes, no-bake cheesecakes are great for freezing! The two most important factors when freezing a no-bake cheesecake: Make sure it has set and make sure it’s well protected.
First, you must make sure your cheesecake has completely set before freezing. You might just think “it can set as it freezes!” but unfortunately that’s not the way it works. The texture will be more like mousse than a cheesecake if it freezes before it sets.
Second, it’s got to be protected from moisture and air so that A.) it doesn’t pick up other scents & flavors, and B.) it doesn’t get freezer burn. Wrap your cheesecake in multiple layers of plastic wrap (whole cheesecake or individual slices), then store in a freezer bag to keep it fresh 3-8 months. The quicker you thaw and eat it, the better quality flavor and texture you’ll have.
If you like this chocolate dessert, you will LOVE these easy cheesecakes!
- Triple Chocolate Cheesecake Bars – A chocolate cookie crust, chocolate cheesecake, and a chocolate ganache topping… It’s EXACTLY what a chocolate lover wants!
- Mini Keto Chocolate Chip Cheesecakes – While this has a vanilla cheesecake filling, you can easily add in some cocoa powder or let the chocolate chips shine!
- Chocolate Cheesecakes – These mini keto cheesecakes are also topped with chocolate covered strawberries and homemade whipped cream for a decadent, special, sugar-free dessert.
- Cheesecake Brownies – Not a cheesecake exactly, but you’ll love the cheesecake layer stirred through the brownie batter before baking!
- Salted Caramel Mocha Cheesecake Bars – Beautiful layers of deliciously creamy, complex flavors. It’s another good one to make ahead of time.
- Mocha Cheesecake – Enjoy the same flavors, but with a baked cheesecake and a ganache topping
Tips for the BEST No-Bake Cheesecake
- Use full-fat cream cheese if possible. Full-fat cream cheese will produce a creamier cheesecake that is more likely to set faster and freezes better. The high moisture content in low-fat cream cheese can reduce the quality of texture, but it will still taste great. Consider making mini cheesecakes if you have to use low-fat cream cheese so it sets quicker.
- Be patient. Since we’re not using the oven, this chill time is extremely important to the texture! This is when those air bubbles are settling to create an airy, light, creamy filling. If you slice it, freeze it, or put toppings on it before it’s firm, it could turn into a dense, watery mess instead. Don’t try to chill in the freezer to save time–The freezing process changes the texture at a cellular level and can ruin it.
- Make the crust go up the sides. This is the easiest (and prettiest) way to make sure your cheesecake doesn’t stick to the pan. You don’t have to press the crust crumble mixture ALL the way up, but make it at least 1 1/2 inches tall all the way around to ensure it comes cleanly from the pan.

Get the Recipe: No Bake Mocha Cheesecake
Ingredients
For the Crust:
- 2 cups graham cracker crumbs
- ½ cup unsalted butter, melted
- 2 tbsp granulated sugar
- 2 tbsp cocoa powder
For the Filling:
- 24 oz cream cheese
- 2 cups powdered sugar
- 1 tbsp espresso powder
- 1 tbsp unsweetened cocoa powder
- 1 tsp vanilla extract
- 1 cup heavy whipping cream
Optional topping
- ¼ cup mini chocolate chips
Instructions
- Line a 9” springform pan with parchment paper. In a medium bowl, combine the graham cracker crumbs, butter, and sugar. Press the mixture into the prepared pan, pressing it up the sides about 1 ½ inches. Set aside.
- In a large bowl, beat the cream cheese until smooth. Add the powdered sugar, espresso powder, cocoa powder, and vanilla extract and beat until well combined. Set aside.
- In another bowl, beat the whipping cream on high until stiff peaks form.
Gently fold the whipped cream into the cream cheese mixture with a spatula until combined. - Pour the mixture into the crust, then cover and refrigerate for at least 6-8 hours. Top with mini chocolate chips. Slice and serve!
Notes
- Leftovers keep for up to 3 days in the refrigerator. (Good luck, my family is currently fighting over the last piece!)
- For presentation’s sake, it is essential to make sure that the graham cracker crumbs go up the pan at least 1 ½ inches, otherwise too much of the filling is touching the edges of the pan and end up sticking to it. So when you release it, it’s not very pretty. However, it tastes delicious either way!
- I used this espresso powder; it’s really fine and works well in baked goods!
Feel free to use chocolate graham cracker crumbs, just omit the cocoa powder in the crust.